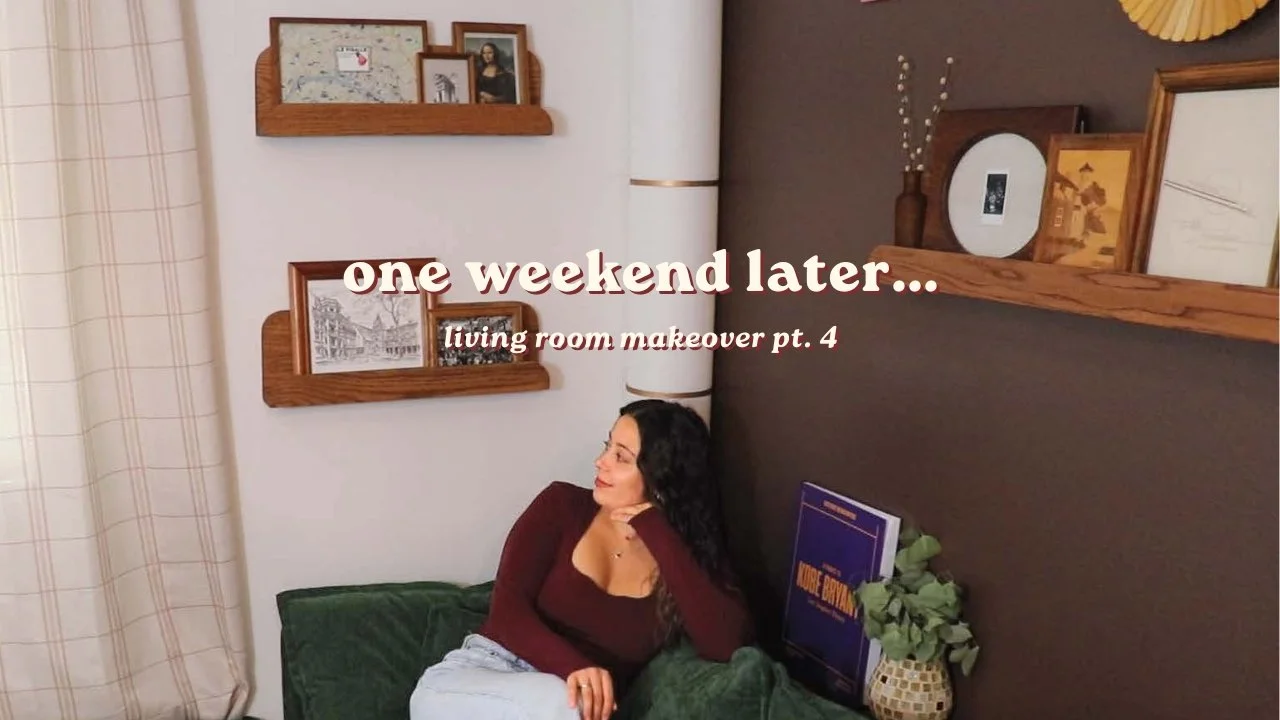
Picture Ledge Shelves + Frames
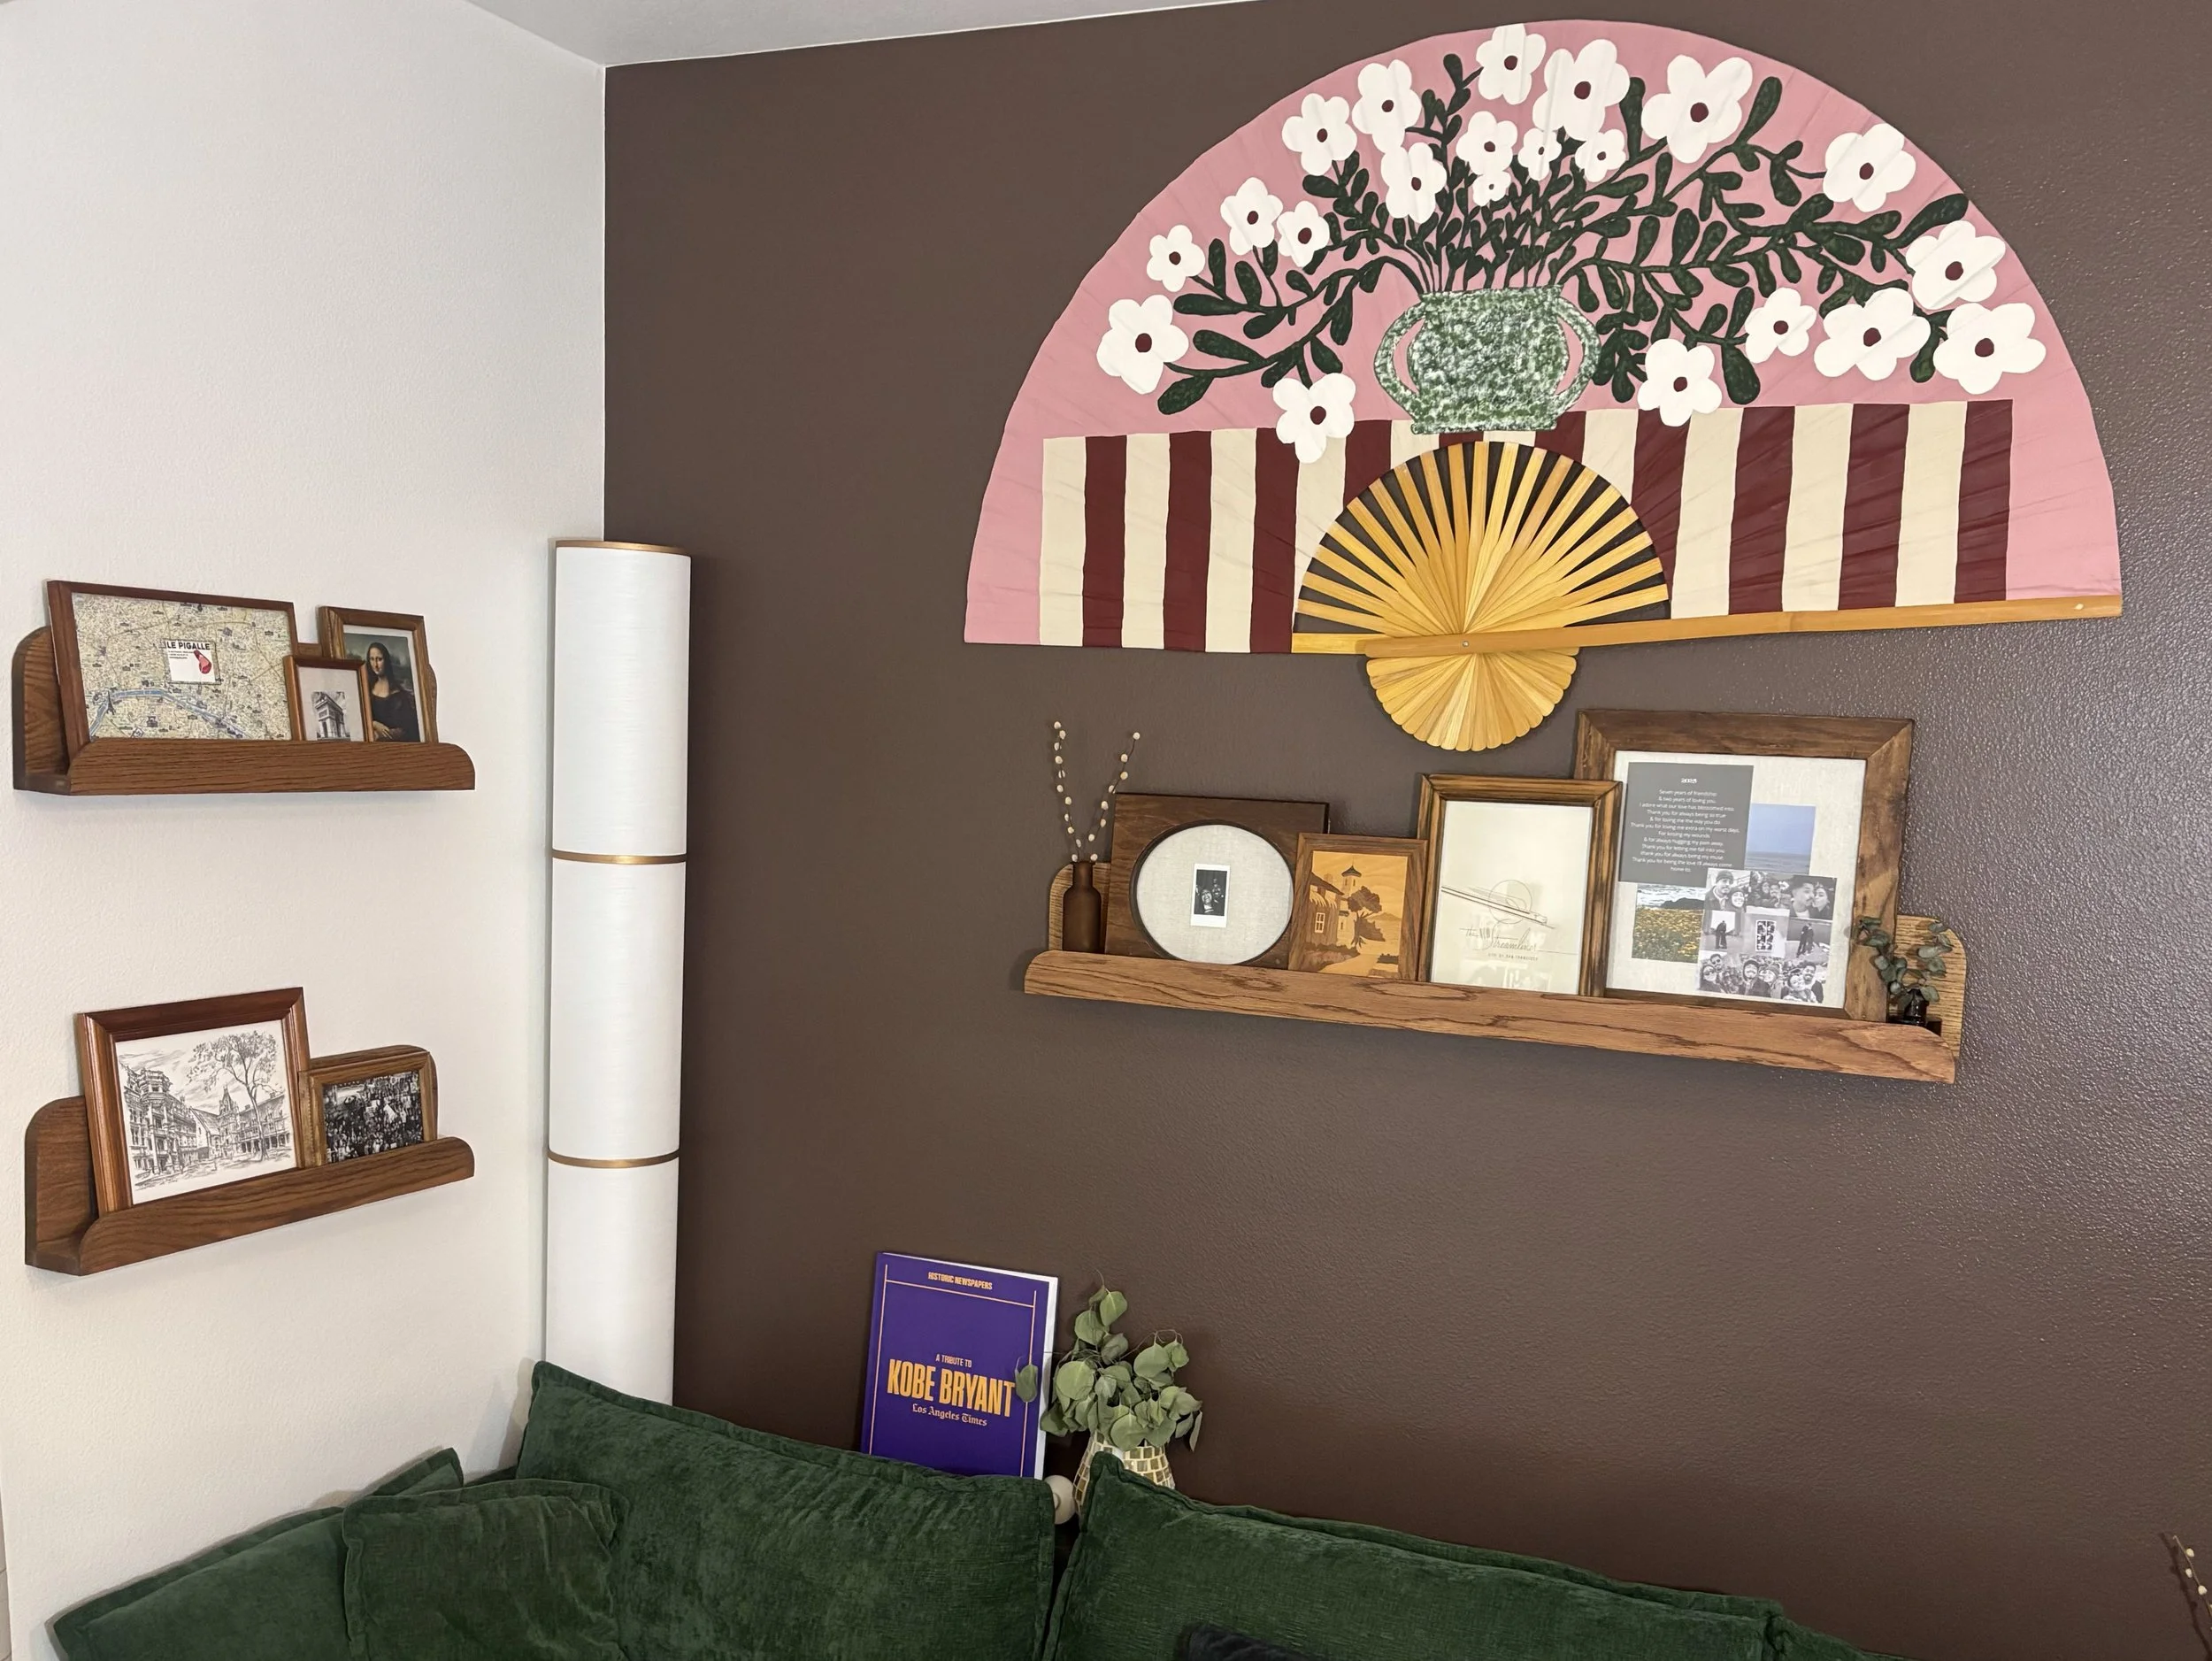
This space came together through two simple but meaningful projects—our picture ledge shelves and the framed pieces that sit on them. On their own, each one is beautiful, but together they completely changed how these walls feel in our home. One gave us a foundation for styling, and the other added layers of personality and story. In this project, I’ll walk you through both so you can see how they came together to create a space that feels personal, flexible, and full of meaning.

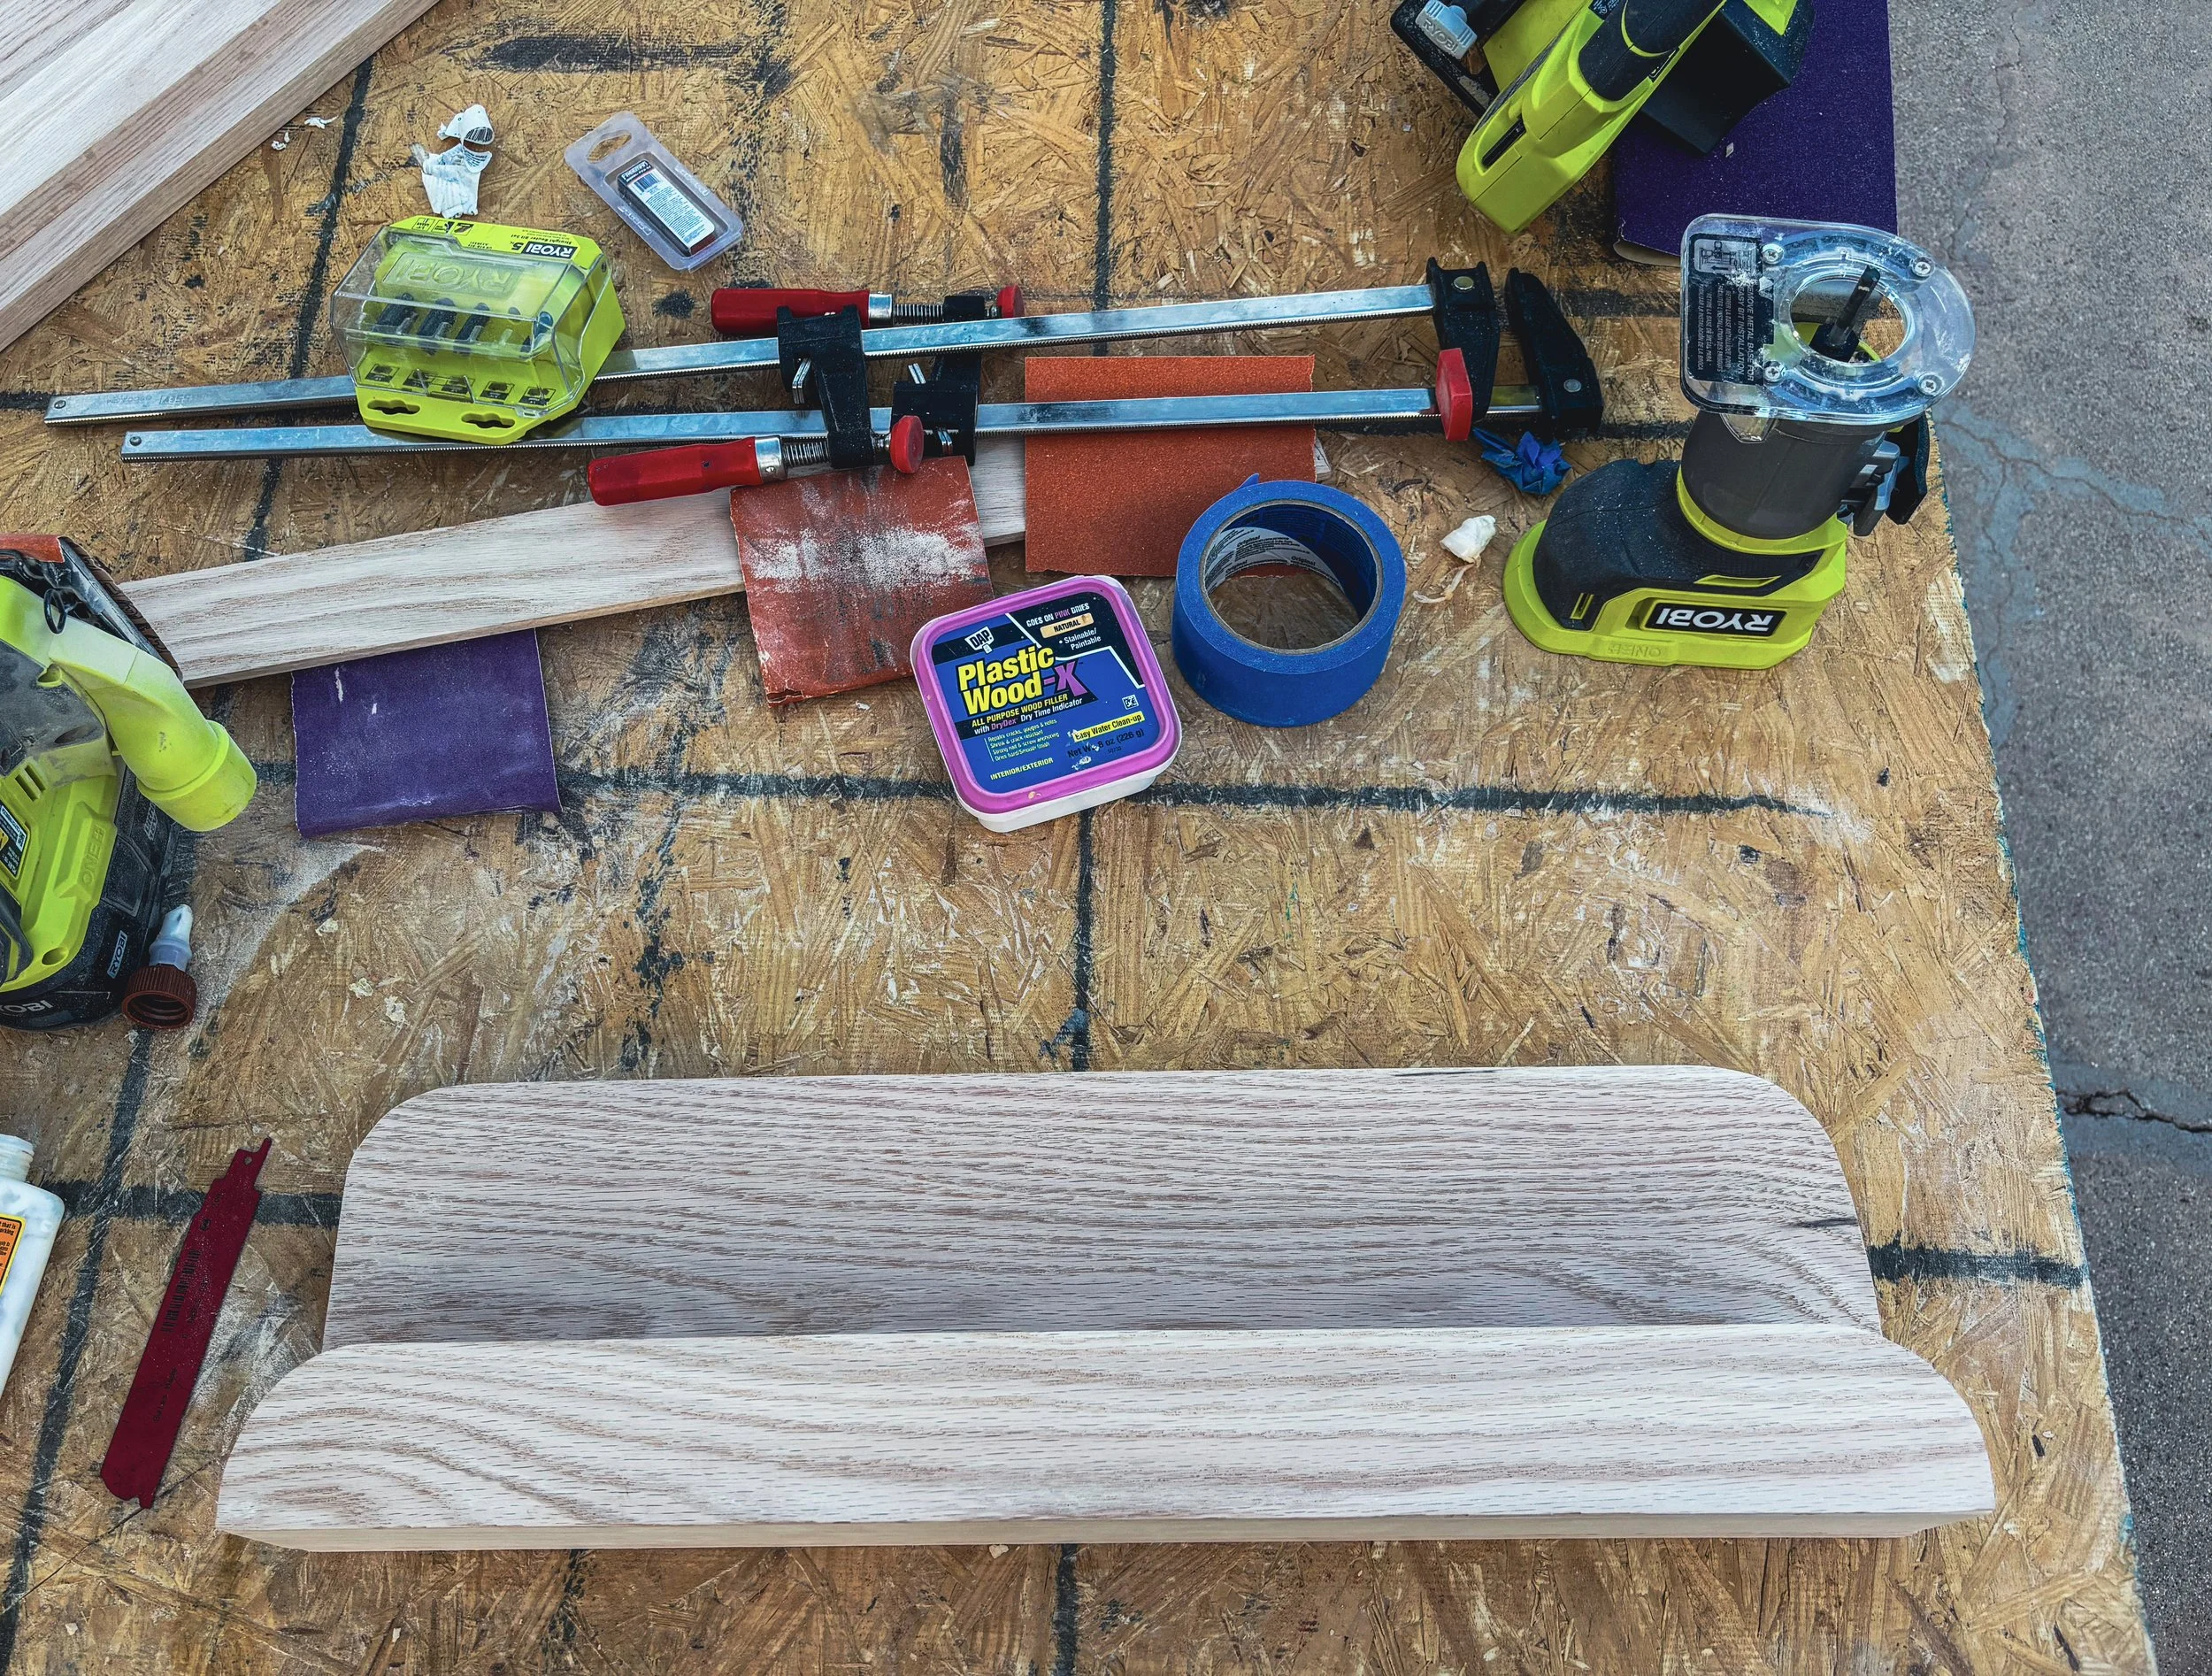
I created these picture ledge shelves using red oak wood and a few basic tools: a miter saw, router, wood glue, and a brad nail gun, and lastly a sander. The process was simple, but taking the time with each step really made a difference in the final look.
First, I measured and cut all my pieces to size using the miter saw—making sure the top, bottom, and front lip of each shelf were clean and even so everything would fit together seamlessly. Once the pieces were cut, I lightly sanded the edges to smooth out any roughness and prep the wood for assembly.
Next, I assembled the shelves by attaching the front lip to the base using wood glue and a brad nail gun, holding everything firmly in place while the glue set. This step is what gives the ledge its functionality, allowing it to hold frames securely without slipping.
To add a bit more visual interest, I used a router to curve the corners. This small detail softened the overall look and gave the shelves a more refined, custom feel. It’s a subtle touch, but it really adds character and reflects my personal style.
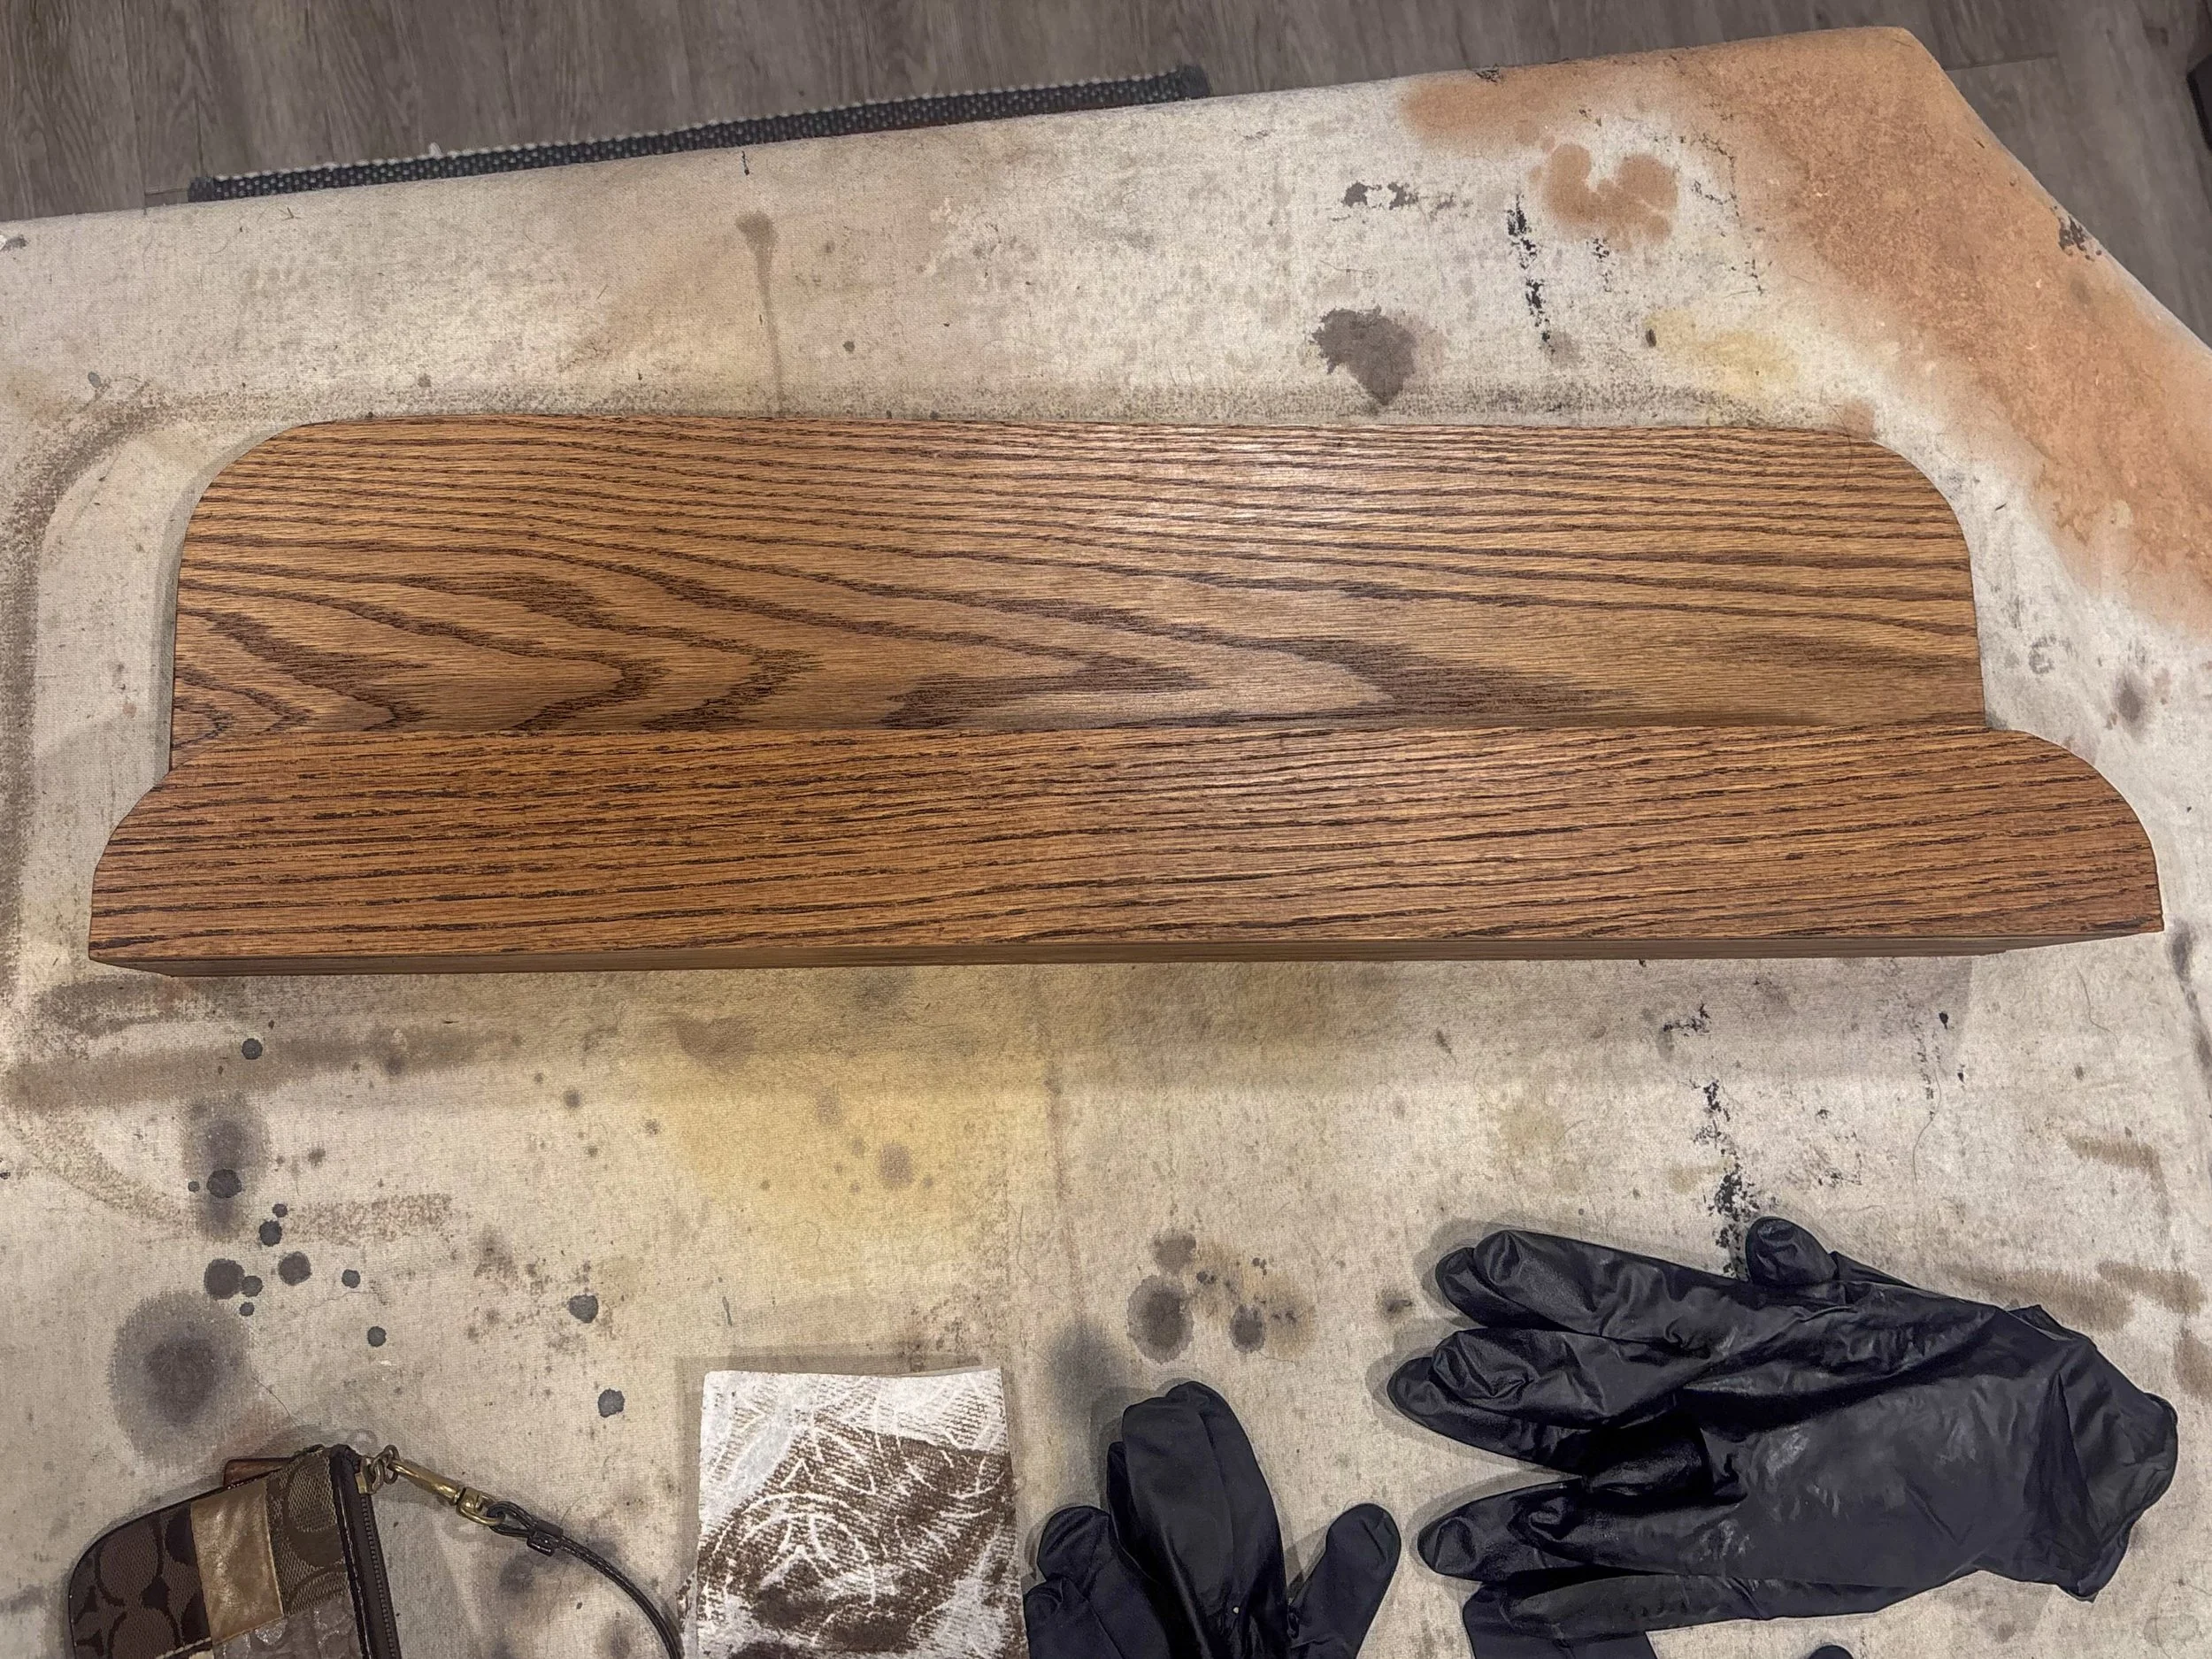
After shaping the edges, I did a final sanding to ensure everything felt smooth and cohesive, then finished the wood (stain or clear coat, depending on your preference) to highlight the natural beauty of the red oak.
It’s such a simple design, but those thoughtful details—like the curved corners and clean lines—make all the difference. What starts as a minimal build turns into a timeless piece that adds warmth and personality to the space.
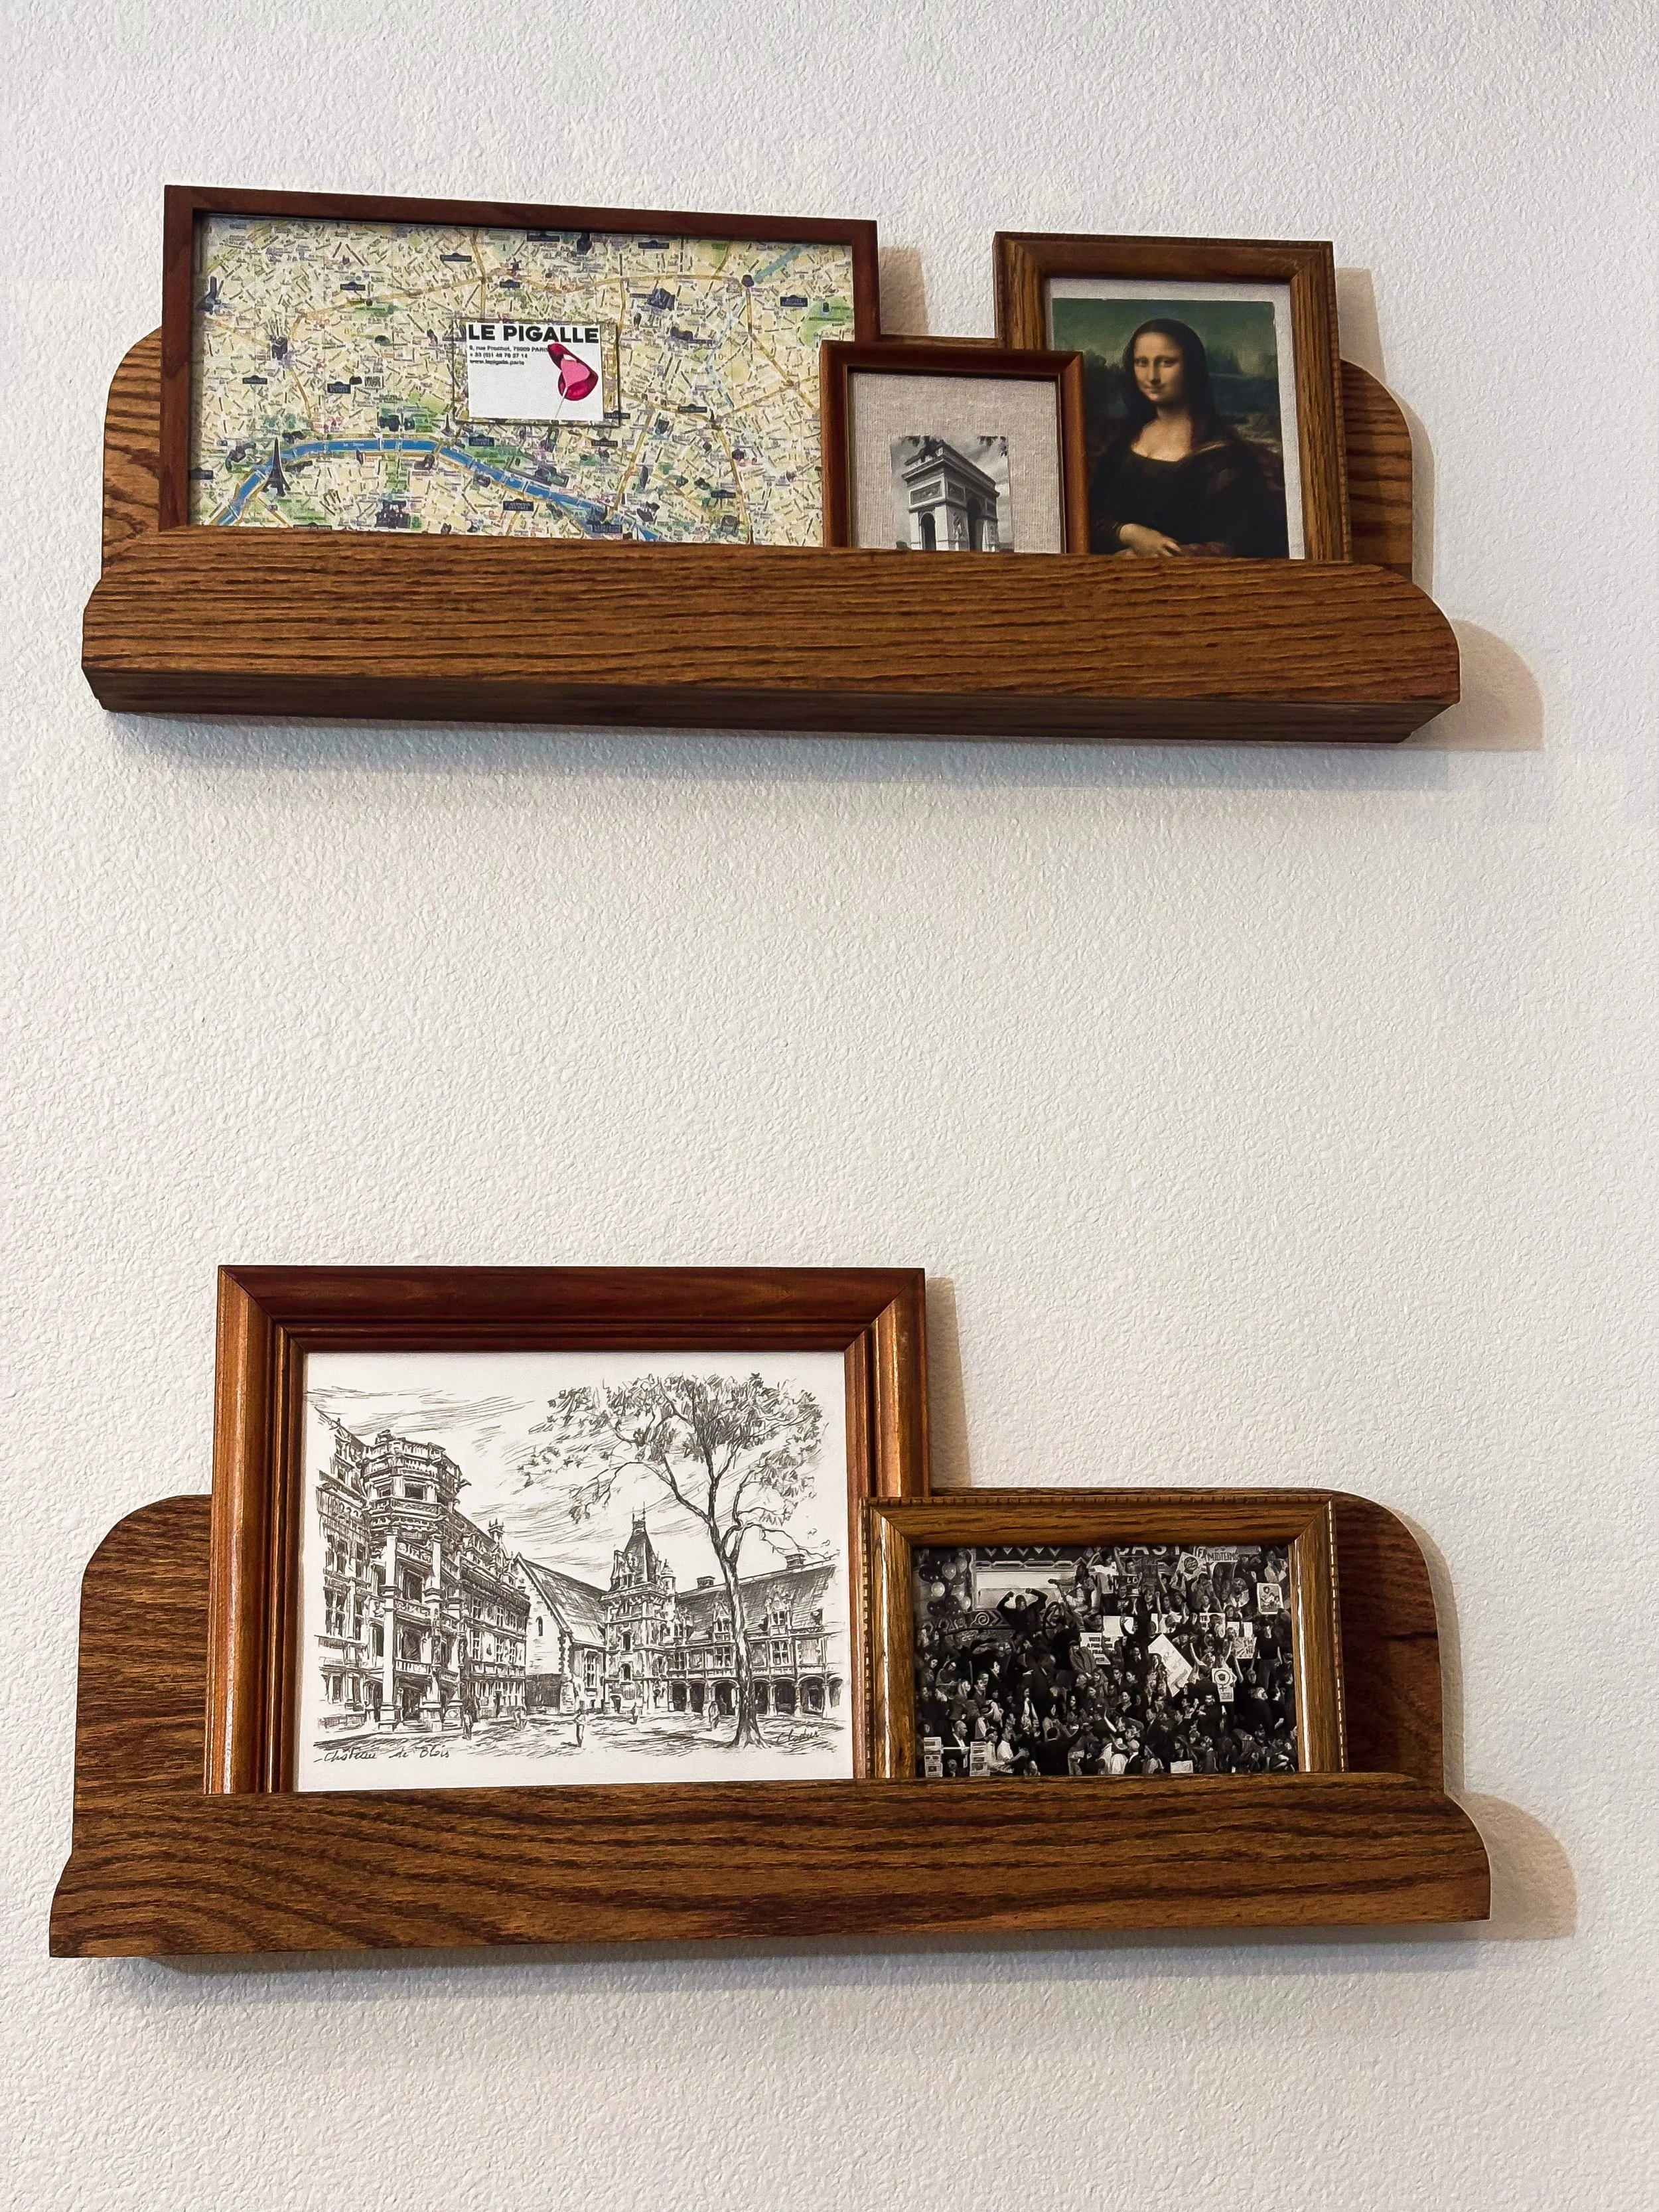
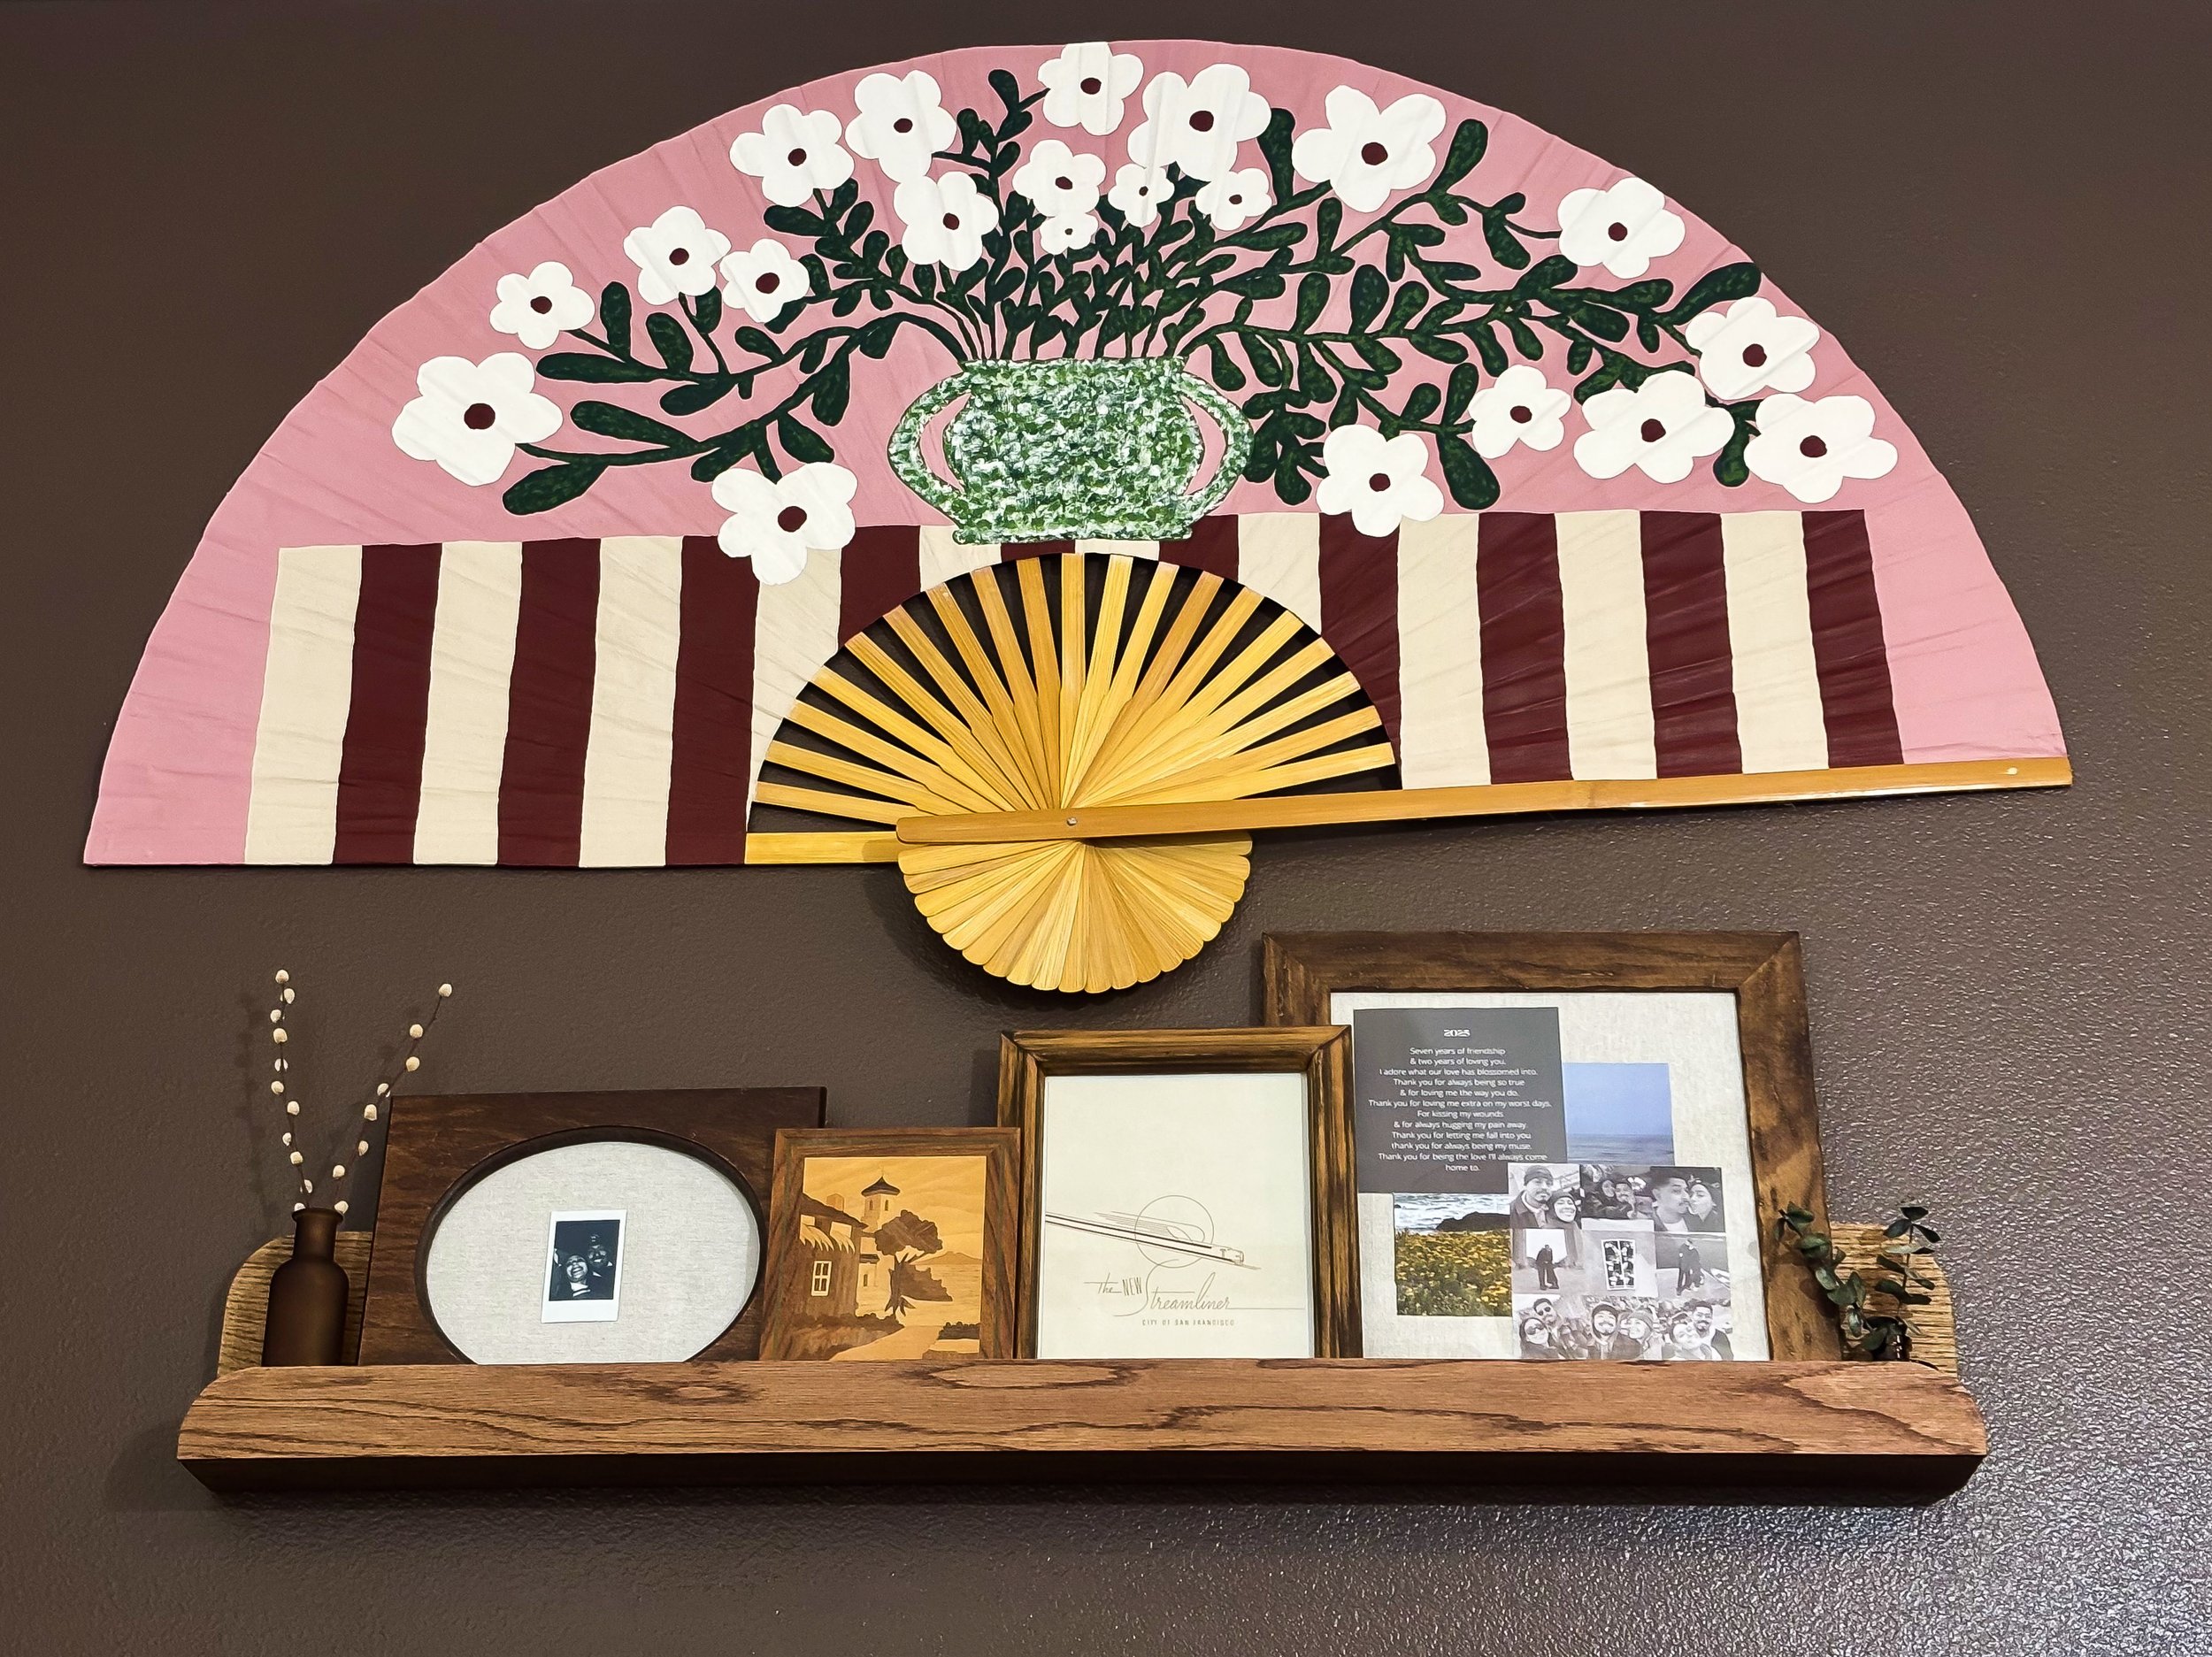
For the frames, I’ve collected them over the years from thrift stores and garage sales—each one chosen for the character it brings to our space. There’s something special about finding a piece that not only stands beautifully on its own but also complements the others, creating a collected, layered look that feels both intentional and personal.
To bring everything together, I used the same background in each frame—a simple drop cloth, which is a much more affordable alternative to traditional fabric. This small detail helps unify the collection while still allowing each piece to shine.
Inside the frames are little fragments of our story—ticket stubs, postcards, maps, and bits of artwork gathered from different places we’ve been. Each one holds a memory, a moment, a feeling. Displaying them this way turns those experiences into something we can see every day—a visual reminder of the life we’ve built and the memories we continue to create together.
To see how everything came together from start to finish, you can watch the full process over on my YouTube channel.
I walk through each step of building the shelves, styling the frames, and bringing the entire space to life. It’s one thing to see the final result, but getting to watch it all unfold makes it even more meaningful.
Picture Ledge Shelves + Styling Meaningful Frames | Living Room Makeover: https://youtu.be/de8dGgUSs00