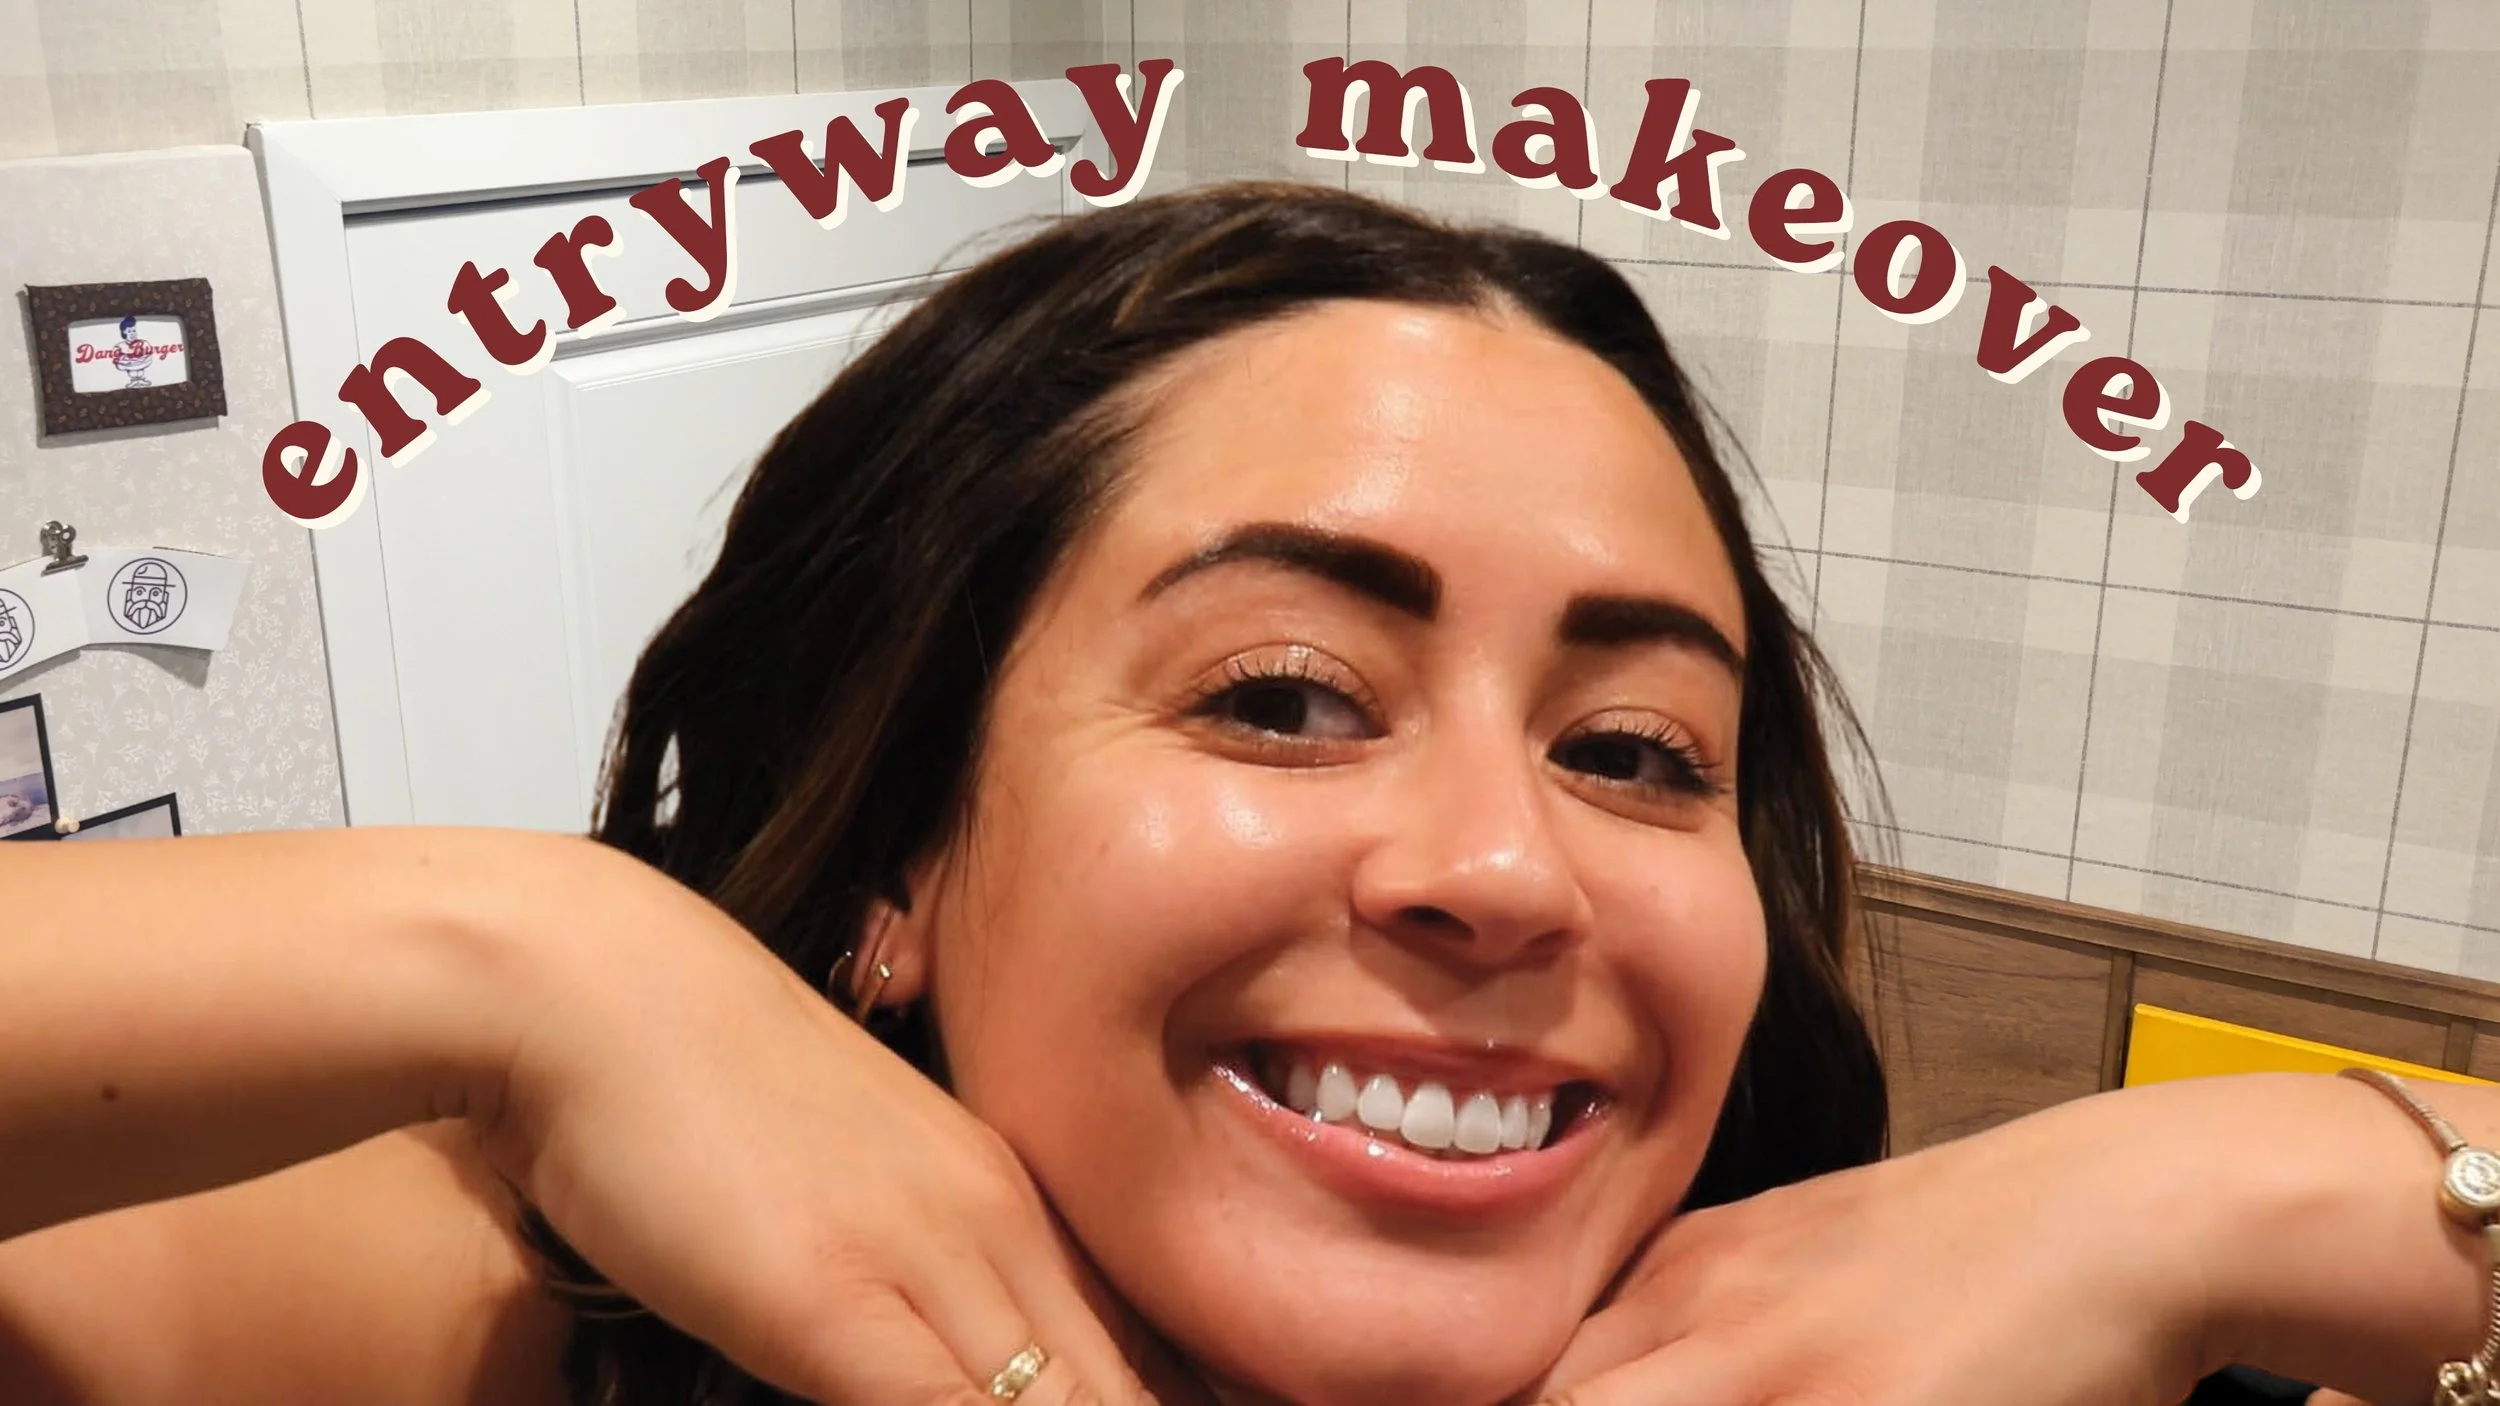
Rental-Friendly Entryway Makeover: How I Created a Warm and Welcoming Entrance in Our Apartment
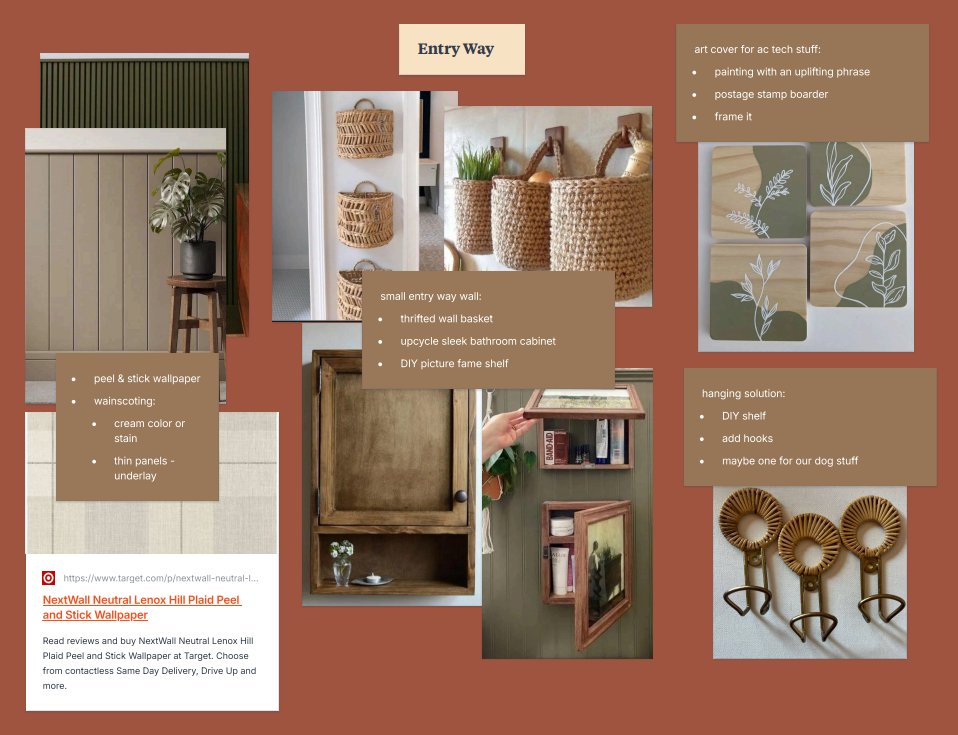
One of the biggest challenges of living in an open-concept apartment is creating defined spaces that feel intentional and inviting. Our entryway was essentially a blank white wall that blended into the rest of our living space, and I wanted to find a way to give it more character while maintaining a renter-friendly approach.
After some planning, I decided to create a custom feature wall using a combination of board and batten detailing on the lower half and peel-and-stick wallpaper on the upper half. The result completely transformed the space and made our entryway feel warm, welcoming, and thoughtfully designed.
Before the Makeover
Like many rental apartments, our walls were plain white and lacked architectural interest. Because our entryway opens directly into the rest of our home, it didn't feel like a separate space. I wanted to create visual division without adding permanent structures or making changes that would be difficult to reverse when we eventually move.
Materials Used
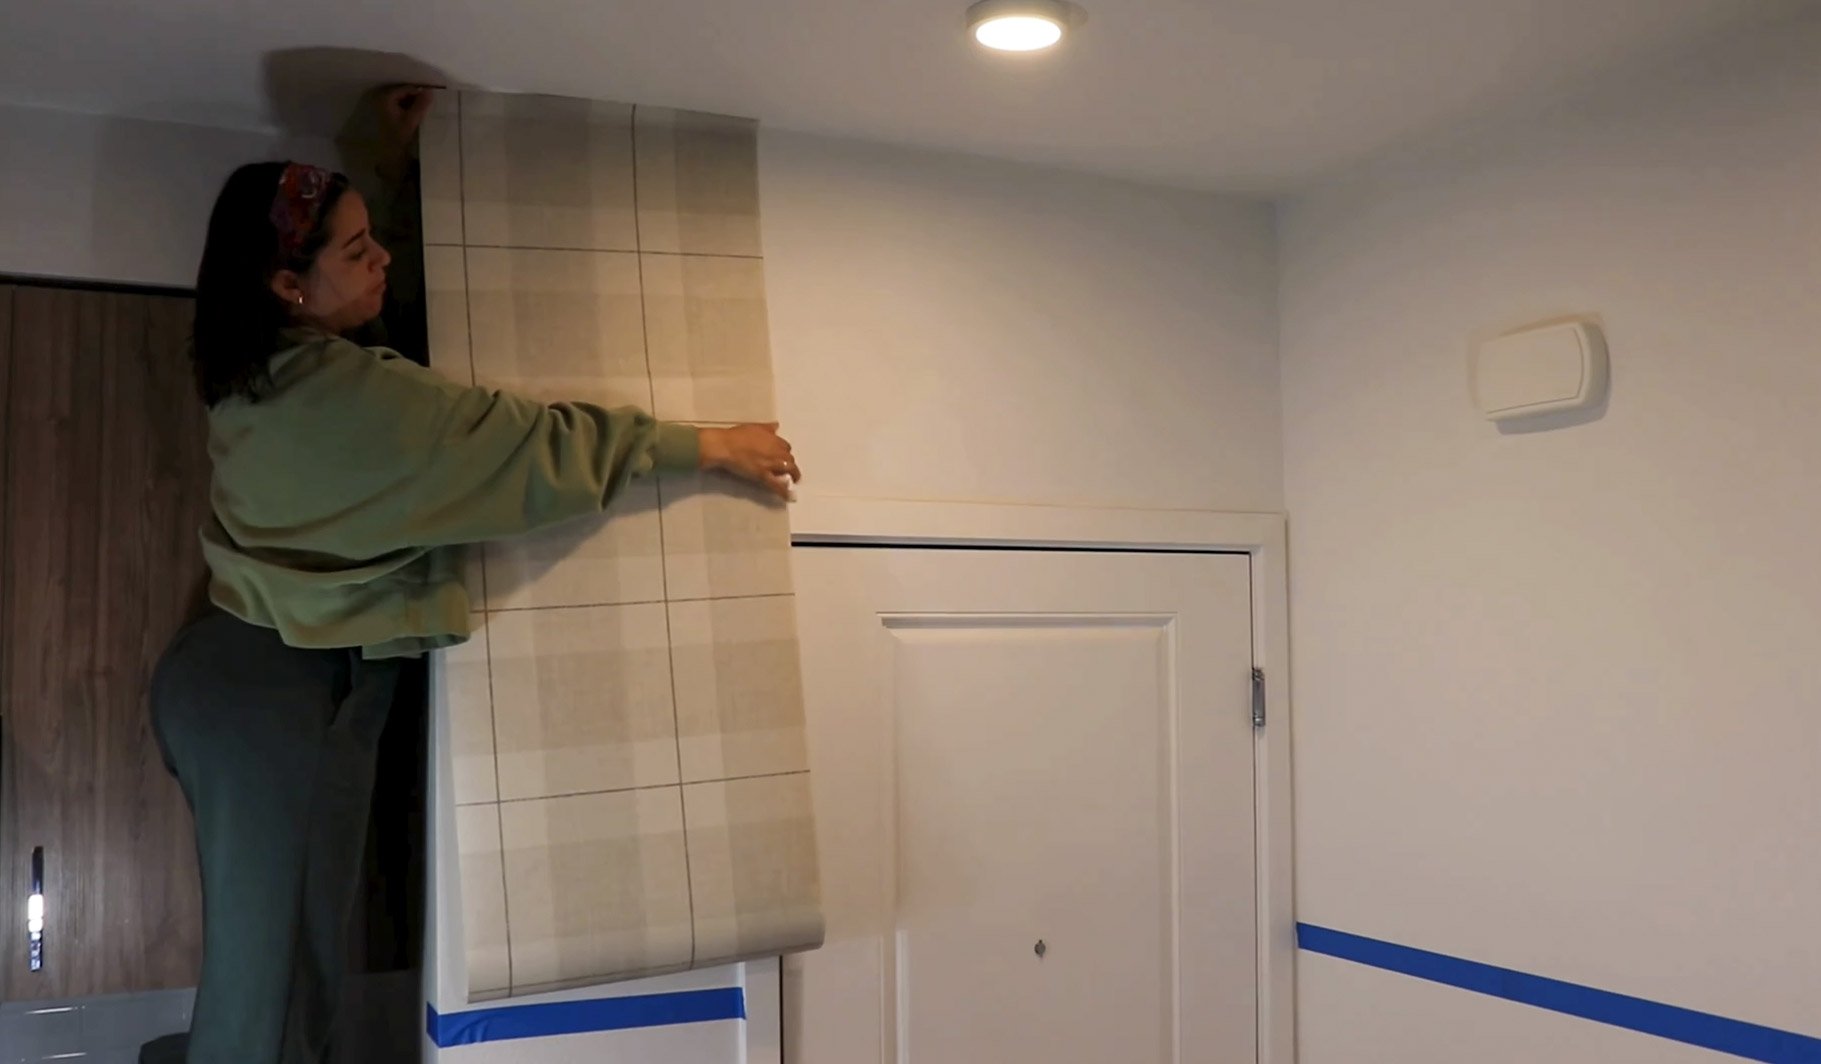
underlay wood panels
peel-and-stick wallpaper
command velcro strips
wood glue
painter's tape
brad nailer & brad nails
hand saw
sand paper
trim pieces
stain
One of my favorite materials for this project was the underlay wood. It's incredibly thin, lightweight, and easy to cut, making it perfect for a DIY feature wall.
Adding Peel-and-Stick Wallpaper
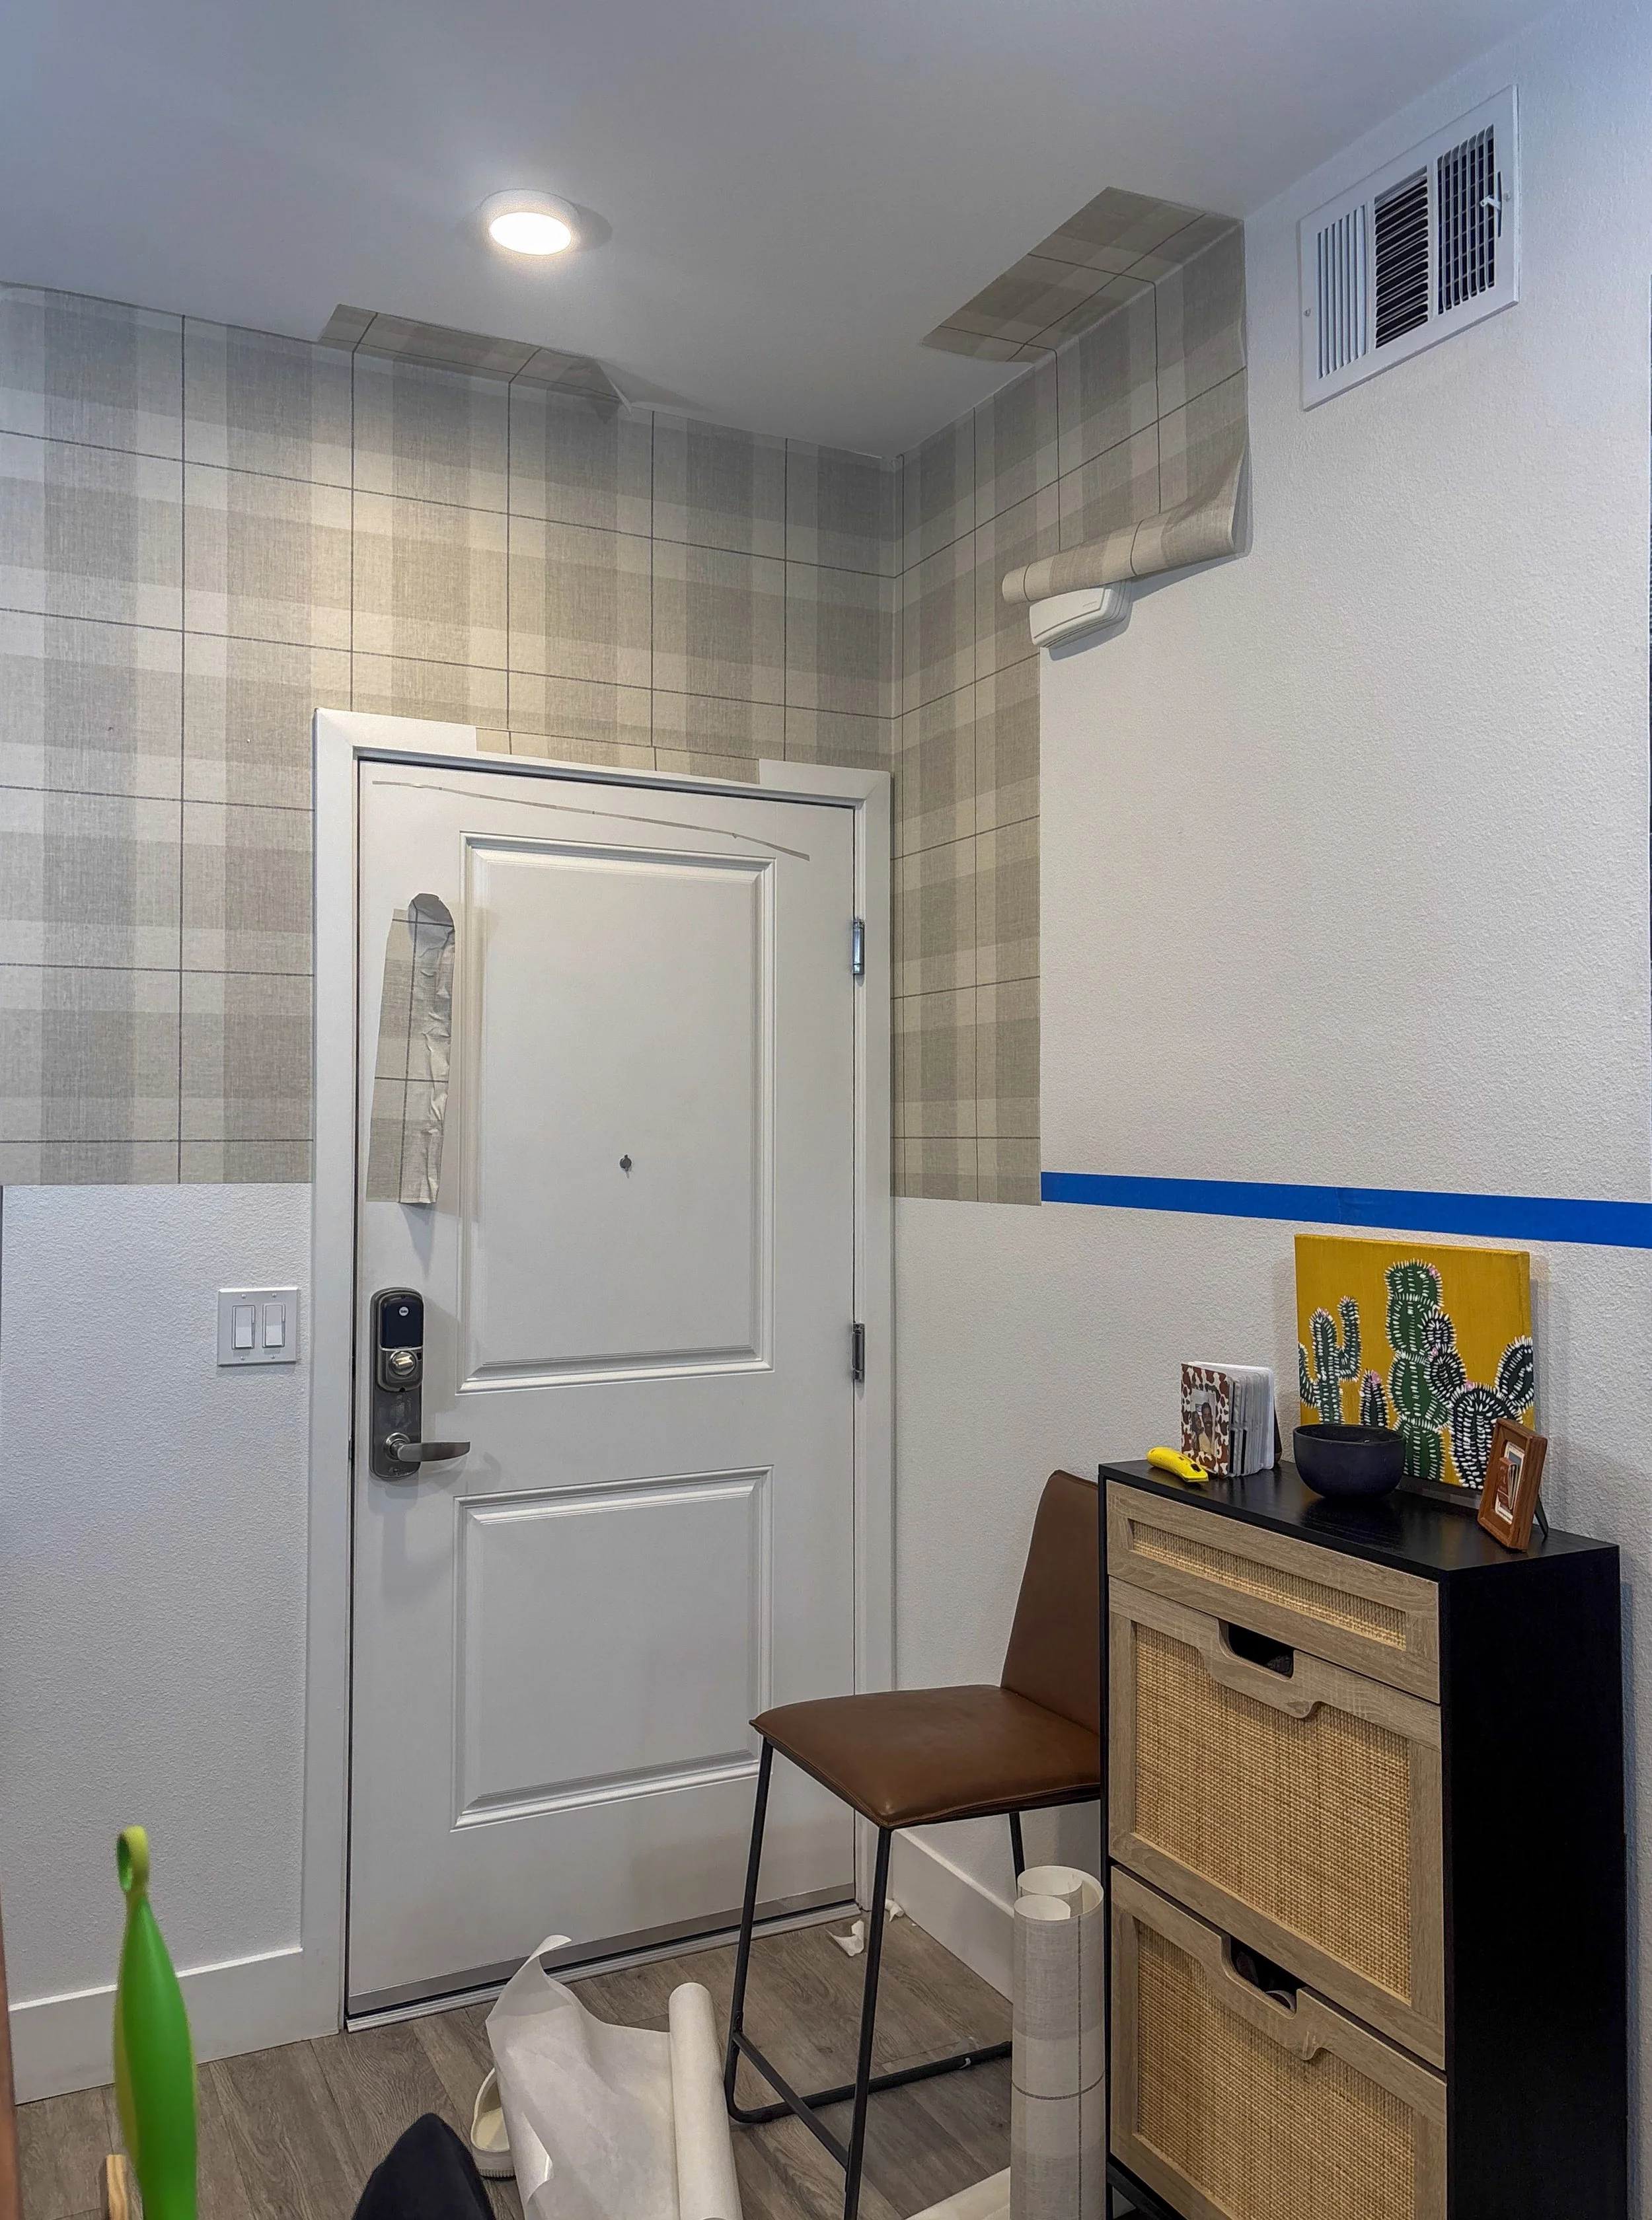
Before starting the lower portion of the wall, I installed peel-and-stick wallpaper on the upper half.
This was one of the most important steps in the project because the wallpaper has a line heavy pattern, which means the smallest imperfections would be noticeable. Since walls are rarely perfectly straight, I took my time to ensure each panel was aligned as accurately as possible. Working with high ceilings and since I did not have a step ladder, I used our bar-height chairs to help reach the upper sections.
When hanging each strip, I left a small amount of excess at the top and trimmed it where the wall met the ceiling for a cleaner, more finished look.
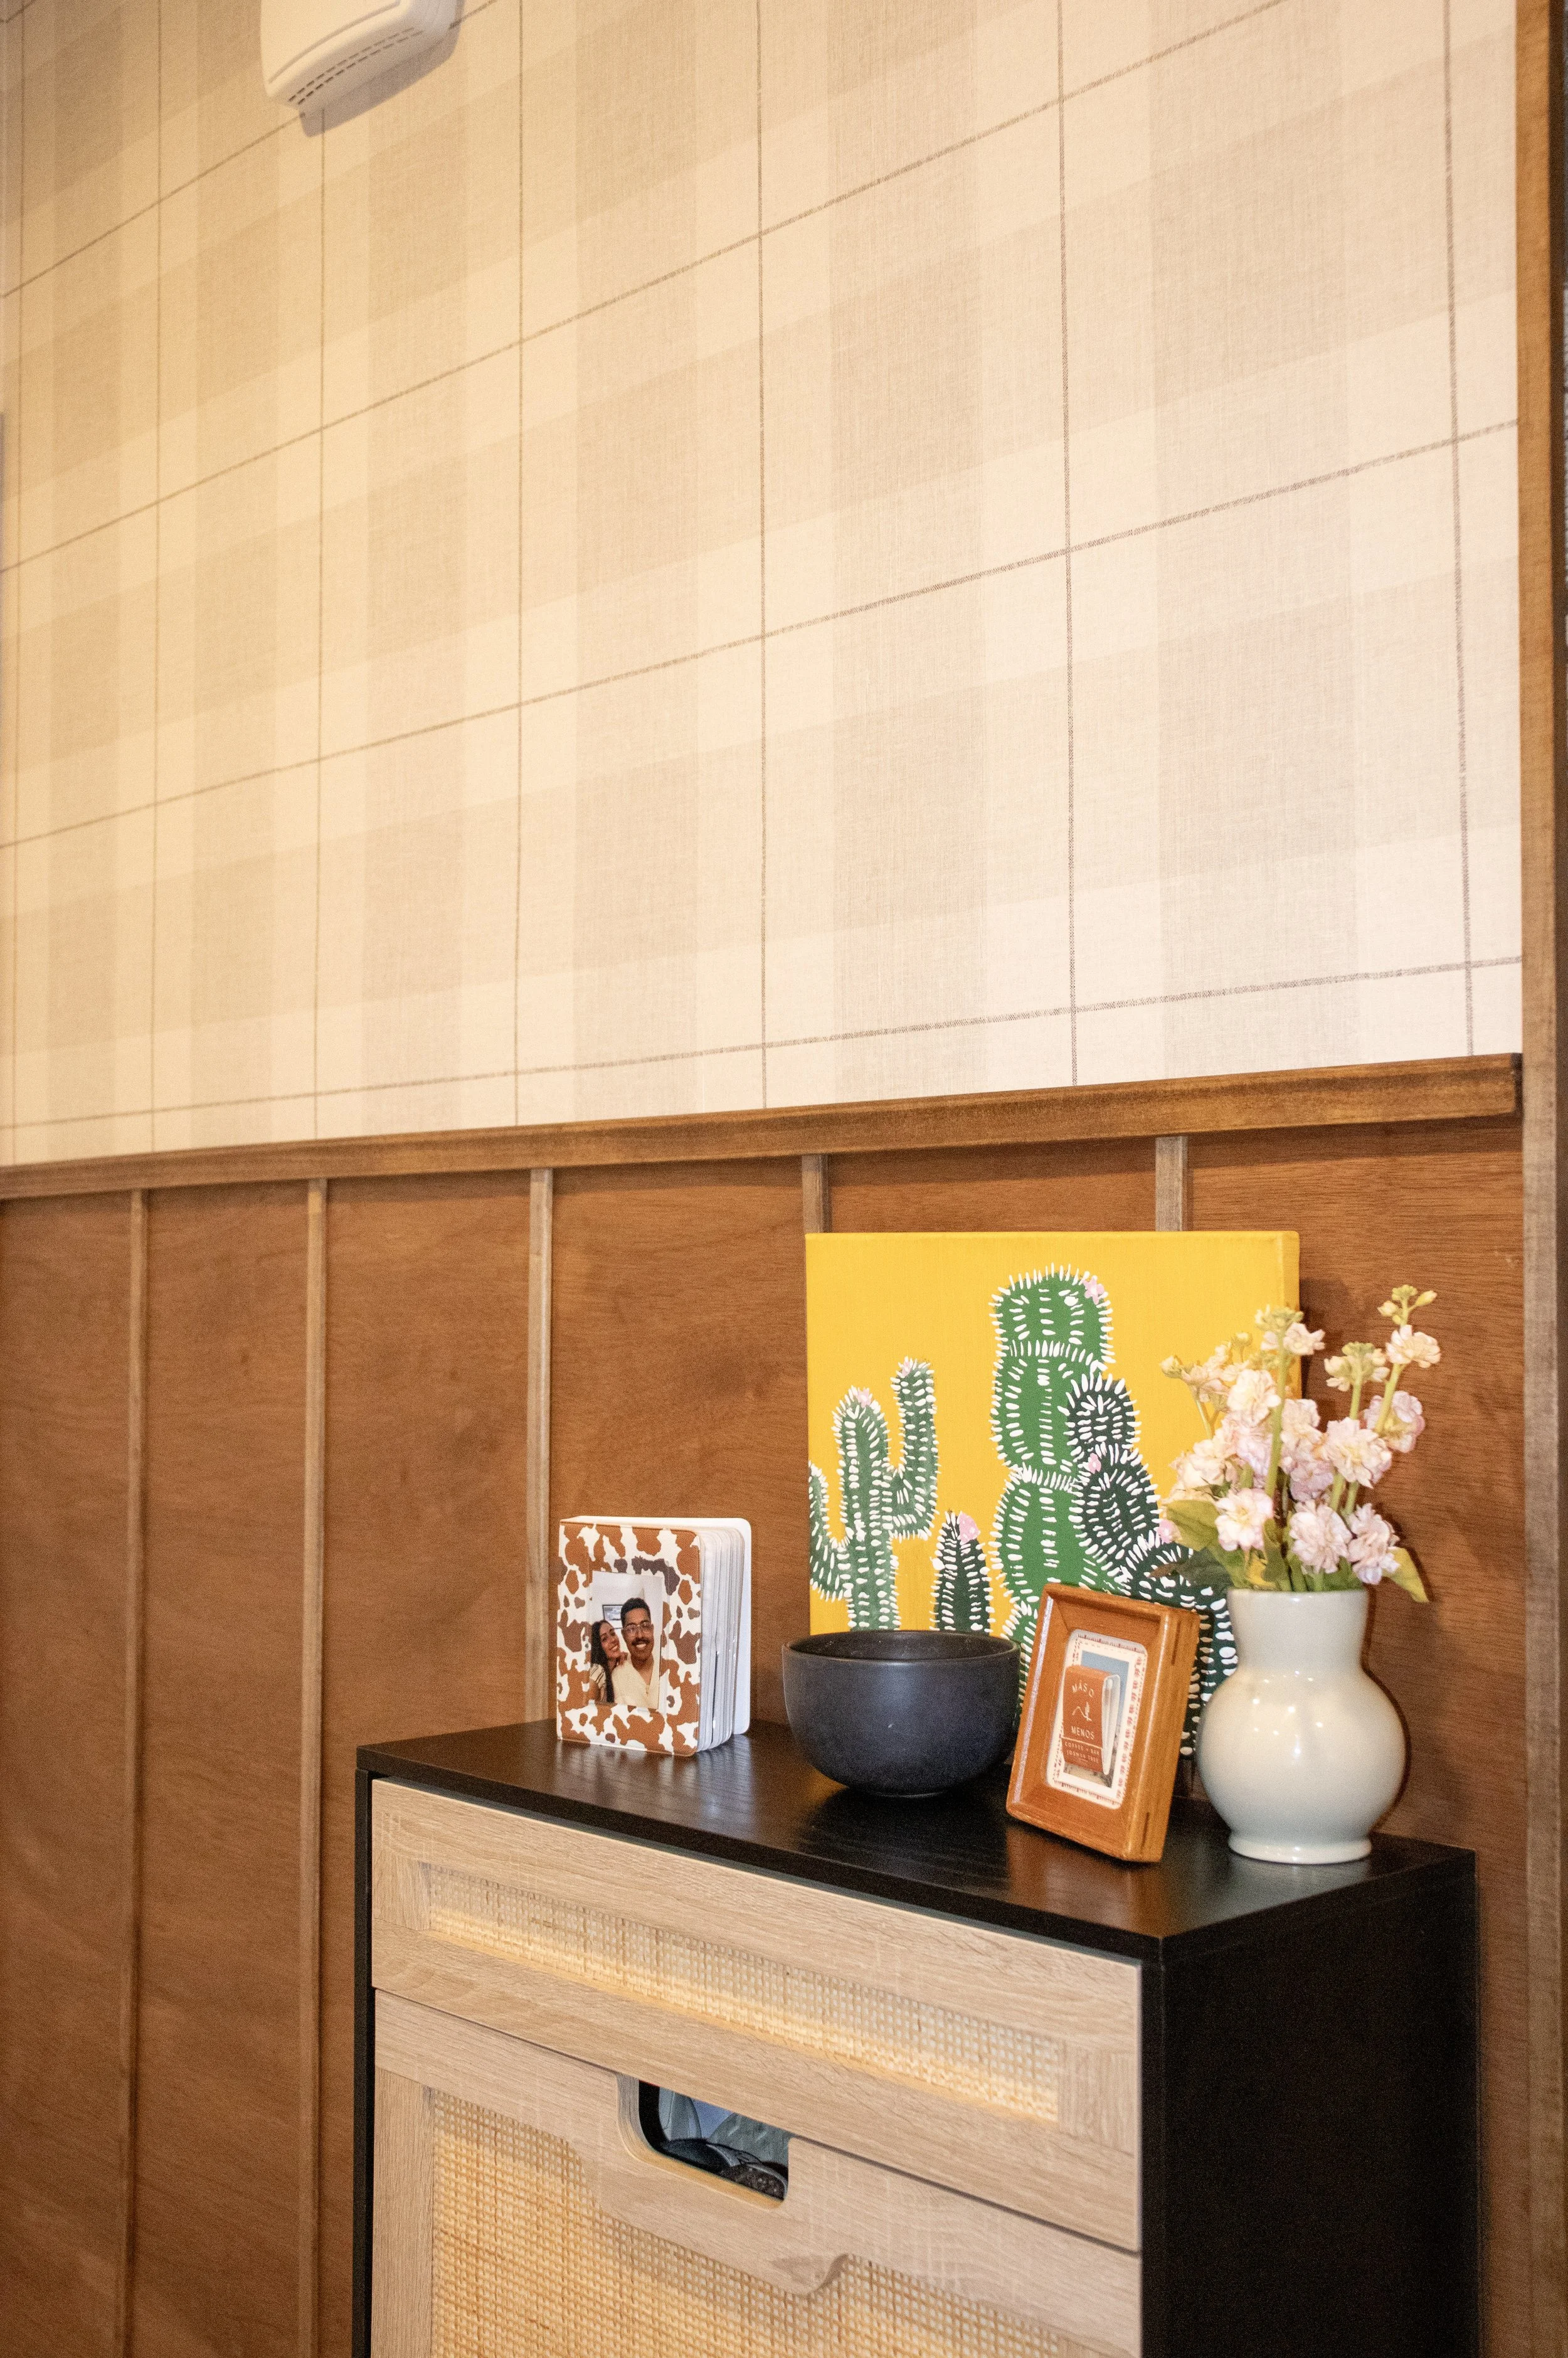
The wallpaper instantly added warmth, texture, and personality to the space. Paired with the wood detailing below, it created contrast and gave the feature wall a much more custom, built-in appearance than a standard painted wall.
Creating the Wainscoting Wall
To create the lower half of the feature wall, I cut underlayment plywood to size to cover the dimensions of the area I was working on. Since this is a rental, I wanted to minimize wall damage while still achieving a custom look.
I had the plywood cut at Home Depot, which made the process much easier. If you're transporting the materials in a smaller car, you can also have the sheets cut into more manageable sizes before leaving the store. Any seams between the panels were later concealed with the trim detailing, and I was even able to cut out the opening for the electrical outlet with a utility knife.
To keep the installation renter-friendly, I attached many of the larger pieces using 10-pound Command™ Velcro® strips. For the trim and finishing details, I used wood glue and a brad nailer. The small nail holes will be easy to fill and patch when it's time to move out, making the project easy to reverse if needed.
My Favorite Detail
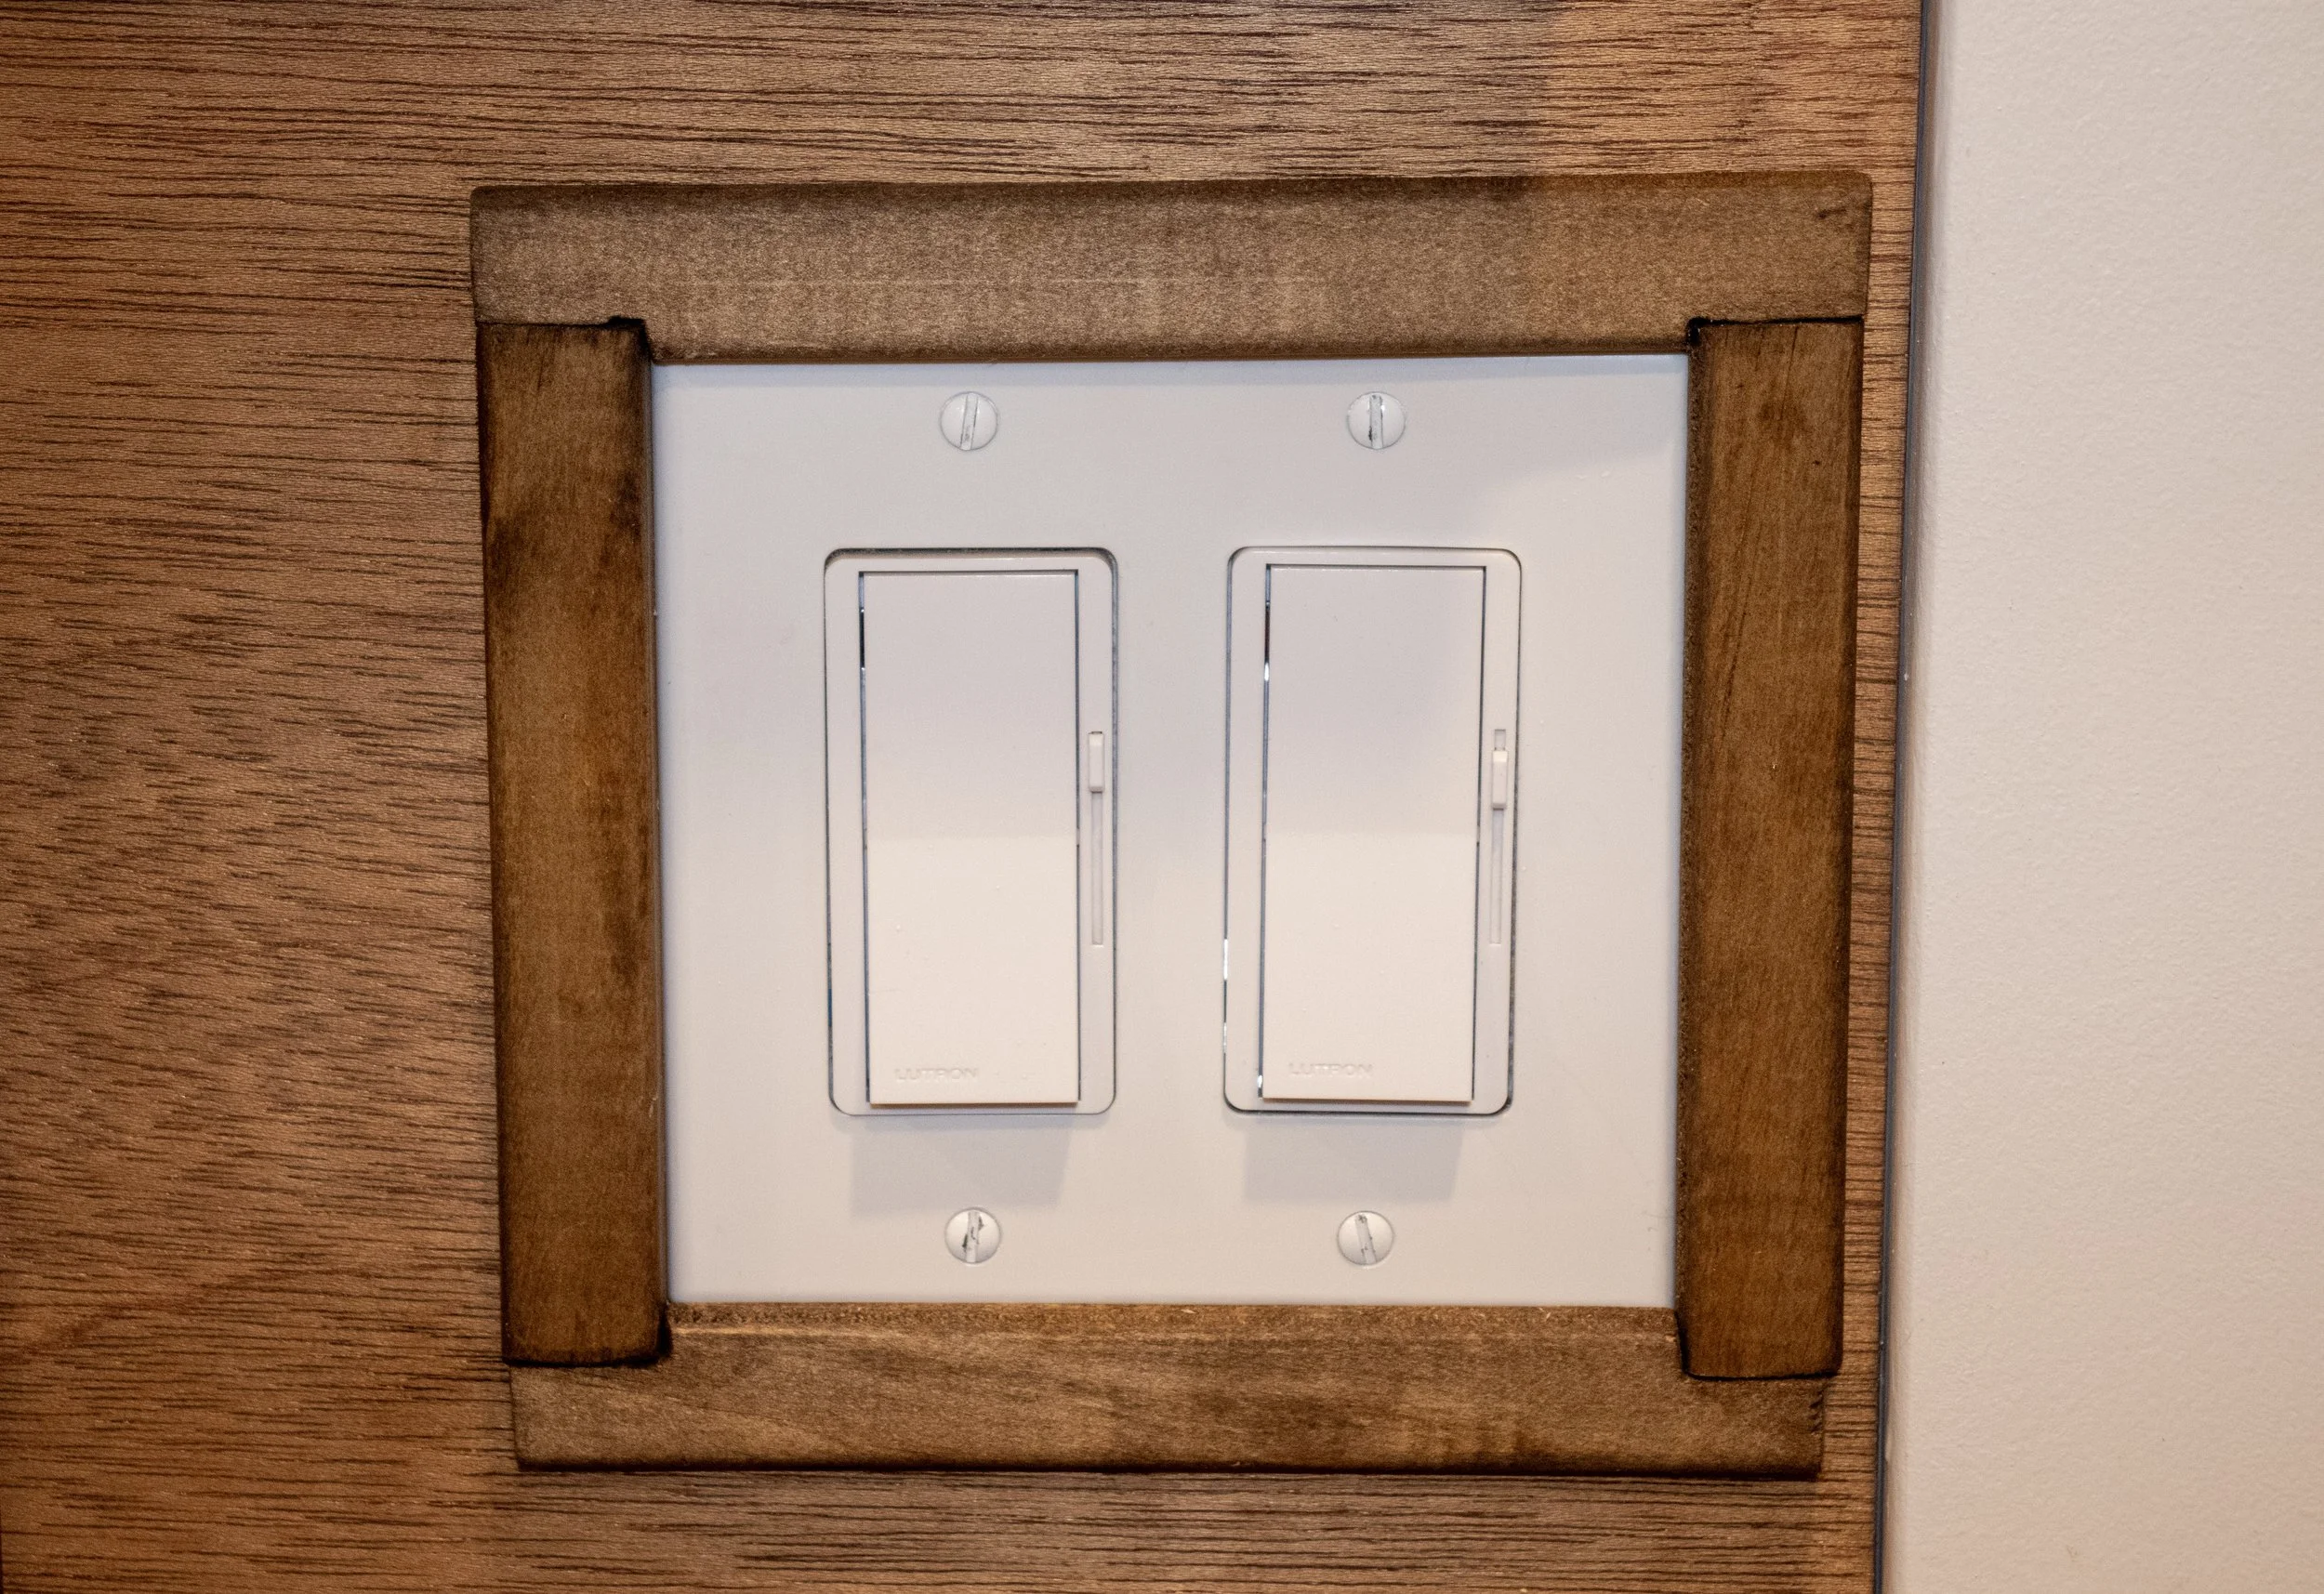
One of the finishing touches that made the biggest impact was framing the light switch with the same wood trim used throughout the lower half of the wall.
It's a small detail, but it makes the entire design feel more cohesive and intentional. Sometimes the smallest finishing touches have the biggest impact, giving a DIY project a more polished, custom-built look.
The Final Reveal
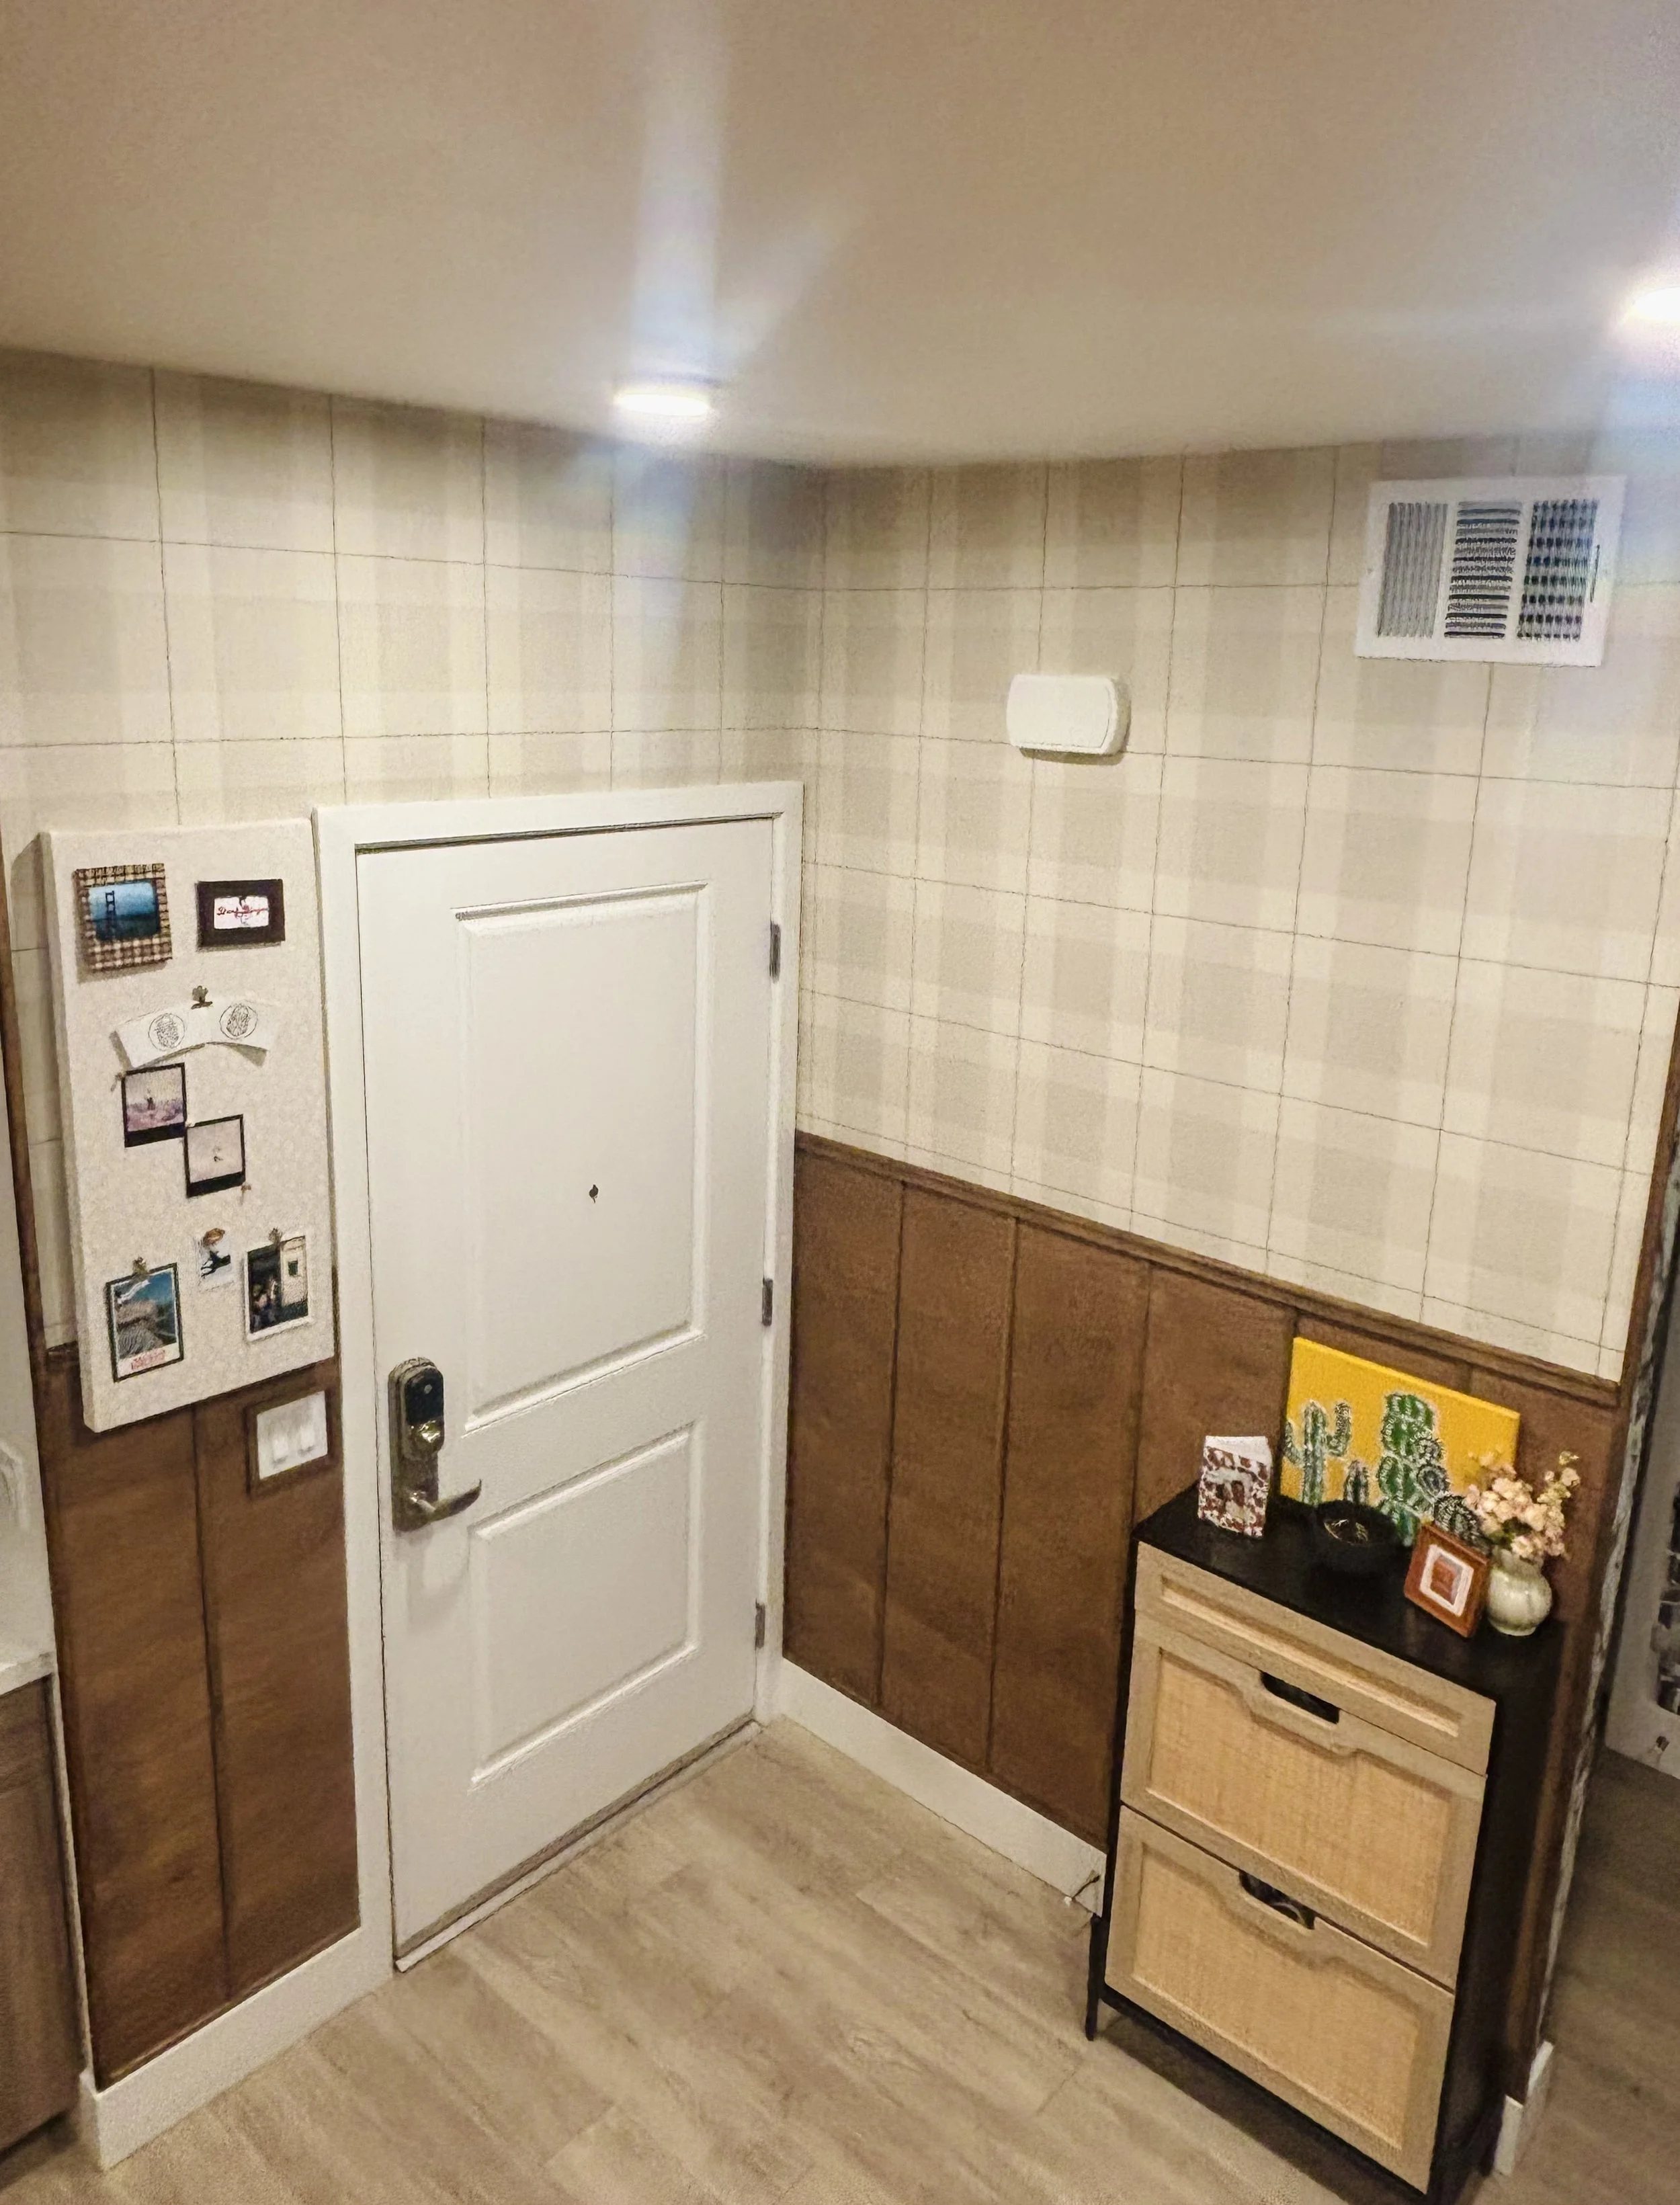
The finished entryway now feels like a true extension of our home rather than just a pass-through space. The wainscoting detailing adds architectural character, while the wallpaper brings warmth, texture, and personality.
Best of all, this project was designed with renters in mind. By using removable materials and keeping permanent wall damage to a minimum, I'll be able to restore the space with minimal effort when it's time to move.
Would I Recommend This Project?
Absolutely!
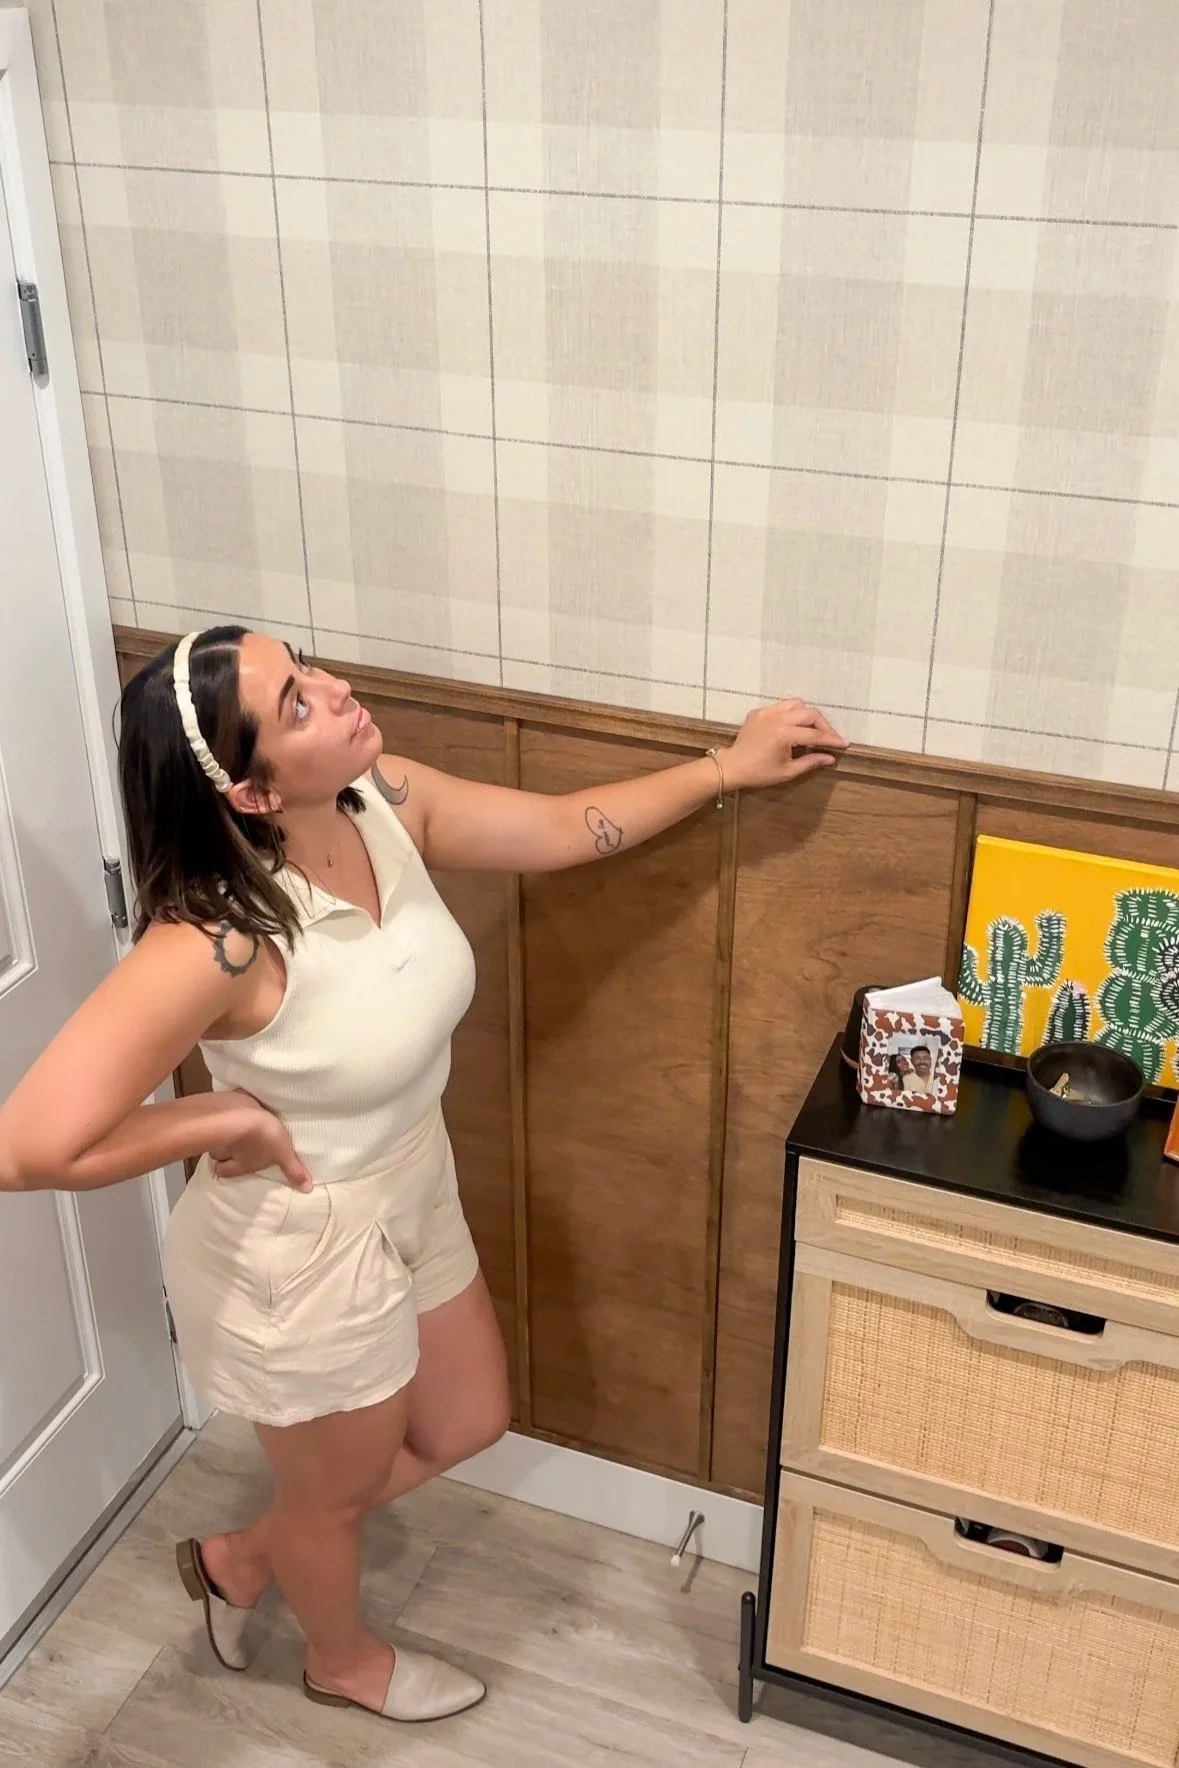
If you're looking to elevate an apartment entryway, define an open-concept space, or add custom character to a rental, this DIY project is a great option. It's budget-friendly, beginner-friendly, and creates a dramatic transformation without the need for major renovations.
Have you tackled any renter-friendly DIY projects in your home? I'd love to hear about them in the comments below!
Watch the Full Entryway Makeover
Want to see the entire transformation from start to finish?
In the full video, I walk through every step of this rental-friendly entryway makeover, including how I installed the wainscoting wall, applied the peel-and-stick wallpaper, framed out the light switch, and created a custom look without making permanent changes to our apartment.
I also share the tools and materials I used, tips for keeping the project renter-friendly, and the little details that made the biggest impact.
Watch the full makeover below and see the complete before-and-after transformation.