DIY Cooler Makeover: Give a Basic Cooler a Summer Upgrade
There’s something about summer that makes me want to add a little more personality to everything! When I came across a basic, inexpensive cooler, I knew it could use a little personality.
Instead of leaving it plain, I decided to give it a complete makeover using spray paint and painted stripes. What started as a simple store-bought cooler turned into a unique summer accessory that feels so much more fun and personal.
And the best part? You don’t need to spend a lot of money to make something ordinary feel completely new. A little paint and creativity can completely change the look of something you already have, or something you can pick up inexpensively.
From Basic to Bold
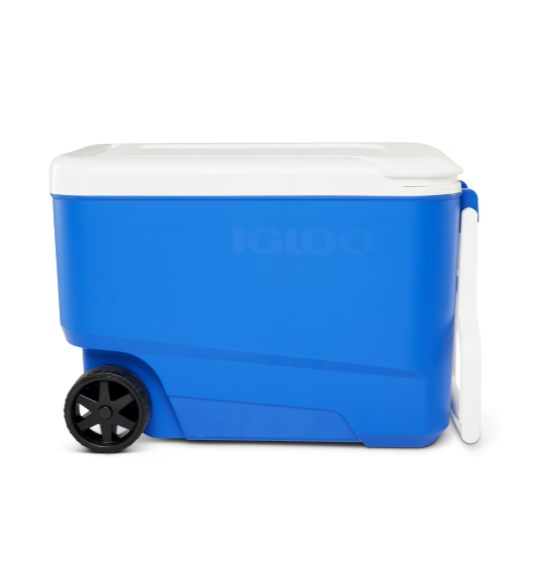
The original cooler was perfectly functional, but it was just too plain and definitely wasn’t very exciting. I wanted to turn it into something that felt more like me; something unique and easy to spot. Let’s be honest, so many coolers look alike, especially when you’re at a busy beach, pool, campground, or picnic. I thought it would be fun to create one that actually stood out from the crowd!
I wanted to make something I’d be excited to bring along to a beach day, picnic, pool day, summer get-together, or even a camping trip.
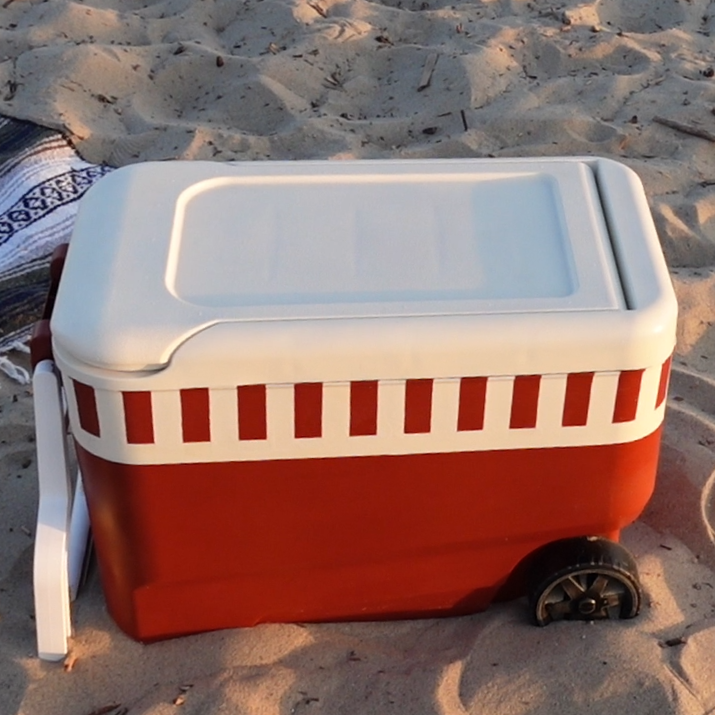
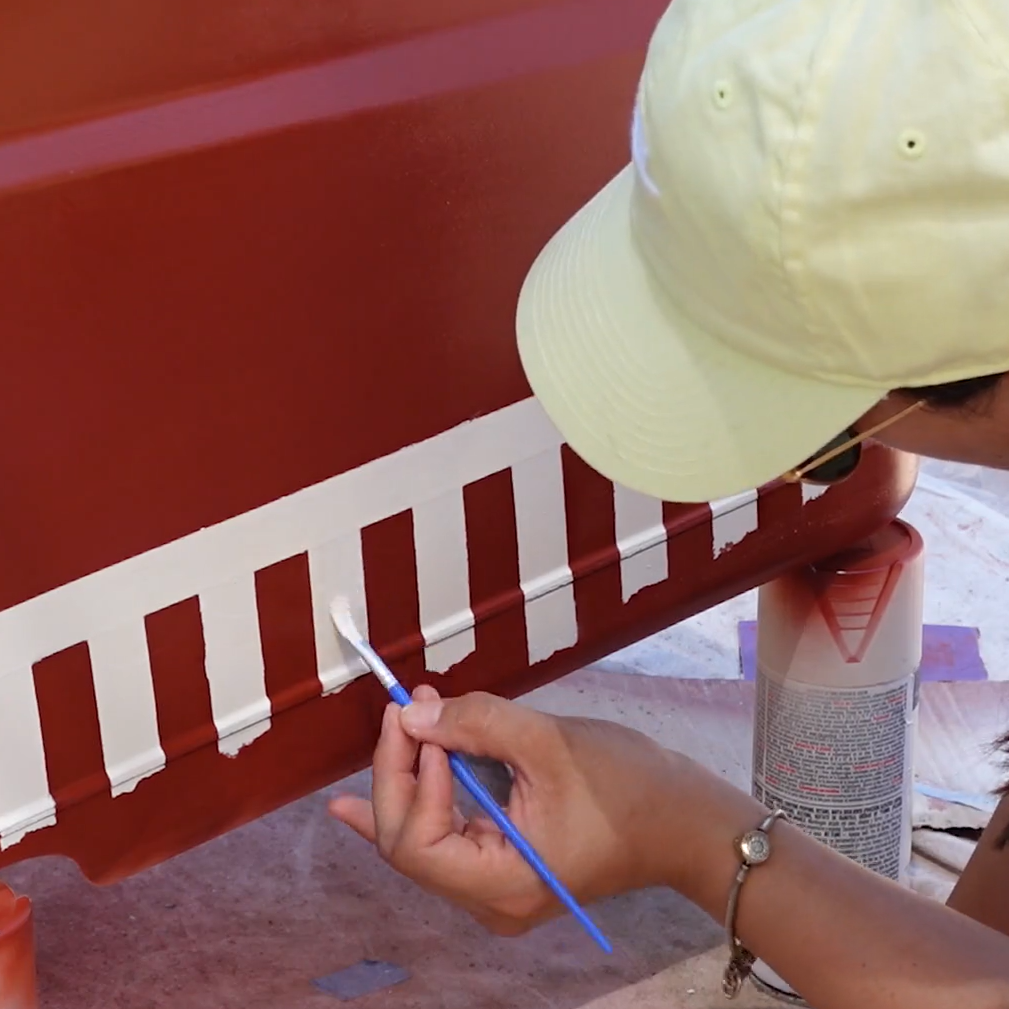
For the main color, I chose a deep red named Satin Brick by Krylon. I love how rich and warm the color turned out, especially paired with the cream-colored stripes using Rust-Oleum's Satin Heirloom White. The combination gives the cooler a completely different look while keeping the project simple and approachable.
This is one of those DIYs where a little paint can make a huge difference!
The DIY Cooler Makeover
The process was pretty simple, but like most painting projects, the prep work is an important part of getting a good finish.
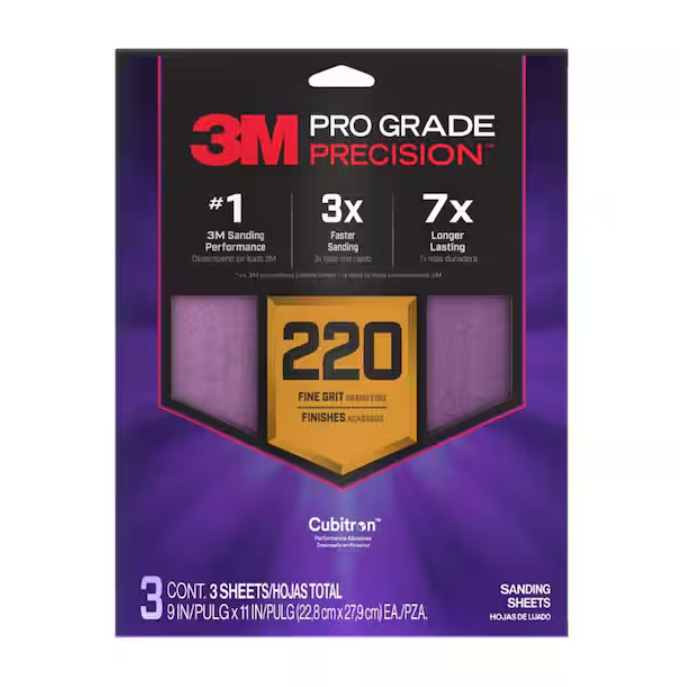
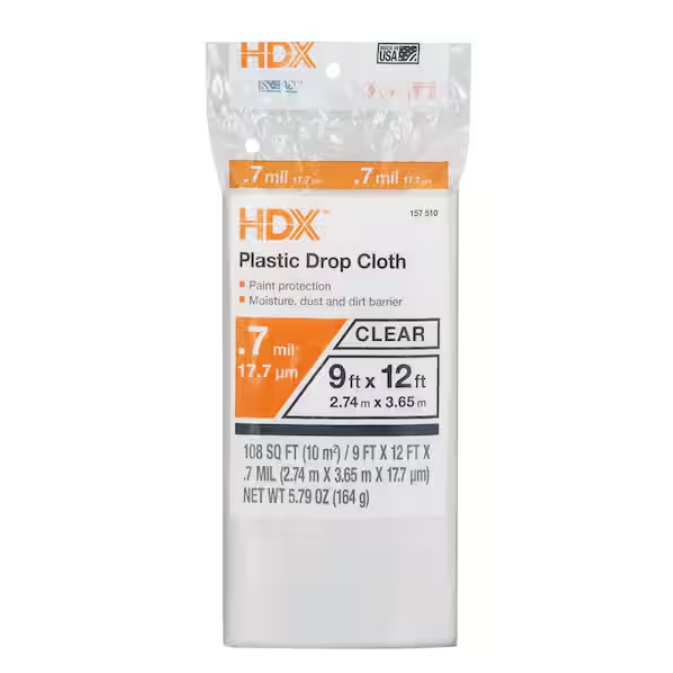
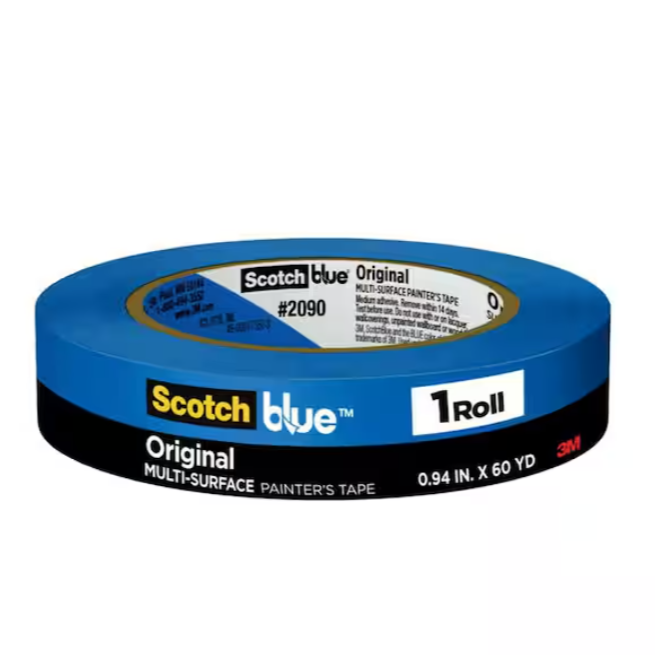
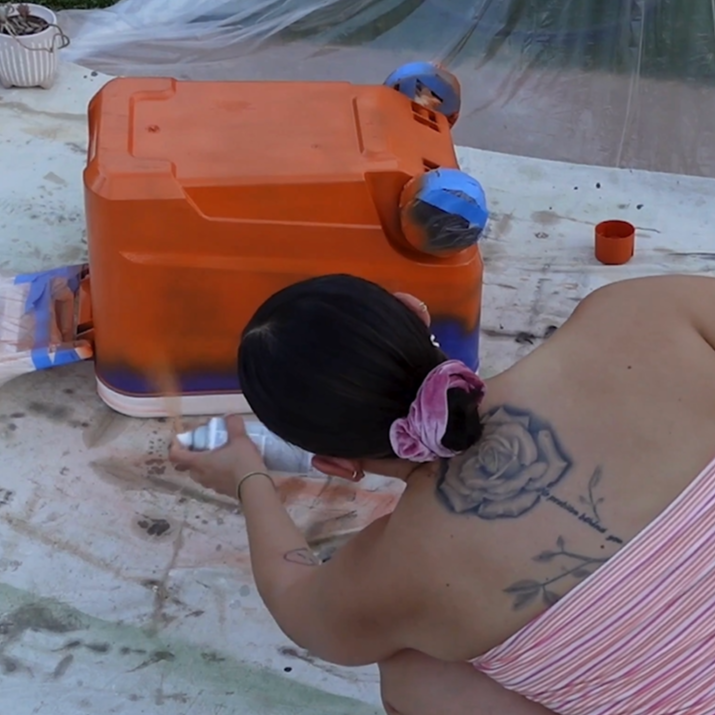
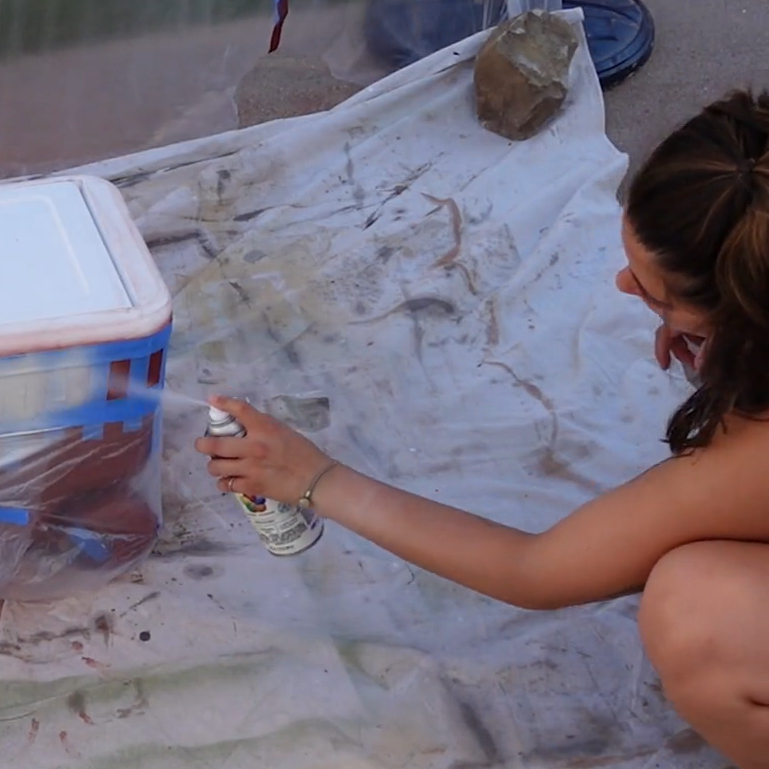
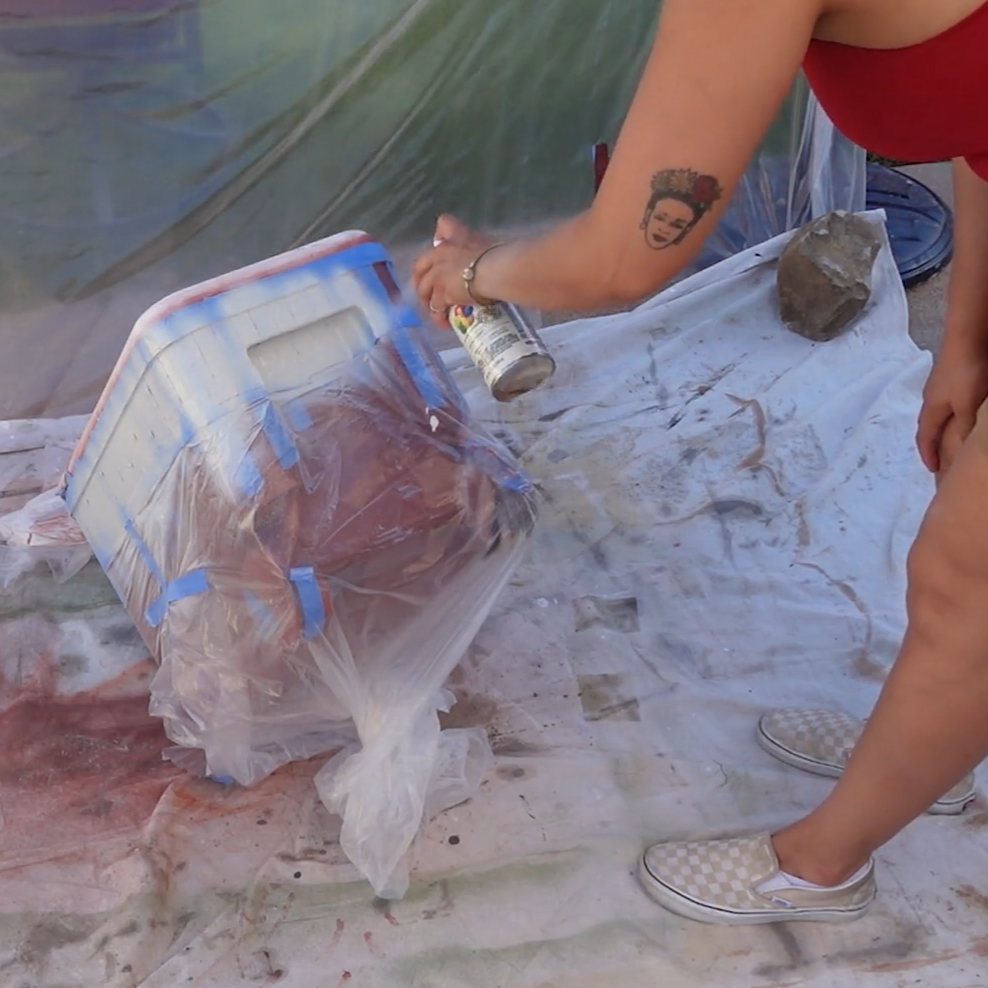
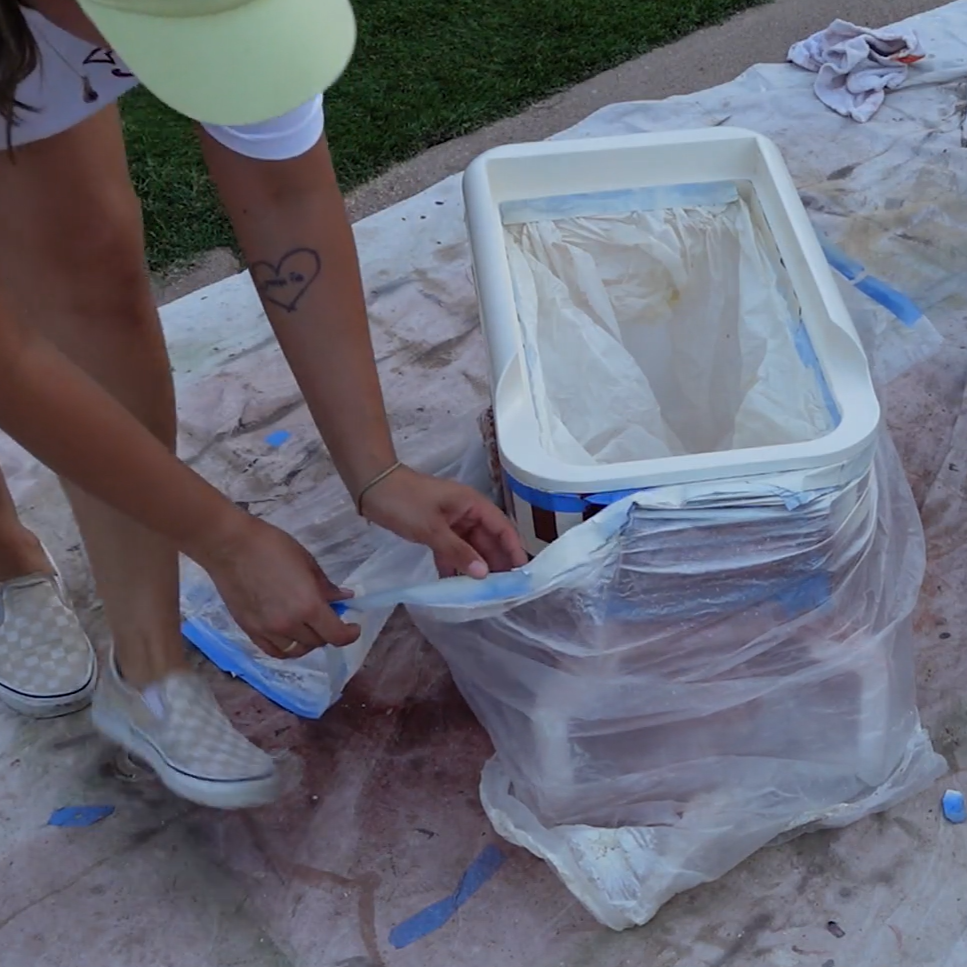
I started with the plain cooler and lightly sanded the entire exterior to help the spray paint adhere better to the surface. I then wrapped plastic around the wheels and the handle extension and taped them off so I wouldn’t get any paint on those pieces. I wanted to keep those parts original and let them keep their existing finish to avoid any future damages since those pieces will face the most ware and tear.
Once everything was taped off, I made sure the exterior was free of any dust or debris by giving it a good wipe-down with a microfiber towel. With everything clean and prepped, it was ready for paint!
Choosing the Paint Color
I actually had a different idea in mind when I first started this project. Originally, I wanted to go with more of a terracotta color, but the only option I could find in the store was Rust-Oleum's Orange, and it was much brighter than what I had envisioned.
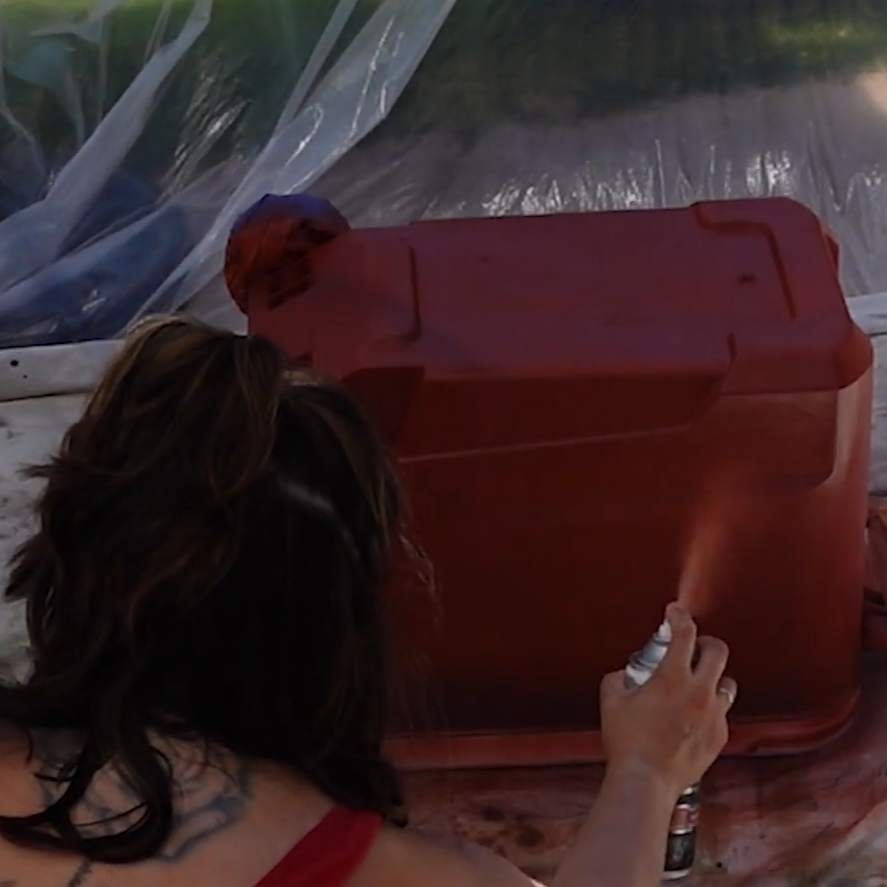
Since that particular paint was a paint-and-primer combination, I decided to make the most of it and use it as my primer coat. I applied the orange first and then went over it with Krylon's Satin Brick.
I actually ended up loving how the Satin Brick turned out. The deep, warm red was much closer to the look I had in mind and gave the cooler a rich base for the cream-colored stripes.
Once the base color was finished, I let it dry thoroughly between each coat before moving on to the next step. After the final coat was dry, it was time to prep for the stripes!
Adding the Stripes
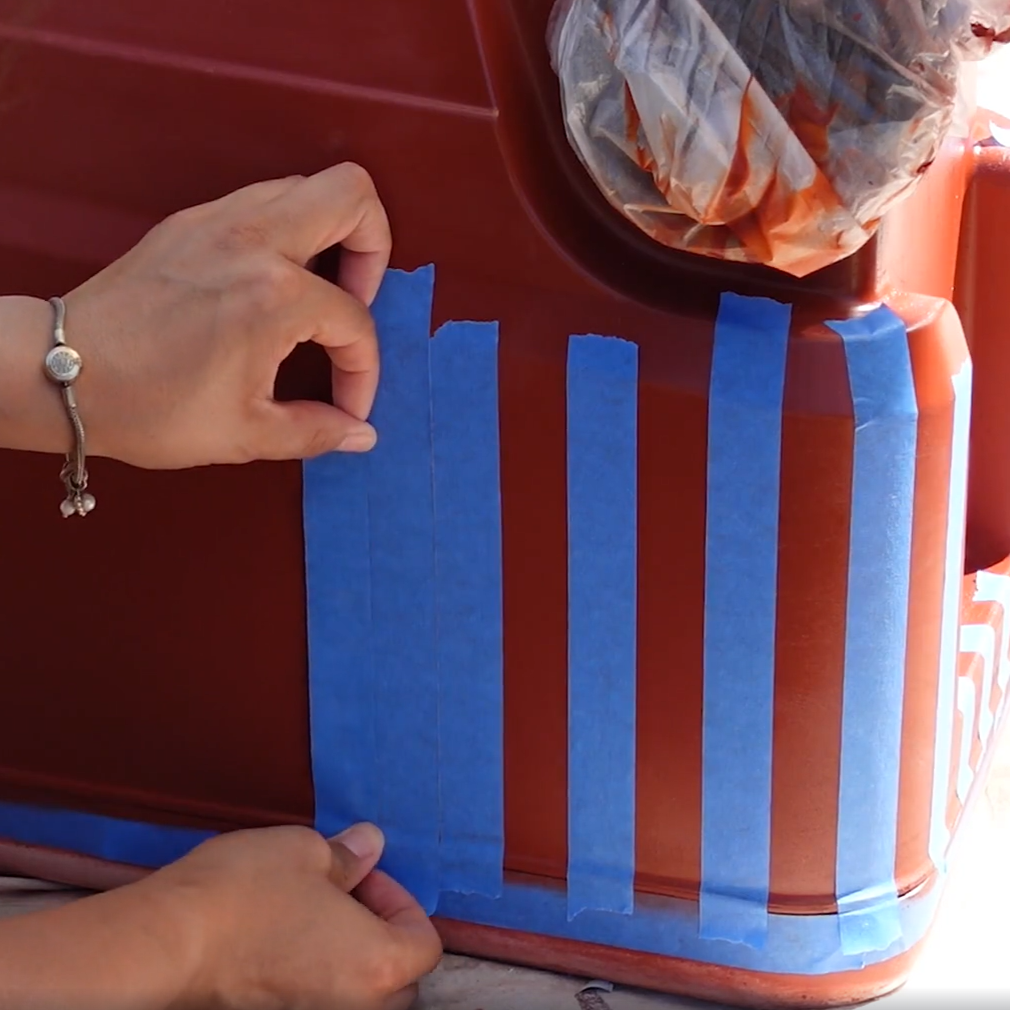
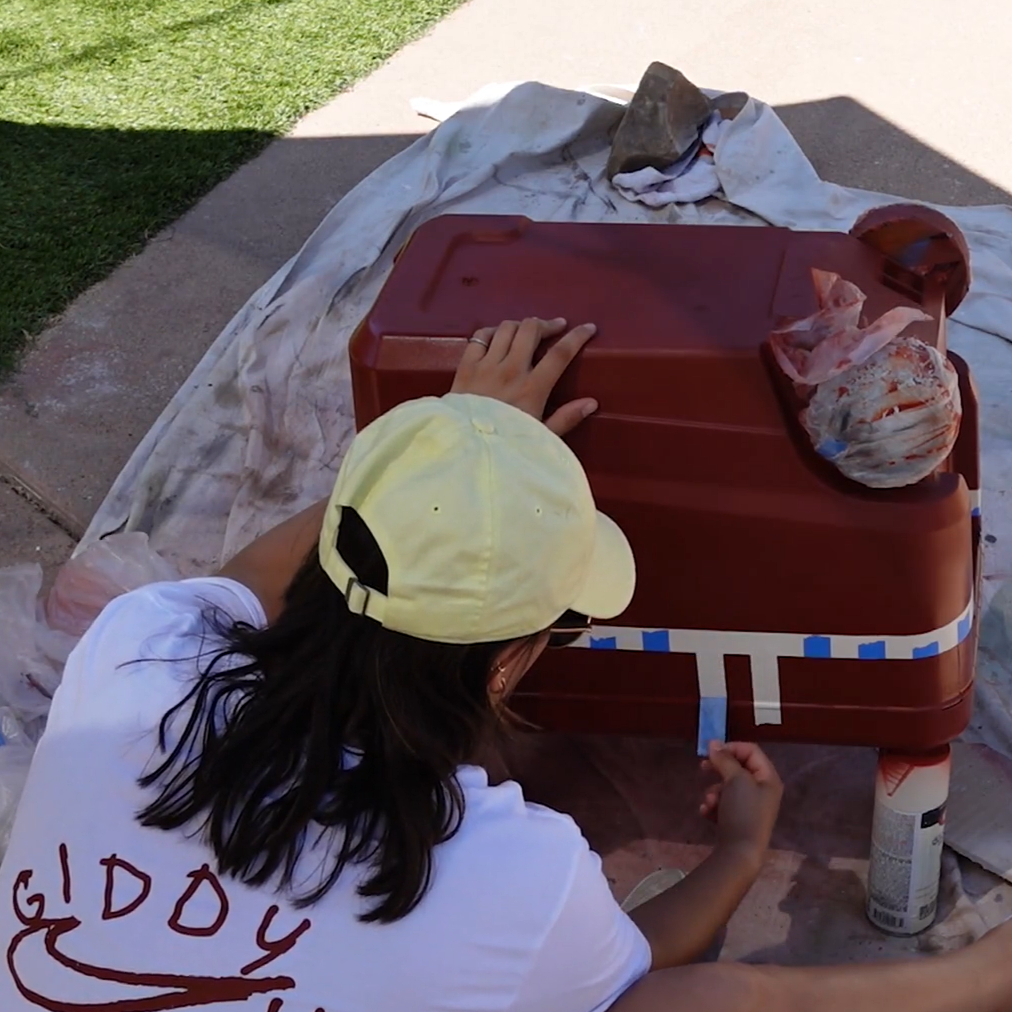
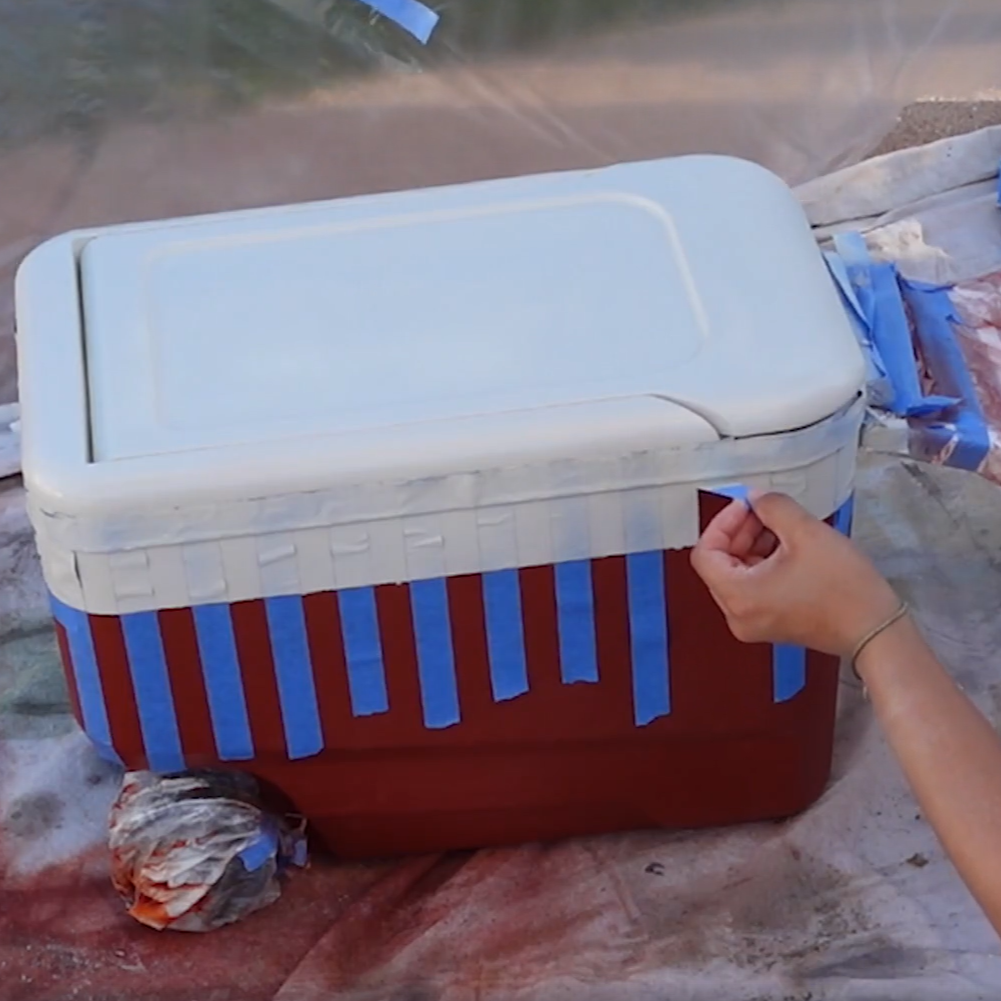
I wanted the stripes to add some contrast and personality without taking away from the bold red color. Once I had the design mapped out, I added the cream-colored stripes to create a custom look.
I did consider bringing the stripes farther down the sides, but because of the divots in the cooler and the way it tapers toward the bottom, I decided to stop them where I did. If I were working with a different cooler (one with fewer divots and straighter sides) I would have brought the stripes all the way down.
I also think a checkered design could have been really fun on this cooler, but I digress. It's funny how a DIY can evolve as you're working on it, and sometimes you end up with ideas for the next version before you've even finished the first one.
Make It Your Own
One thing I really love about a project like this is that you can make it completely your own. The basic idea stays the same, but the possibilities are endless when it comes to colors, patterns, and designs.
You could go bright and colorful, keep things neutral, try soft pastel stripes, create a color-blocked design, or even add your own fun pattern or lettering. You could also use stencils to add designs, shapes, names, or other details to make your cooler even more personalized.
There really isn’t a wrong way to do it! The goal is to take a basic cooler and turn it into something that feels like you.
The Before & After
There’s something so satisfying about a good before-and-after transformation.
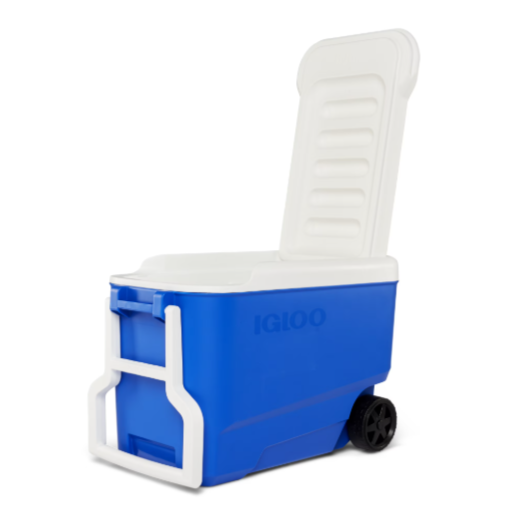
Before:
A basic, inexpensive cooler that did the job, but didn't have much personality.
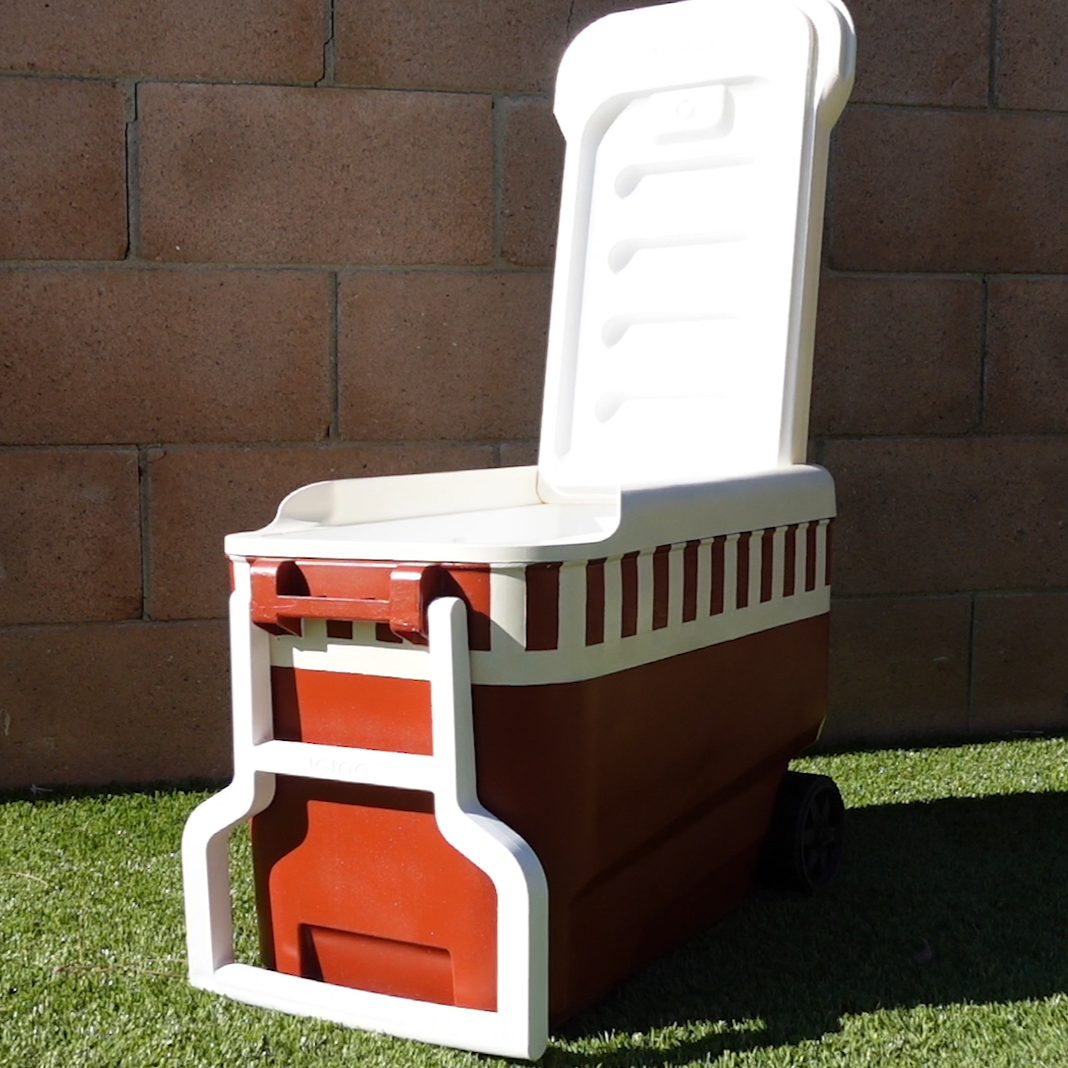
After:
A custom cooler that fits me and feels ready for any occasion.
It’s a great reminder that you don’t always have to start with something expensive or fancy.
Sometimes the most fun transformations come from the simplest things.
A Simple DIY With a Big Transformation
I think one of my favorite parts of this project is seeing the difference between the before and after.
The cooler itself didn’t change. It was still the same functional cooler, but the way it looked and felt completely changed with a little creativity.
That’s one of the reasons I love DIY projects so much. You can take something basic and turn it into something that feels intentional, unique, and much more personal.
It also makes me think twice before buying something new. Sometimes the perfect piece is already sitting in front of you; it just needs a little imagination and your creative touch.
Why I Love This DIY
One of my favorite things about DIY projects is finding ways to take something inexpensive and make it feel special.
You don’t always need to buy something brand new or spend a lot of money to get the look you want. Sometimes all it takes is a little creativity, some paint, and a willingness to look at an everyday object differently.
This cooler is a perfect example. It started as a basic item, but after a little color and creativity, it became something completely unique.
And because this project is so customizable, it would also be a fun project to make with friends, family, or even as a personalized gift.
A Few Tips Before You Start
If you’re thinking about giving your own cooler a makeover, there are a few things I’d keep in mind.
Start with a clean surface.
Make sure the outside of your cooler is clean and free from dirt, grease, or anything else that could interfere with the paint.
Take your time with the paint.
Several light coats can give you a much nicer finish than trying to cover everything with one heavy coat as the paint can thicken up, creating uneven layers on a smooth surface.
Let each layer dry.
It can be tempting to rush through the project when you’re excited to see the finished look, but giving the paint enough time to dry between steps is worth it.
Have fun with the design.
This is the part where you can really make the cooler your own. Choose colors that make you happy and don't be afraid to experiment. For adding more details like stenciling fun designs, be sure to get the right tools like a sponge or paint brush for more intricate details.
And, of course, make sure you follow the directions and recommended uses on whatever paint products you choose for your particular cooler.
Perfect for Summer
I can’t wait to take this cooler along for all kinds of summer adventures.
It would be perfect for
Beach days
Pool days
Picnics
Backyard get-togethers
Camping trips
Summer road trips
Outdoor parties
Family gatherings
And because you can customize the colors and design, you could easily make one that matches your personal style, or create one as a fun DIY gift.
I could even see this being a really fun project for a themed party or summer gathering. Imagine making several coolers in different colors for a party, or creating one with someone's favorite colors as a personalized gift!
Watch the DIY Cooler Makeover

Want to see exactly how this cooler went from basic to bold?
Check out my YouTube video to see the full transformation and watch the DIY come together from beginning to end!
Turning a plain cooler into the coolest summer accessory
I love being able to share these projects on YouTube because you can see all of the little steps that go into the transformation. Sometimes seeing the process is what gives you the confidence to try a project yourself!
Make It Your Own
If you decide to try this project, I’d love to see what you come up with!
You could switch up the main color, change the stripe colors, add more stripes, create a completely different pattern, or put your own creative spin on the design.
That’s my favorite thing about DIY. There’s no single “right” way to do things and its amazing knowing that your version of a DIY project reflects YOU.
I hope this DIY cooler makeover inspires you to look around at some of the ordinary things you already have and think about how you could give them a creative upgrade.
Sometimes the best projects are the simplest ones.
❤️
Happy DIYing!
If you make your own cooler makeover, I'd love to see it!
Tag me on Instagram @findwhatmakesyousmile so I can see your creation.
More DIY Inspiration
Looking for more creative makeovers and easy DIY projects?
Be sure to check out my other projects here on the blog and subscribe to my YouTube channel for more DIYs, creative makeovers, and unique transformations.
I’m always looking for the next ordinary thing I can turn into something a little more fun, and I hope you'll join me along the way :)