Easy Summer DIYs: The Cutest Beach Accessories to Make
There’s something about summer that keeps my creativity flowing, and its a great feeling when I can actually create so freely and make something that actually comes along for the adventure. Whether it’s a day by the water, a camping trip, or simply something to bring along on our travels, I love creating pieces that are both fun and functional.
For these DIYs, I wanted to make a couple of summer (and travel) inspired projects that could become part of the memories themselves. I especially love the idea of making something that not only serves a purpose in the moment, but can also become a little keepsake; a piece that holds onto those still moments and memories, like photographs from a favorite summer day.
I live for the results because I get a groovy, abstract tote bag that works as a cute and functional way to carry a few on-the-go essentials, but also doubles as a handy (and possibly sandy) beach game. And then there are the adorable coastal-inspired picture frames, made with air-dry clay, sand, and seashells, designed to bring a little bit of that beachy feeling home with me.
These projects are simple enough to make in an afternoon, but they add so much personality to a summer day. And I think that’s what makes these kinds of DIYs so special. They’re not just things you make; they can become part of the places you visit, the adventures you have, as well as the memories you bring home.
A Beach Tote That Doubles as a Game
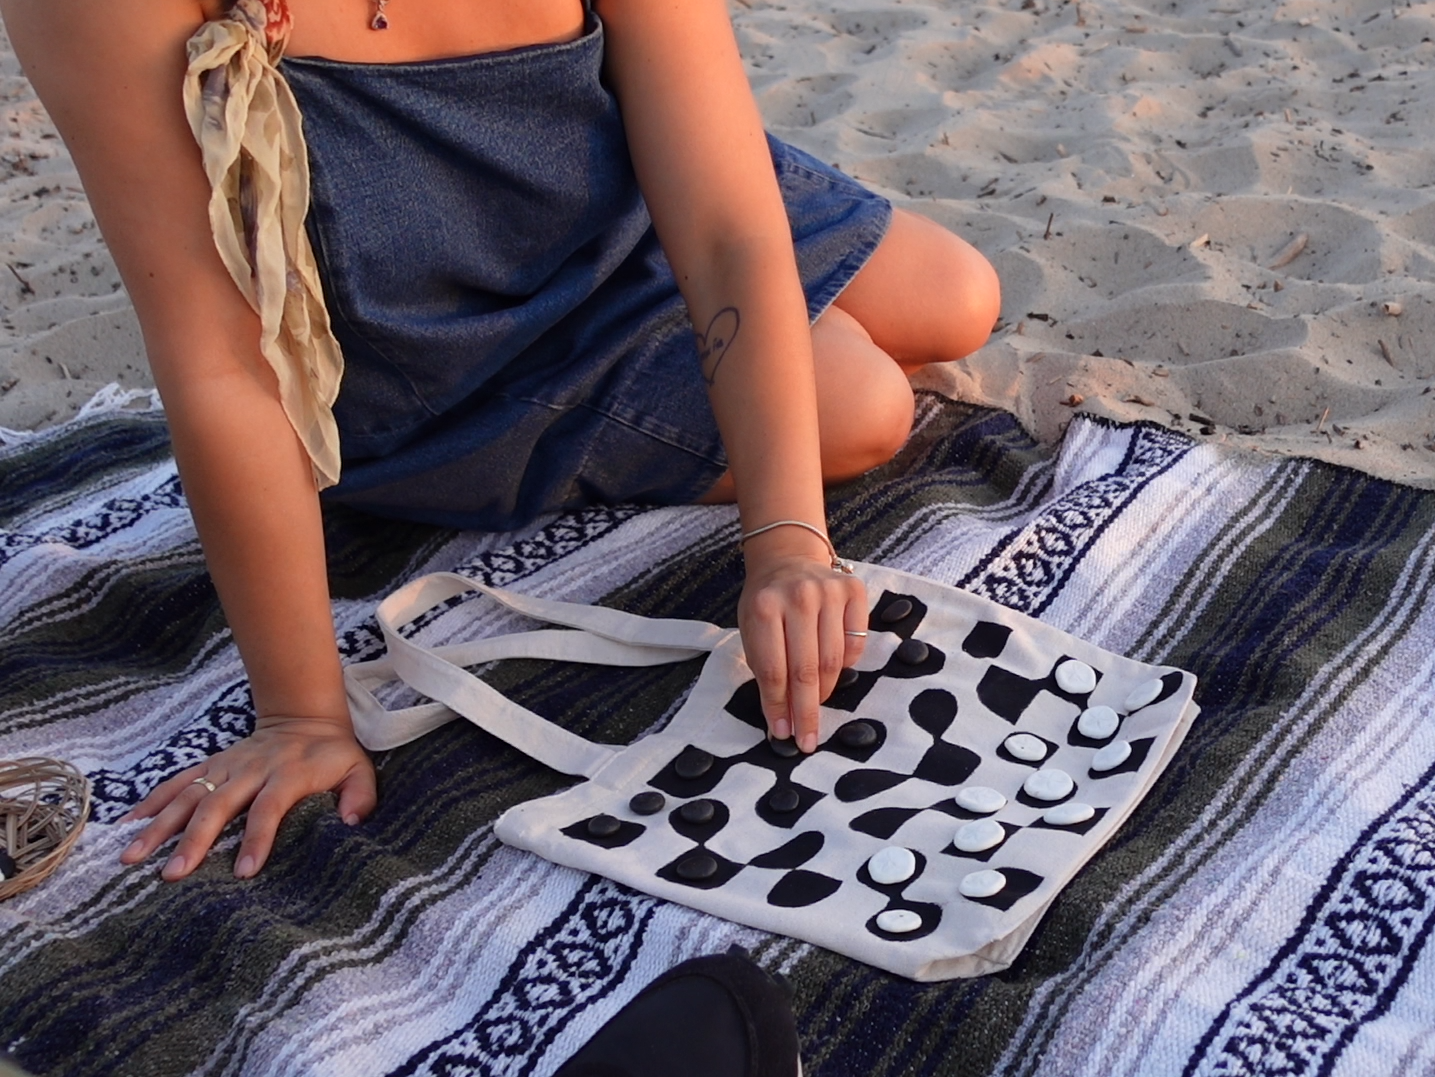
First up was the project I was probably most excited about: a checkerboard tote bag.
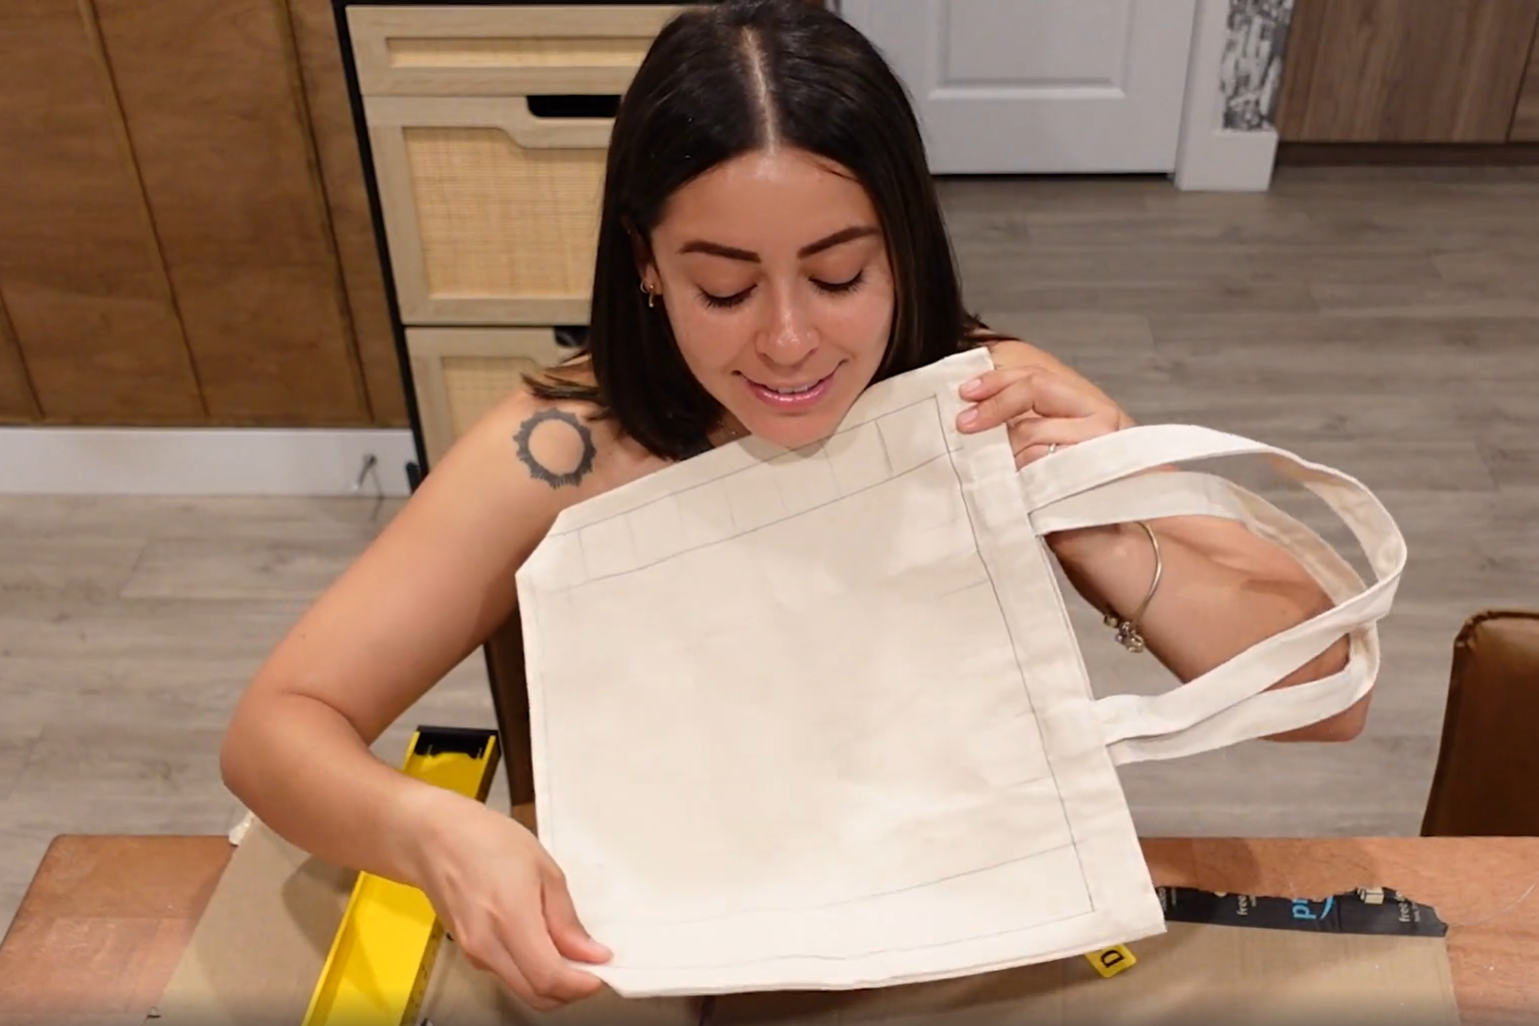
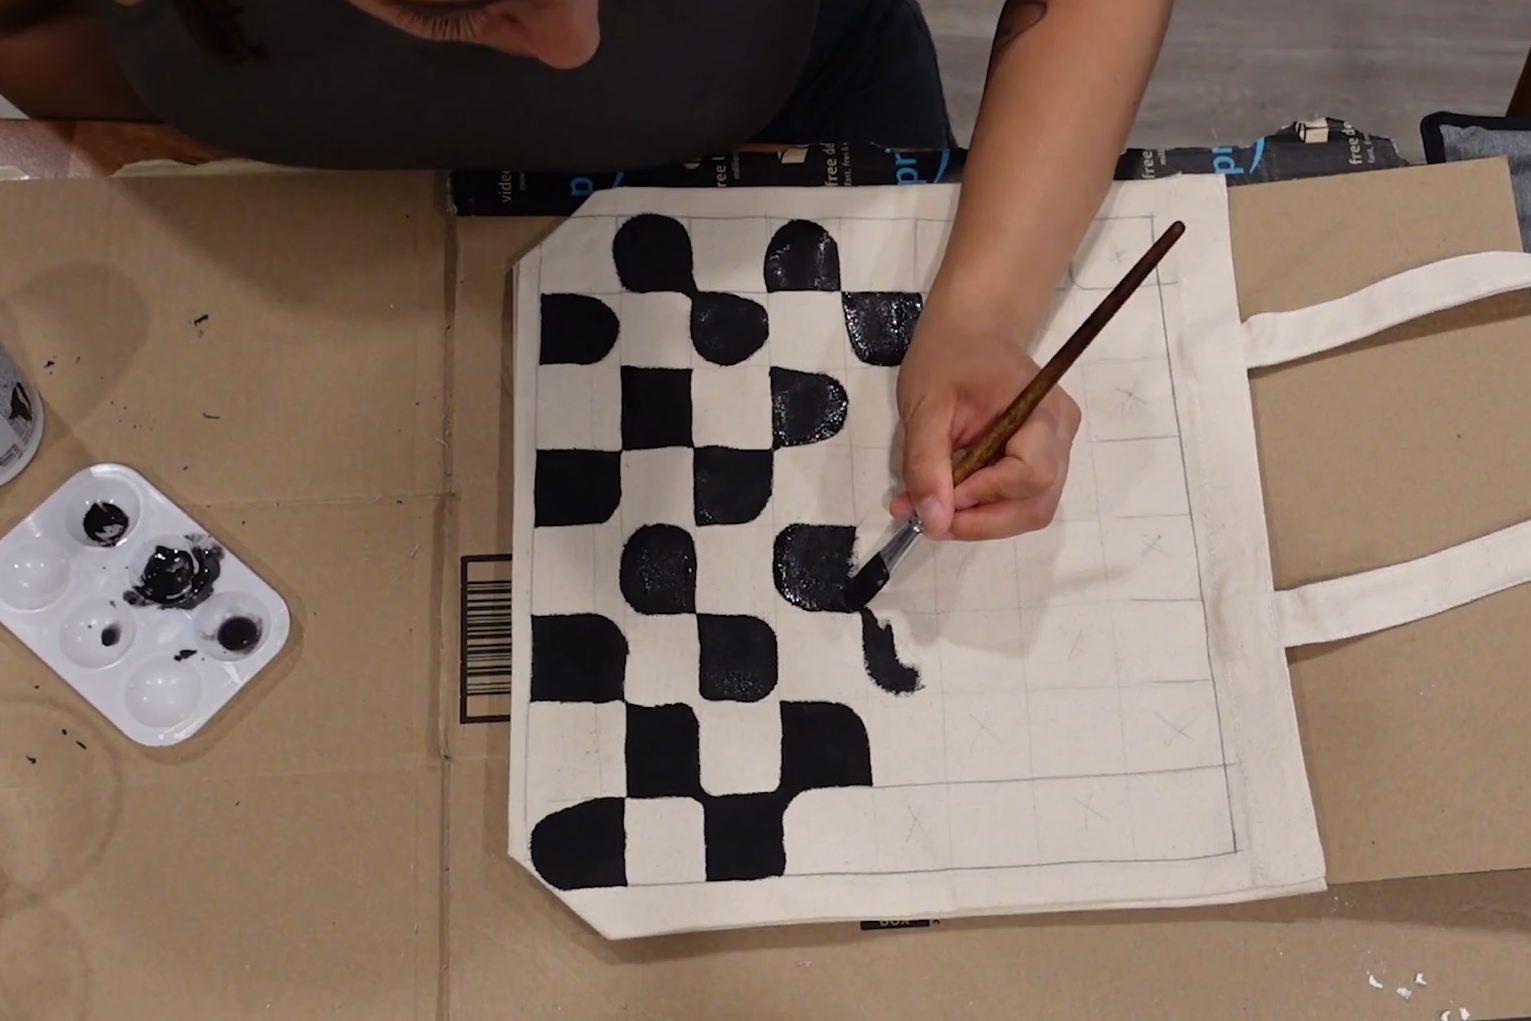
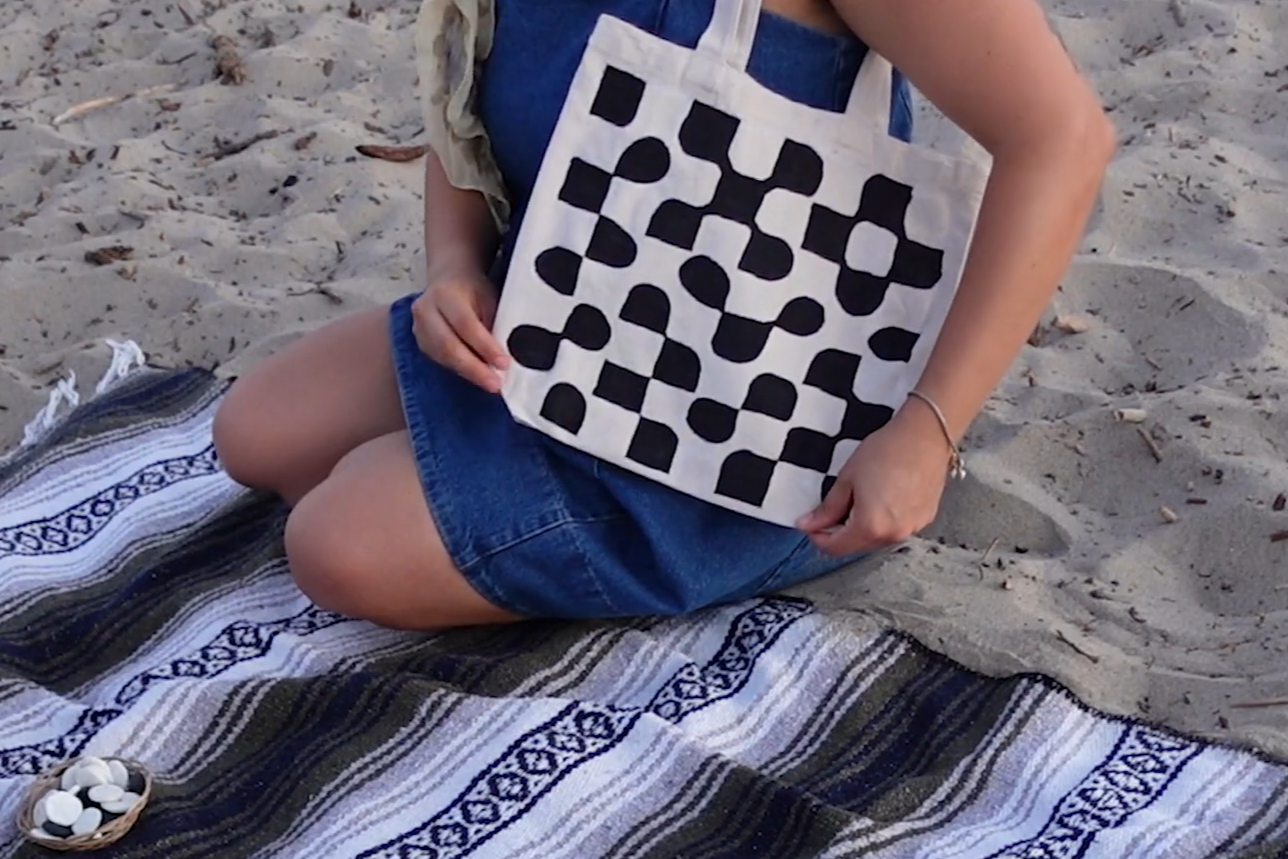
I started with a plain tote bag and transformed it with an imperfect, hand-painted checkerboard design. For the color, I used Caviar by Behr, a warm black with subtle brown undertones. It’s actually a wall paint, but I had some leftover on hand and loved the color, so rather than purchasing a new fabric paint, I decided to experiment with what I already had.
Because wall paint is a little thicker than fabric paint, I added a small amount of water to thin it out and give the paint a bit more flexibility when painting, and I think this method helped the paint dry flat to the surface. It worked surprisingly well for this project and was a great way to use up some extra paint I already had.
For the pattern, I didn’t want anything too perfect or precise. I wanted the checkerboard to feel playful, handmade, and a little groovy, so I embraced the imperfections and let the shapes have their own personality. I really loved getting lost in this project because, although I had an idea in mind, the painting portion gave me permission to slow down and simply follow the brush. There was no real rhyme or reason, and I didn’t have a strict structure to follow. I just let the creativity flow, which helped me stay present in the moment.
I’m an overthinker and an overdoer sometimes, so I can find it difficult to sit still, slow my mind down, and stop rushing from one thing to the next. There’s something really therapeutic about letting go of control and allowing yourself to simply get lost in a craft. I find it peaceful to create without overthinking the outcome; to just be present, enjoy the process, and see where the creativity takes me.
This tote isn't just for carrying beach essentials!
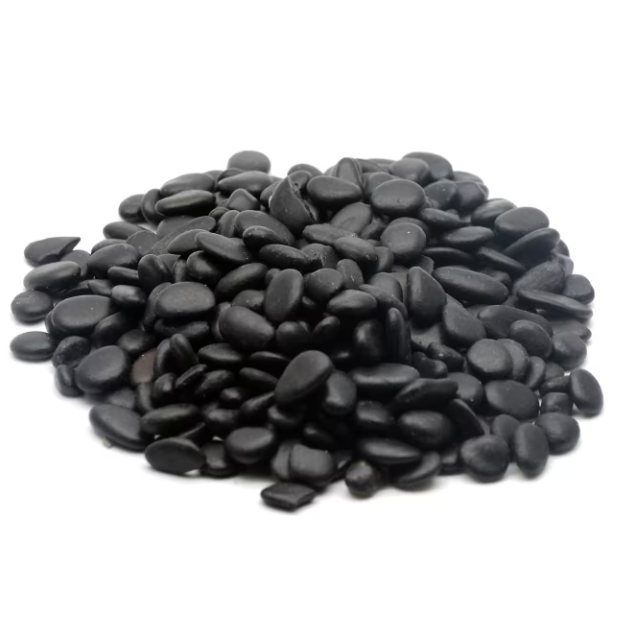
The checkerboard design also turns the bag into a portable game board. Once you’re at the beach, you can use small rocks, shells, or other found objects as game pieces and play a quick game of checkers while you’re hanging out by the water.
And if checkers isn't your thing, the checkerboard can even double as a simple game of tic-tac-toe. Just grab two sets of small objects to use as your Xs and Os, and you have an easy game ready to go.
I love projects like this because they take something ordinary and give it a completely new purpose. You get a cute, functional tote for carrying your summer essentials AND a built-in game for when you want a little extra fun at the beach.
It’s decorative, practical, and interactive, which is pretty much my favorite combination when it comes to DIY.
Turn Beach Finds Into Game Pieces
One of my favorite parts of this idea is that you don't necessarily need to buy anything extra for the game.
If you're at the beach, you can collect small rocks or shells and use them as your game pieces. It's an easy way to incorporate the beach itself into the project.
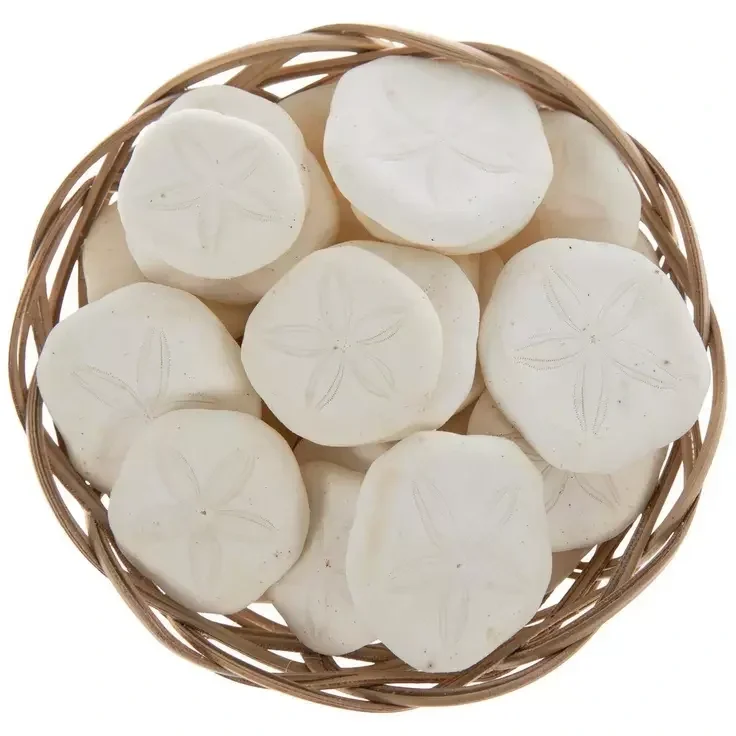
For my version, I used purchased rocks and shells, but I love the idea of collecting your own pieces and making the game feel even more personal.
Just remember to follow any local rules about collecting shells, rocks, or other natural materials from the beach.
Coastal-Inspired Picture Frames: Bringing a Little Bit of the Beach Home
For my second project, I wanted to bring some of those beachy summer vibes home and create something that could hold onto a little piece of those memories.
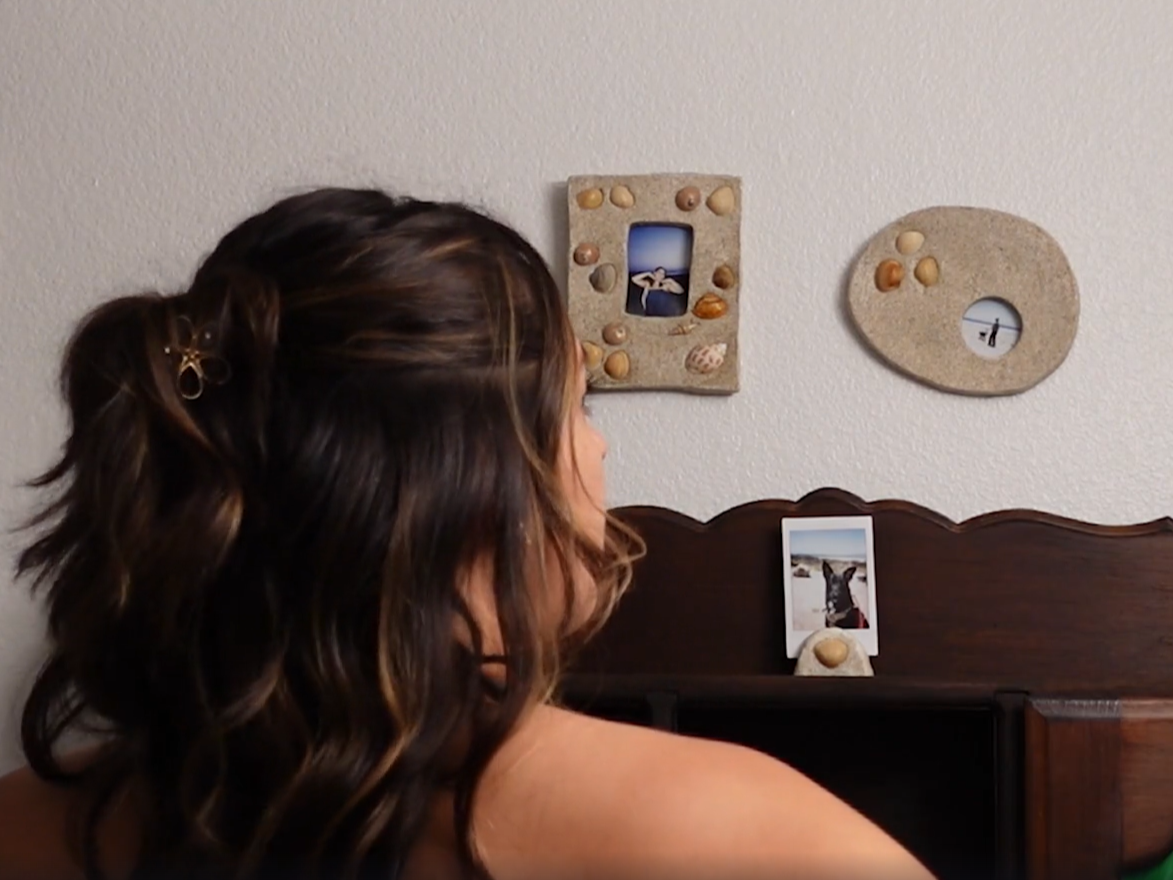
I made coastal-inspired picture frames using air-dry clay, beach sand, and seashells; and they ended up being one of those projects that turned out even better than I had imagined.
This project is easy and great for beginners because air-dry clay is such a fun material for simple DIY projects because you don't need a kiln or any complicated equipment. You can shape it, add texture, let it dry, and then customize it in so many different ways. For this project, I really wanted to play with the natural texture of sand and shells to create that relaxed, collected-from-the-beach feeling.
Adding the Sand & Shape
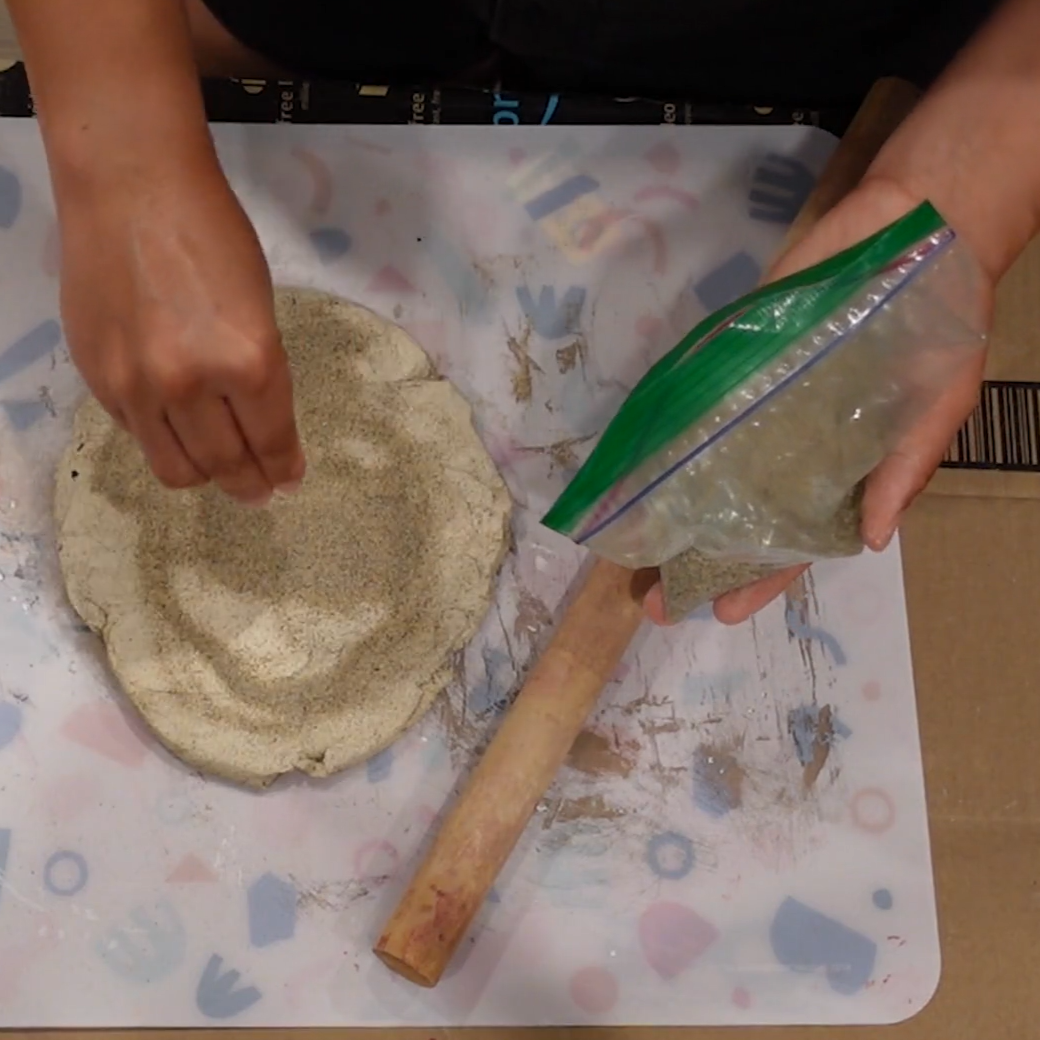
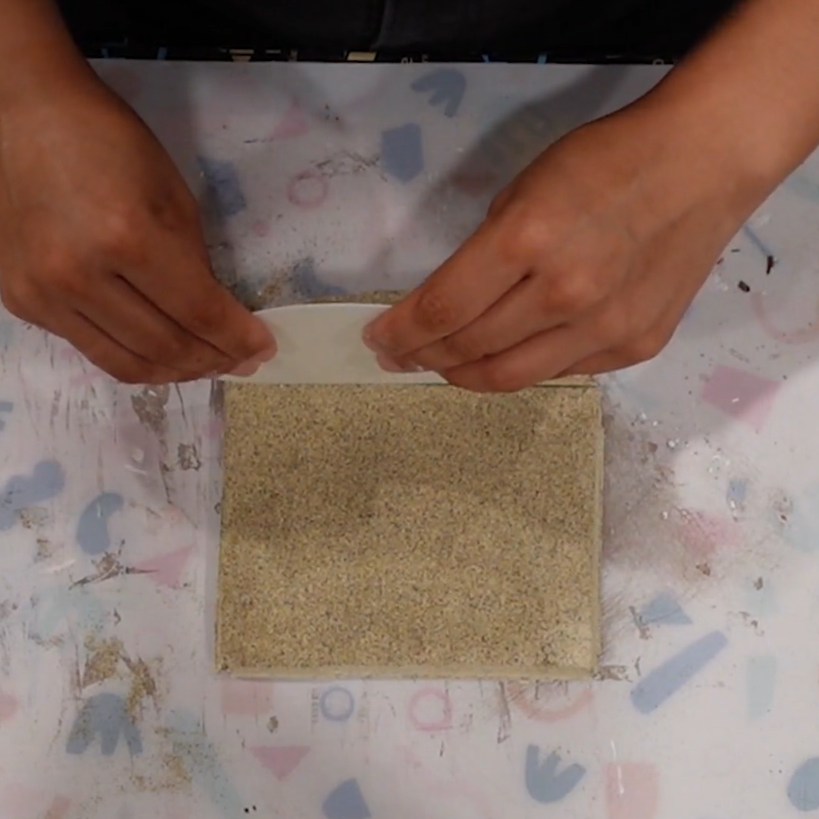
I started by kneading sand directly into the clay so the grains were dispersed throughout the material. But I didn't stop there. Once I had my shapes formed, I took it a step further and added a heavier layer of sand over the surface so the frames had plenty of texture and full coverage.
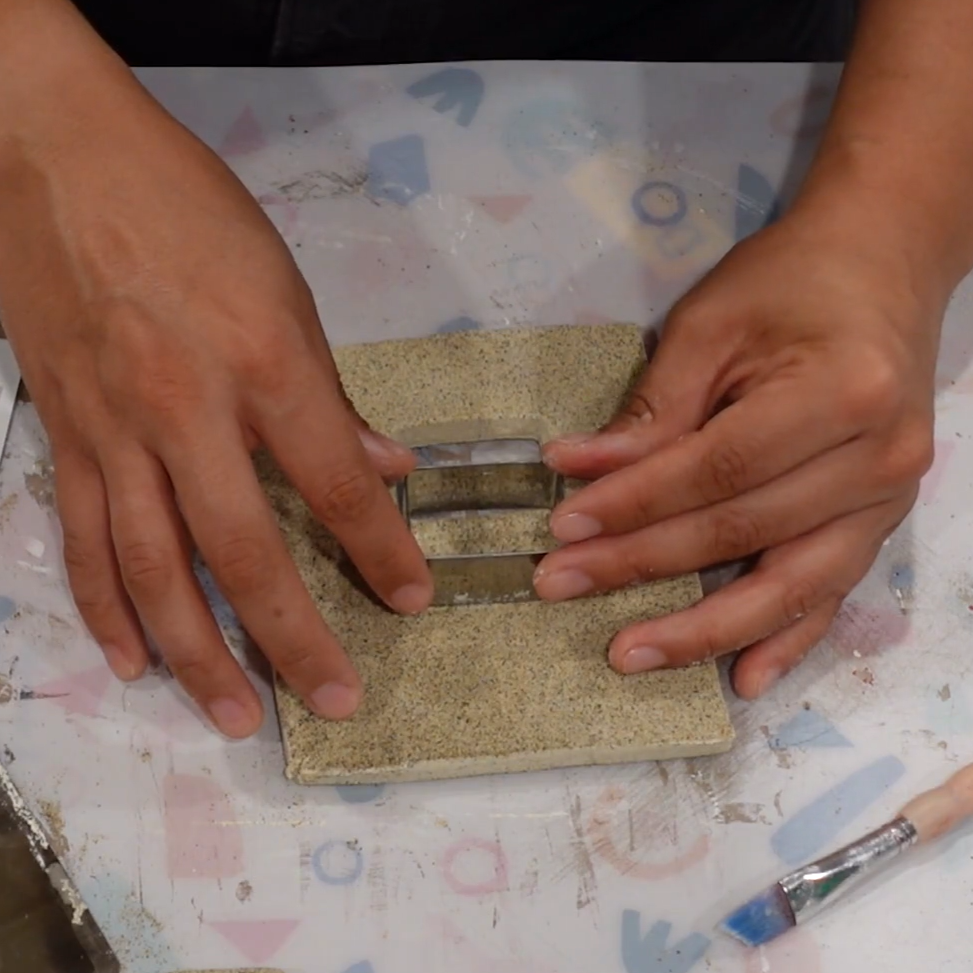
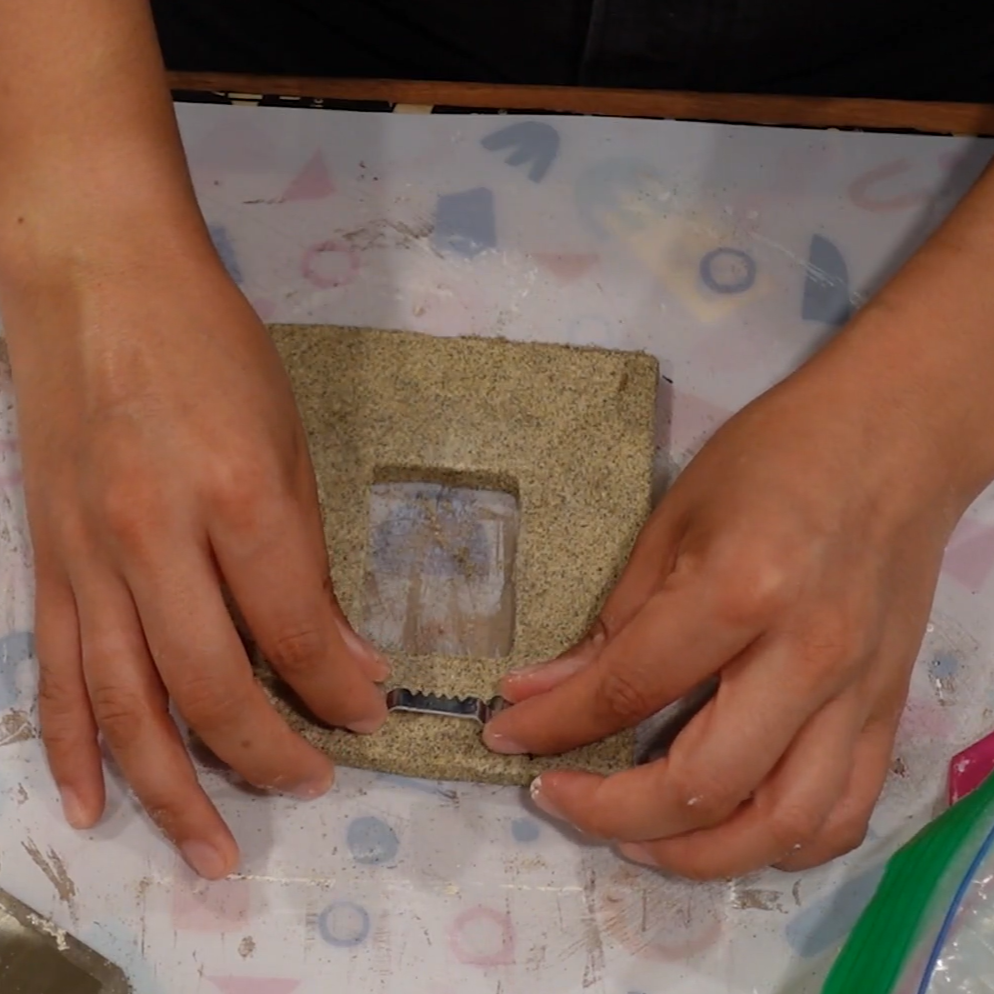
For the shapes, I made a rectangle, an oval, and a stand alone photo holder. For the two wall-hanging frames, I needed to create openings in the center for the photos. This is where a cookie cutter set came in handy! I ordered a cookie cutter set off of Amazon, which has a ton of different shapes and sizes, which made it easy to find the right size for the openings.
After cutting out the centers, I used a little water and a paintbrush to clean up and smooth the edges where the photos would eventually sit. It's a small step, but it helped give the openings a much cleaner finish.
Once I was happy with the shapes, I poured more sand over the frames, making sure to cover the surfaces really well. Then I added picture frame hooks to the back of the two wall hangings, and since this is airdry clay, the hardware will be secured in place once these pieces are fully dried.
Adding the Shells
Then came my favorite part…the shells!
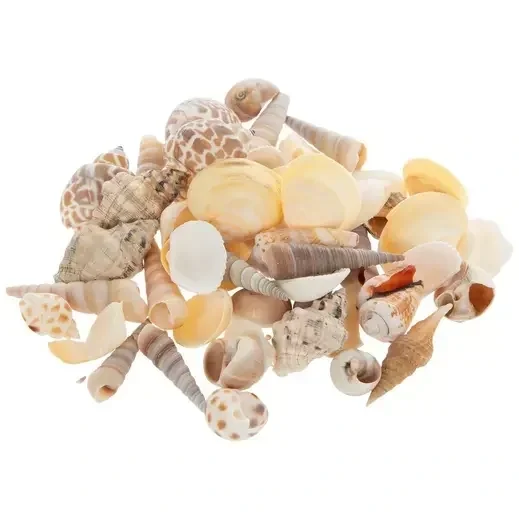
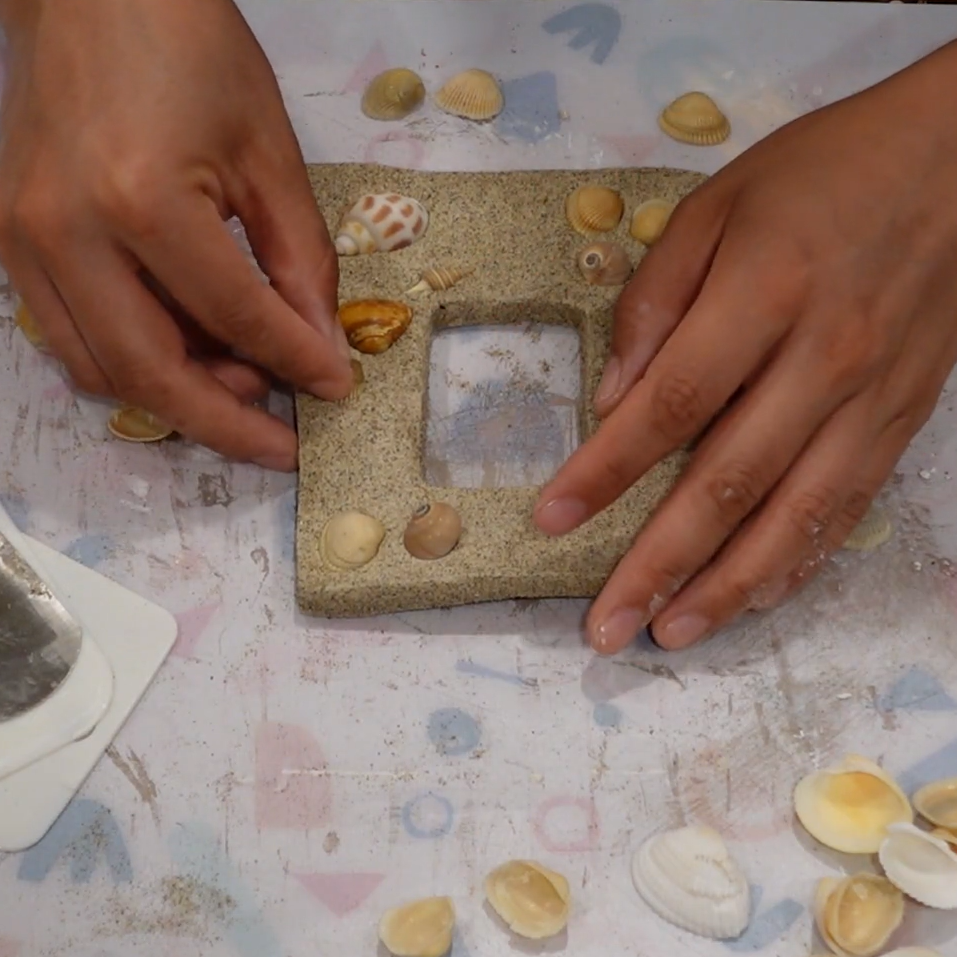
Shells (or rocks) can be collected at the beach, but I went the easy route rather than the foraging route by picking up the Brown Shell Mix from Hobby Lobby and played around with the placement until I found a combination I liked. I wanted the shells to add some visual interest and complement the texture of the sand without completely taking over the frames.
I actually had to remind myself that more isn't always better. I wanted to leave enough open space for the grains of sand to peek through, so the shells became little accents rather than covering the entire surface.
The combination of the sand and shells gave each frame its own natural, coastal texture, and because I was shaping and decorating each one by hand, no two frames felt exactly alike.
Sealing Everything In
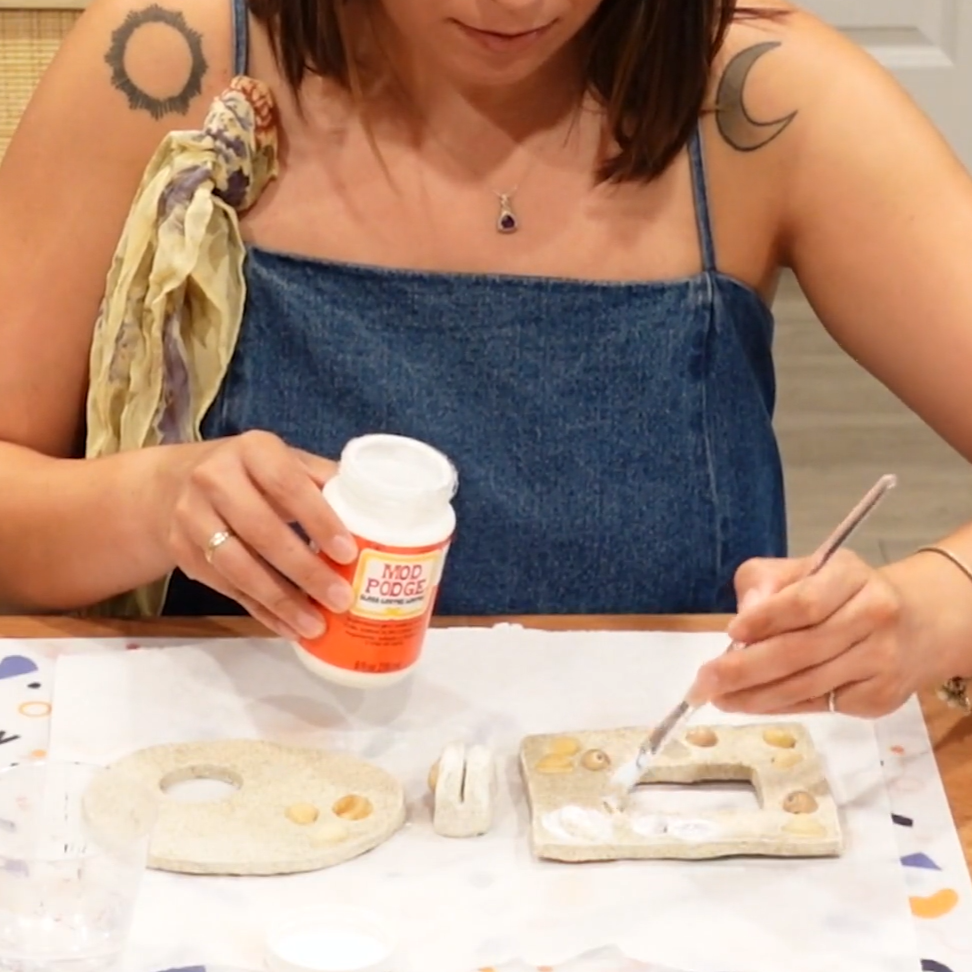
These took a few days to fully dry, so this was definitely a project that required a little patience. Once everything was completely dry, I went in with two coats of Mod Podge to seal the sand and shells in place.
I also used a gloss finish, which ended up being the perfect finishing touch. The gloss gave the sand a slightly wet look, almost like the frame had just come out of the water. It really brought the whole coastal effect together.
And honestly, they came out better than I imagined.
I love that something as simple as air-dry clay, sand, and a few shells can be transformed into something that feels like a little piece of summer. These would be especially cute with a favorite vacation photo, a family beach picture, or even a little snapshot from a day spent by the water.
There's something really special about creating a frame for a memory rather than simply buying one. Even the frame becomes part of the story, too.
The Perfect Personalized Beach Setup
If you saw my previous DIY video, you might remember that I gave a plain cooler a complete makeover. Adding these new projects to the mix made the whole setup feel even more personalized.
That's what I love about DIY projects like these. You don't have to completely redesign everything to make something feel special. Sometimes a little paint, some clay, a few shells, and a creative idea are all you need.
The tote is practical, the games make it fun, and the picture frames bring those beach memories home too.
Cute, functional, and completely personalized. That's my kind of summer DIY!
Which Beach DIY Would You Make?
Both of these projects were super fun and surprisingly easy to make, and I love that they can be customized to fit your own style.
You could change the colors of the checkerboard tote, make the game board more colorful, use different shells and textures on the frames, or add your own creative twist.
So now I'm curious: which would you make first: the game tote or the coastal picture frame?
Let me know, and if you make either project, I'd love to see how you put your own spin on it!
And if you love finding creative ways to customize everyday items, make sure to check out the videos for more fun DIY projects and creative ideas.
Come Craft With Me!
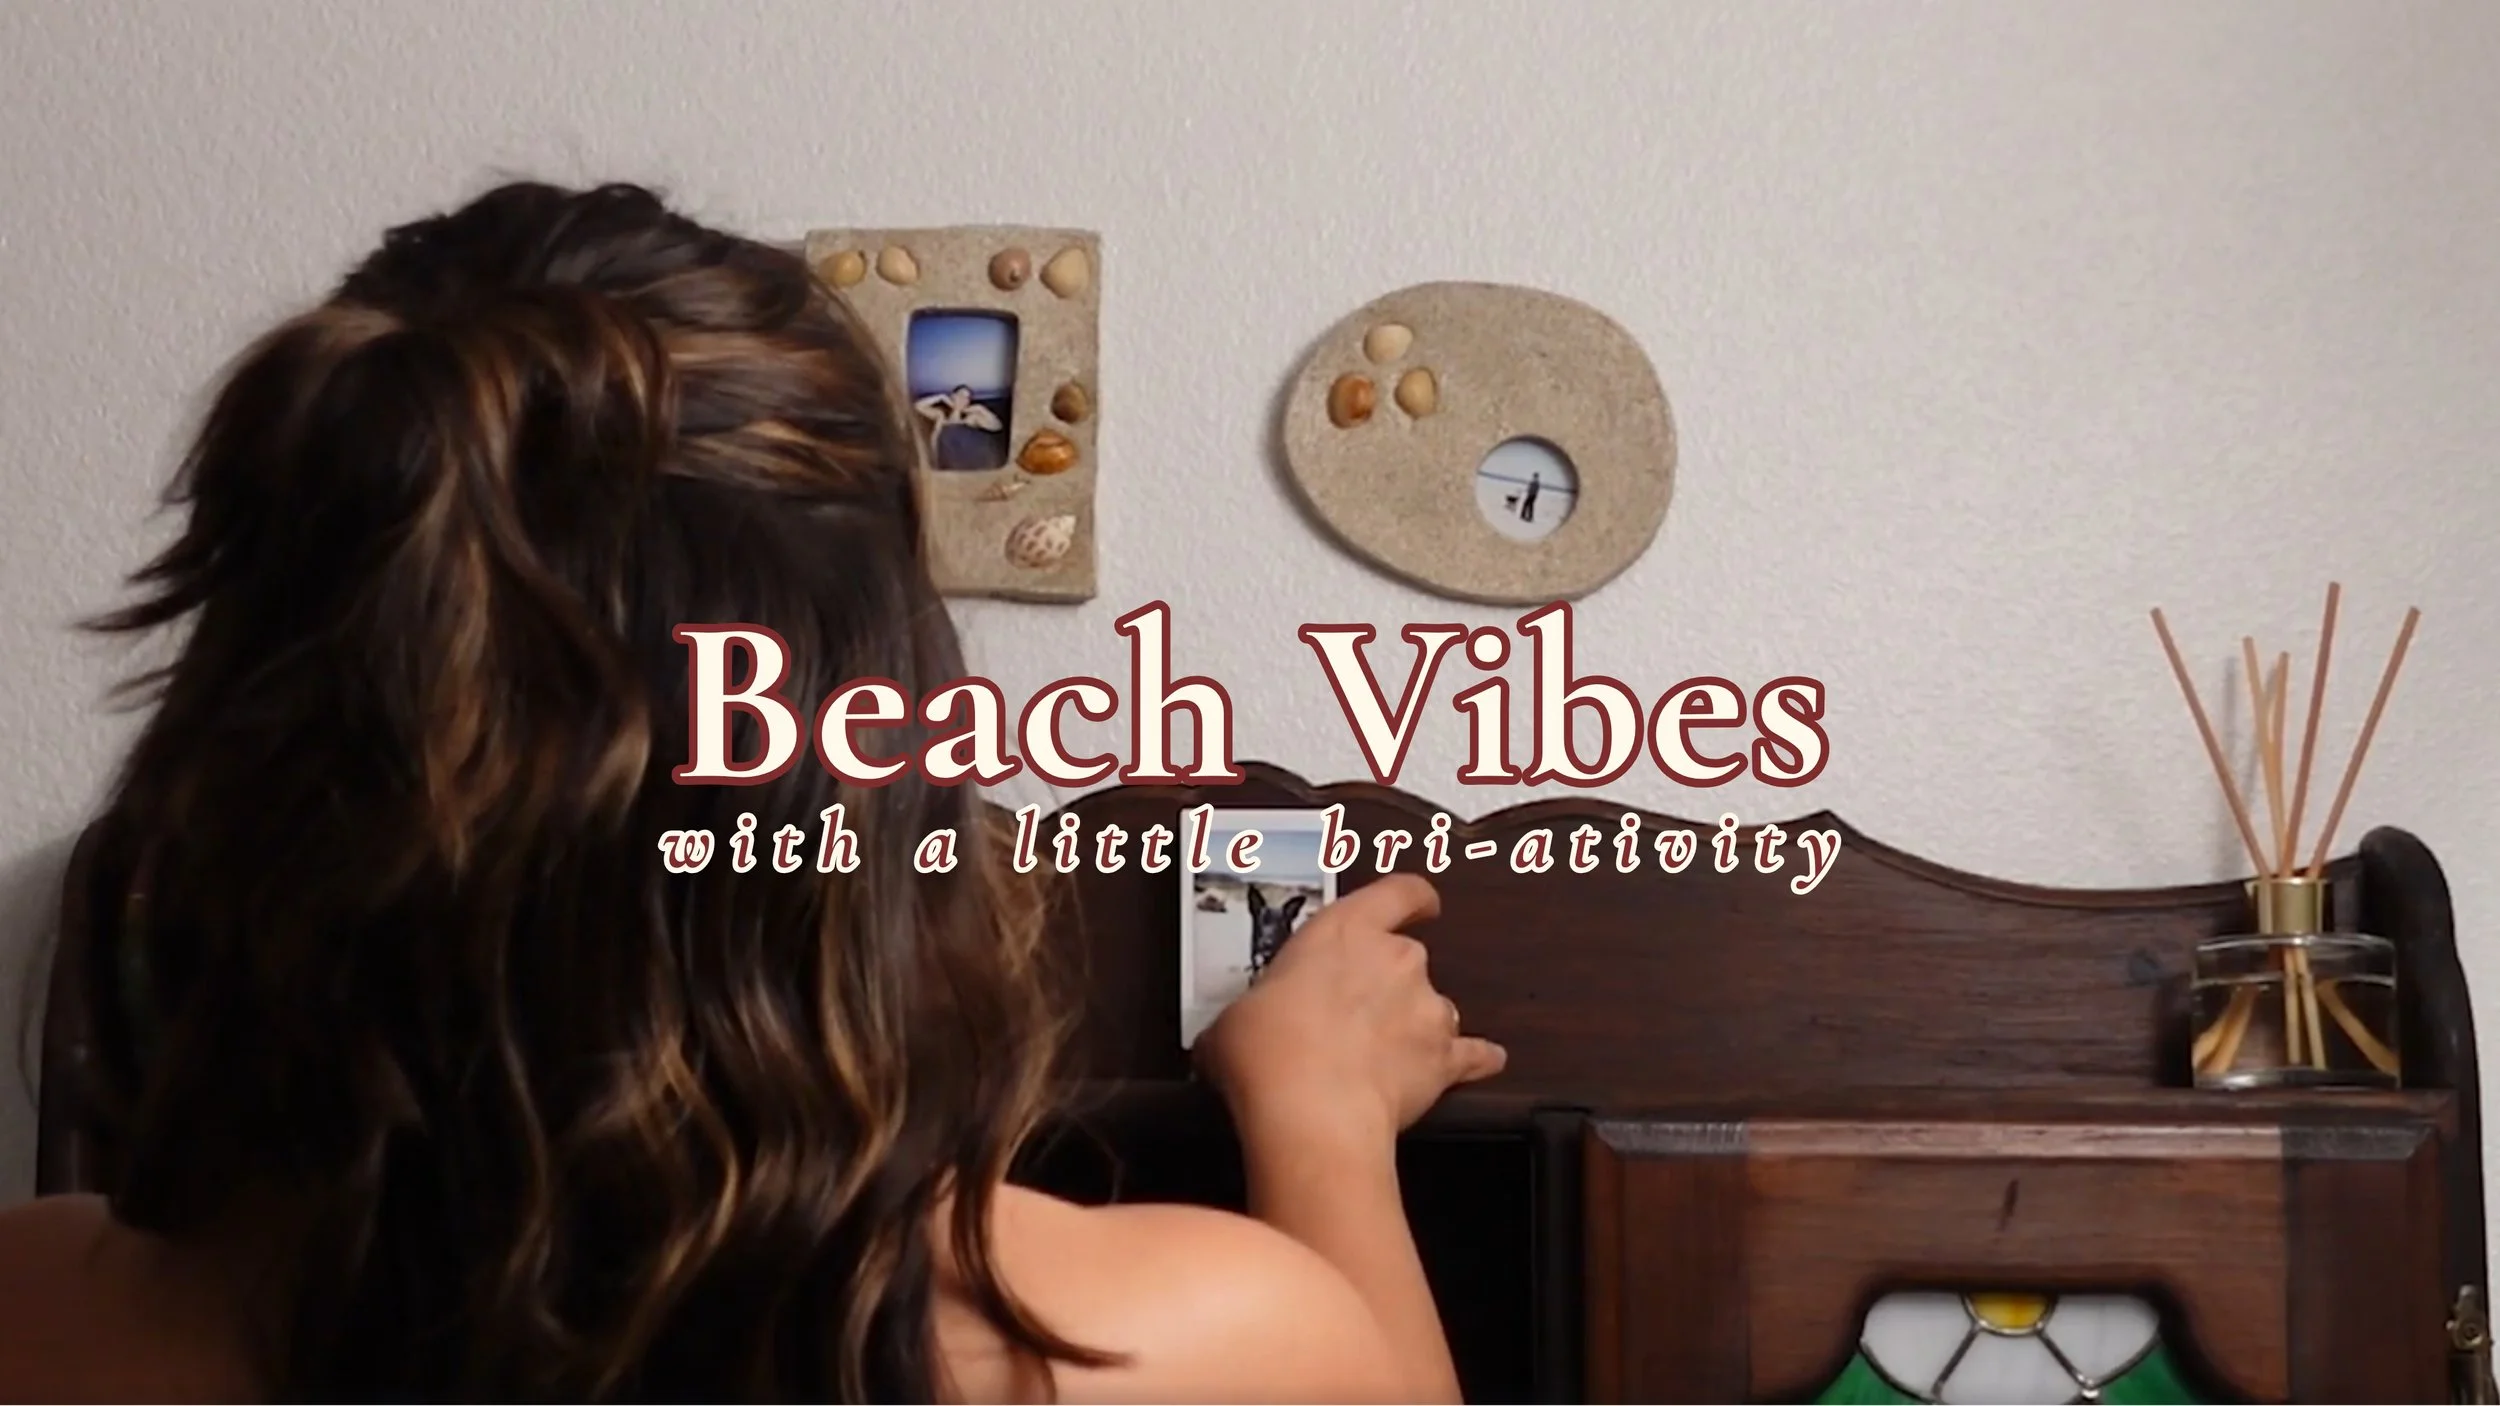
If you want to see the full creative process, check out my YouTube video: