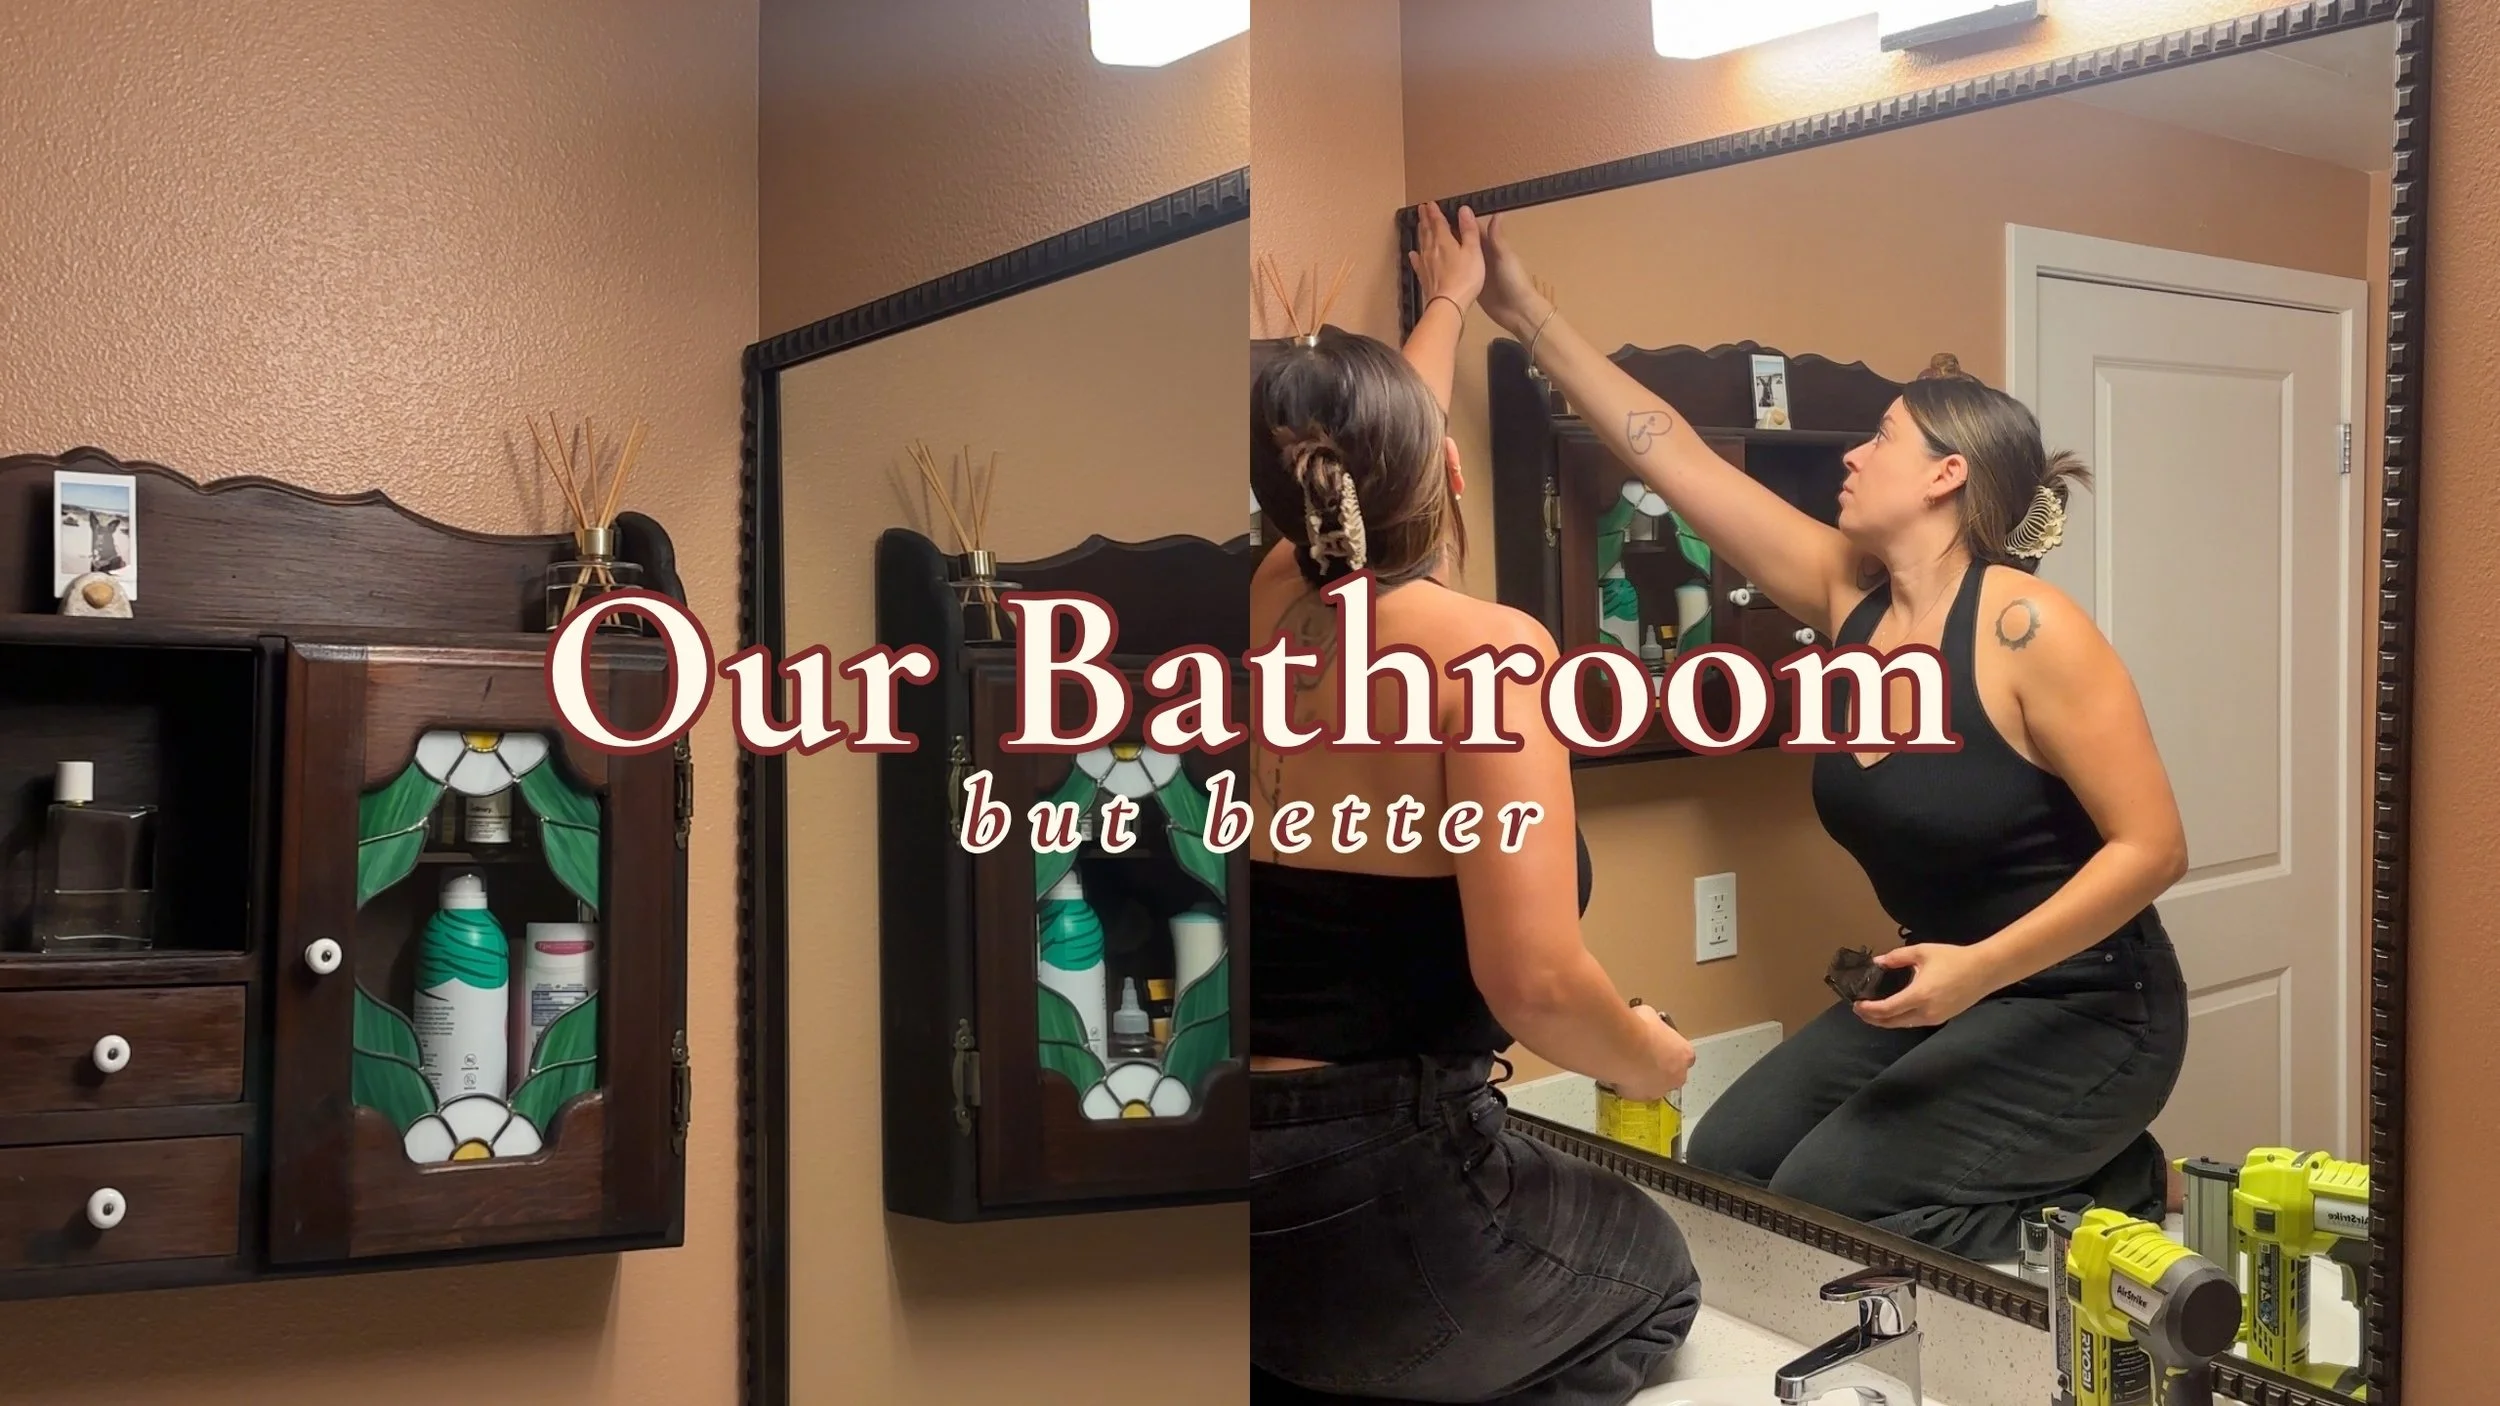
Making Our Bathroom Better: Our Rental Bathroom Makeover | Part 1
Our bathroom, but better.
When we moved into this rental, I immediately saw the bathroom as a bit of a blank canvas. Not necessarily because it was a space that needed a complete transformation, but because I could see little opportunities everywhere. It wasn't terrible by any means—it was functional, clean, and perfectly usable, but it also felt a little generic. Like a space that came with the rental rather than a space that belonged to us. And that's one of the interesting things about decorating a rental. There are, of course, things you can't change. The fixtures are what they are, the layout is what it is, and there are certain choices that were made long before we ever moved in. You can't always rip everything out and start over, nor would it make sense to when you know the space isn't permanently yours. But I've been trying to shift my perspective on that.
Instead of focusing on everything I can't change, I wanted to see what I could do with what was already here. What could I add, change, or rethink that would make the bathroom feel more like us without turning it into a completely different room? How could I make it feel warmer? How could I bring in a little more personality? And how could I make the existing pieces feel intentional rather than like temporary placeholders until we had a home of our own? I think there's something really fun about that kind of decorating challenge. You're not starting with a blank room where anything goes. You're working within limitations, which means you have to get a little more creative. Sometimes the smallest changes can have the biggest impact; not because they completely transform the space, but because they change the way the space feels.
So, rather than trying to do everything at once, I decided to start small. A little paint here. A few thoughtful changes there. Some DIY projects, a little trial and error, and plenty of figuring things out as I went. The goal wasn't to create a perfect bathroom or make this rental feel like something it isn't. I just wanted it to feel more considered, more comfortable, and a little more like home.
This is Part 1 of Making Our Bathroom Better, a series about slowly turning this rental into a space that feels more like us, one project at a time.
Starting With a Little More Warmth
For a while, I felt a little stuck with this bathroom.
I knew I wanted it to feel different, but I wasn't quite sure what direction I wanted to take it. And honestly, I didn't want to start buying things just for the sake of filling the space. It's easy to look at a room and immediately start making a list of everything you think you need—new accessories, new hardware, art, storage, maybe a few decorative pieces here and there—but I wanted to resist that urge.
Instead, I wanted to live with it first.
I wanted to see how we actually used the space, what bothered me, what worked, and what felt like it was missing. I also wanted to work with some of the things we already had rather than immediately replacing everything. There were pieces in the bathroom that were perfectly fine; they just needed a little more thought around them.
Once I started piecing together some of the things we already had, I began to get a better idea of where I wanted to go.
I realized I wasn't necessarily looking for a completely different bathroom. I just wanted it to feel softer, warmer, and a little more inviting. The existing space had a lot of cooler tones and hard surfaces, and it felt a little flat to me. I wanted to introduce some warmth without making the room feel overly decorated or like I was trying to force a particular style into it.
And the biggest thing I felt the room was missing was warmth.
Not just in terms of color, but in the overall feeling of the space. I wanted to walk in and have it feel a little more welcoming and lived-in, rather than simply being a functional room we happened to use every day.
Sometimes, the simplest way to change the feeling of a room is with paint.
So that's where I decided to start.
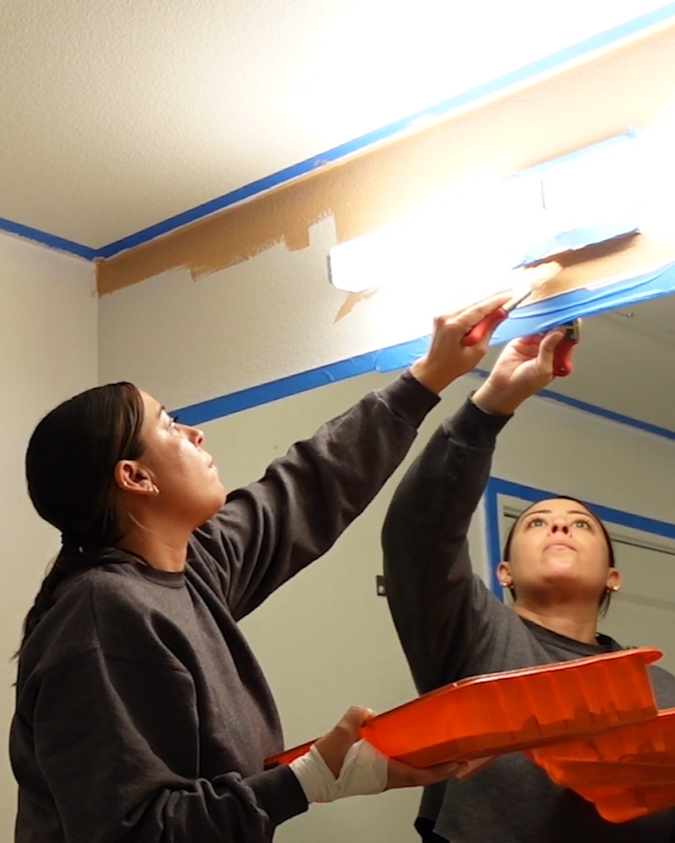
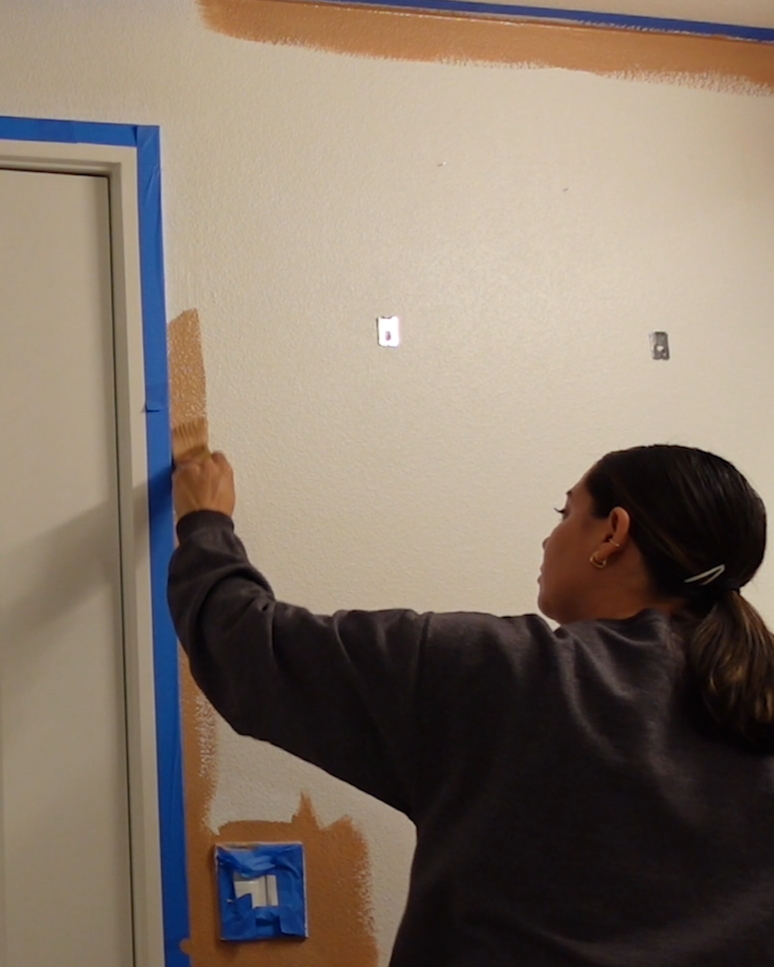
Canyon Dusk by Behr
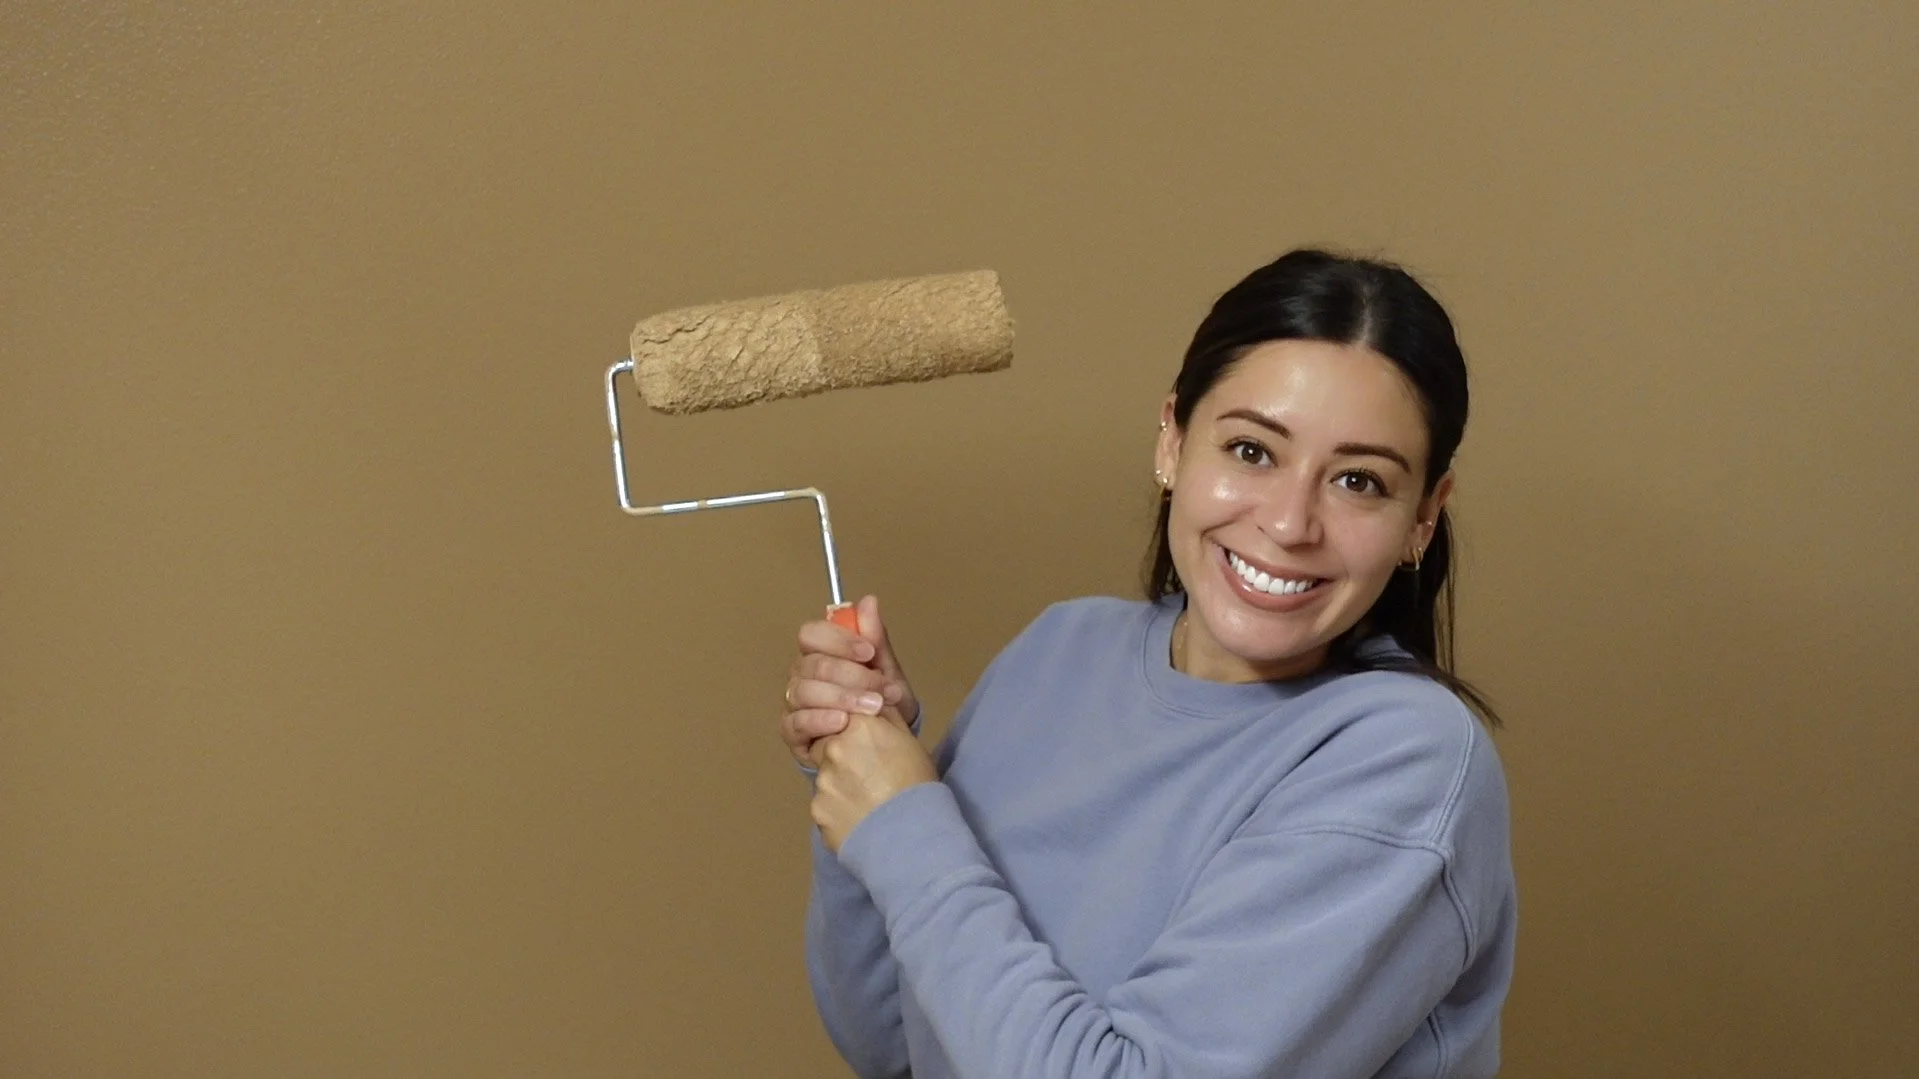
I chose Canyon Dusk by Behr, a warm, earthy color that I've used in other projects before.
I've always loved this color. It has that muted, slightly dusty quality that makes it feel warm without being too bright or overly saturated, and I already knew it was a color I wouldn't get tired of. What I wasn't expecting was just how different it would feel in this particular room.
Against the existing finishes and natural wood tones, Canyon Dusk brought a depth to the bathroom that just wasn't there before. The space immediately felt a little less stark and a lot more grounded. It was still the same bathroom with the same layout and the same fixtures, but the color started to give everything around it a little more intention.
Of course, before the paint could go up came the part of every painting project that I would happily skip if I could: the prep work.
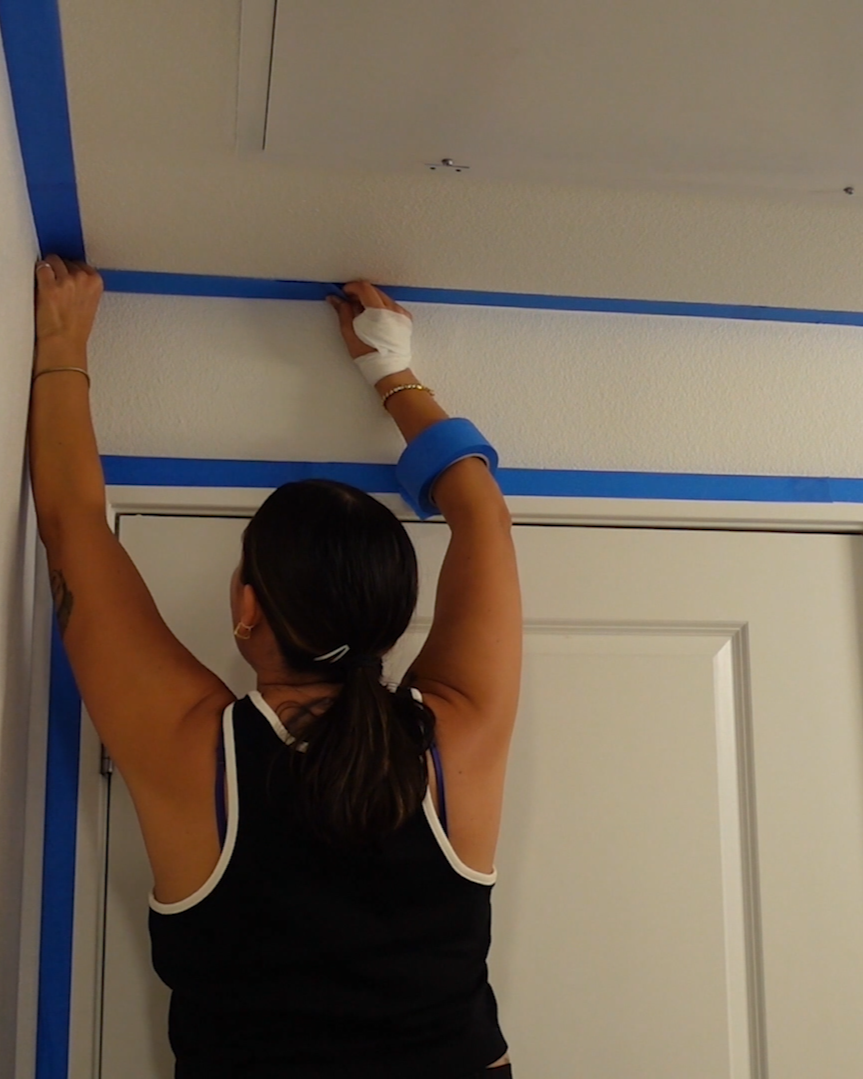
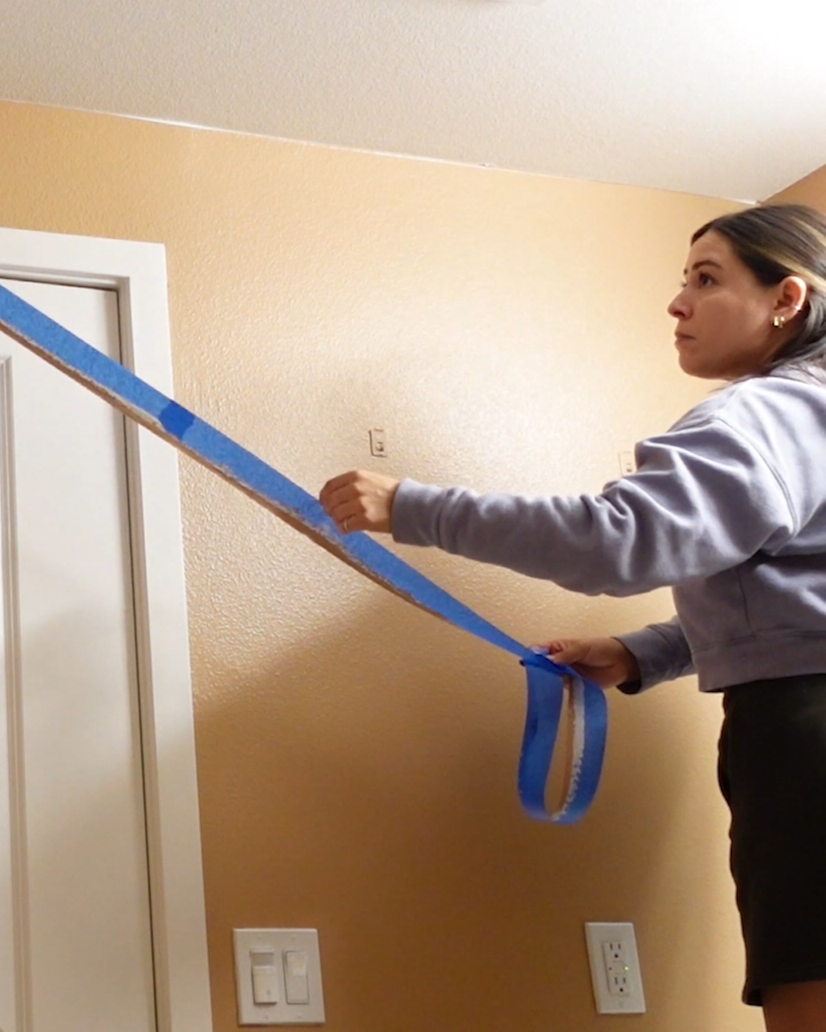
I taped off the areas that needed to be protected and painted the trim around them with a satin white finish first. None of this is particularly exciting, and it's definitely the part where you start wondering why you ever decided to paint a room in the first place. But I've learned that taking the extra time here makes a huge difference in the finished result.
The better the prep, the cleaner the lines. And when you're working with a darker, more noticeable color like Canyon Dusk, those little details become even more obvious.
So, as much as I wanted to skip ahead to the satisfying part—the part where the actual color finally starts going on the walls—I knew the prep was worth it.
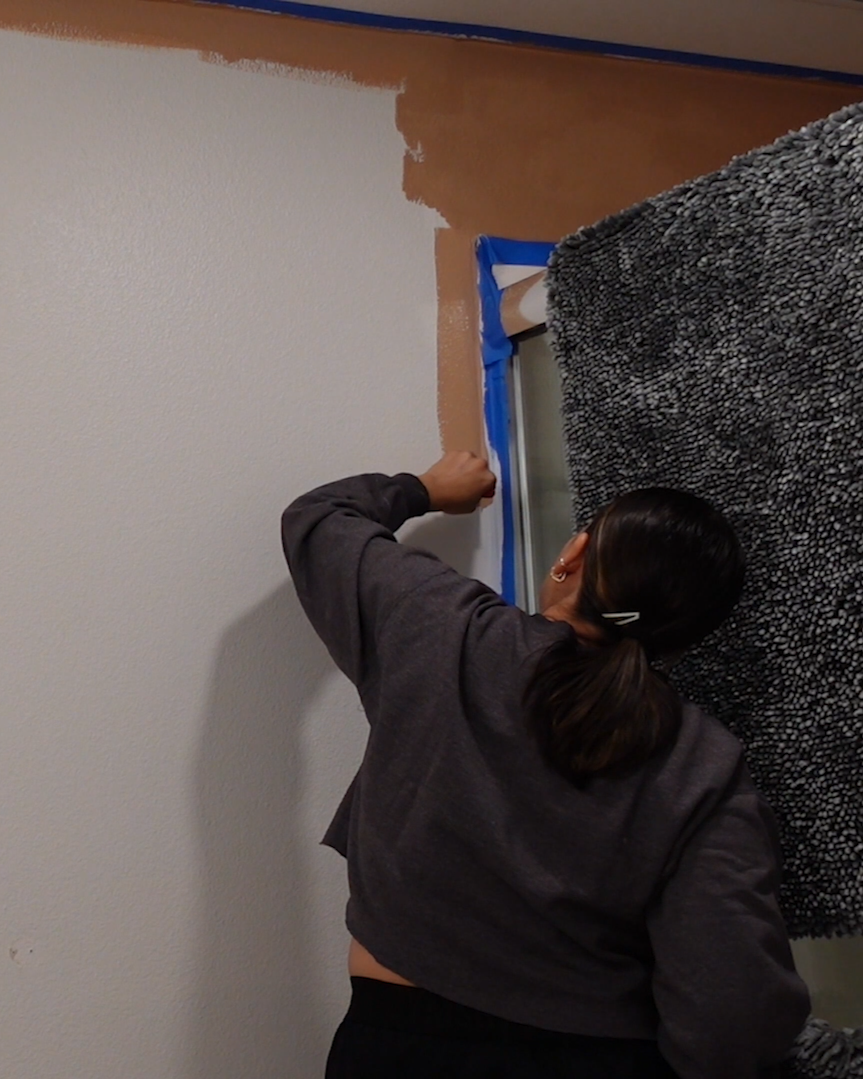
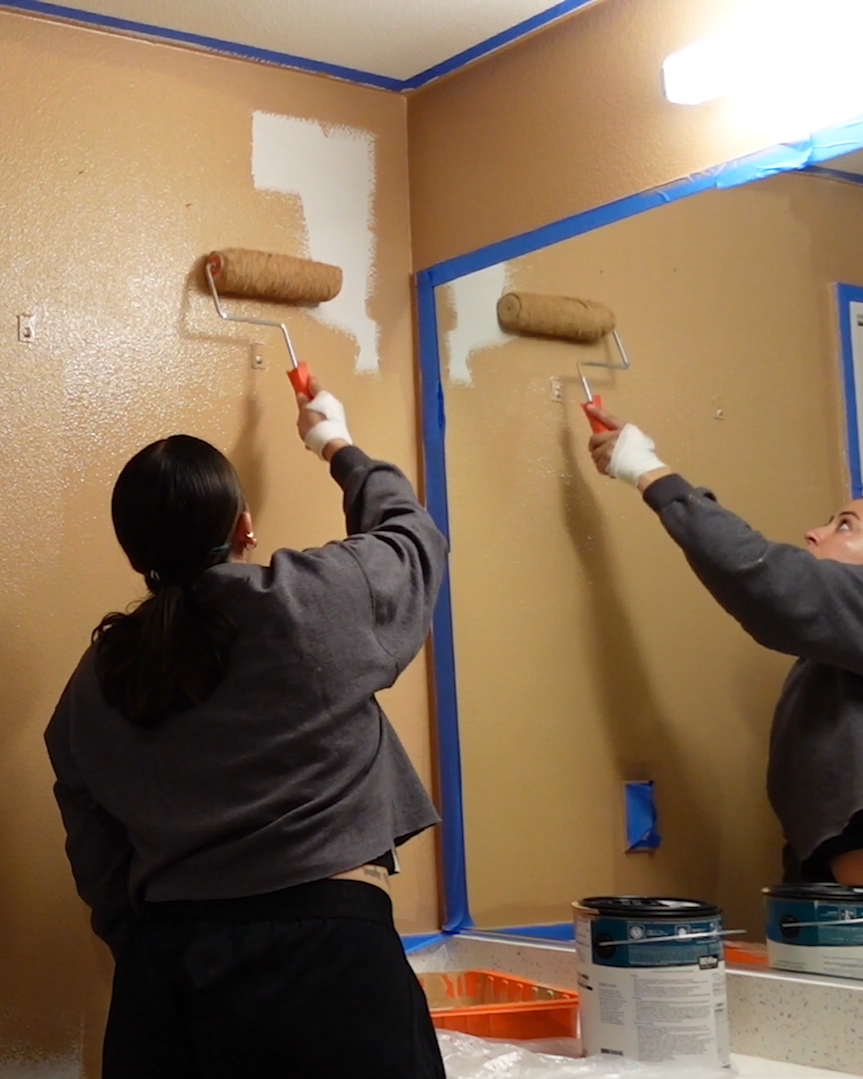
Once the Canyon Dusk went up, the whole room started to feel different.
Not dramatically different. Just... warmer.
The color gave the room a little more depth and made the existing finishes feel less disconnected. It also gave me a starting point for everything that would come next. Instead of trying to decorate around a space that felt unfinished, I finally had a direction.
And sometimes that's all a space needs.
Not a complete overhaul. Not a dozen new things. Just one thoughtful change that shifts the way the entire room feels.
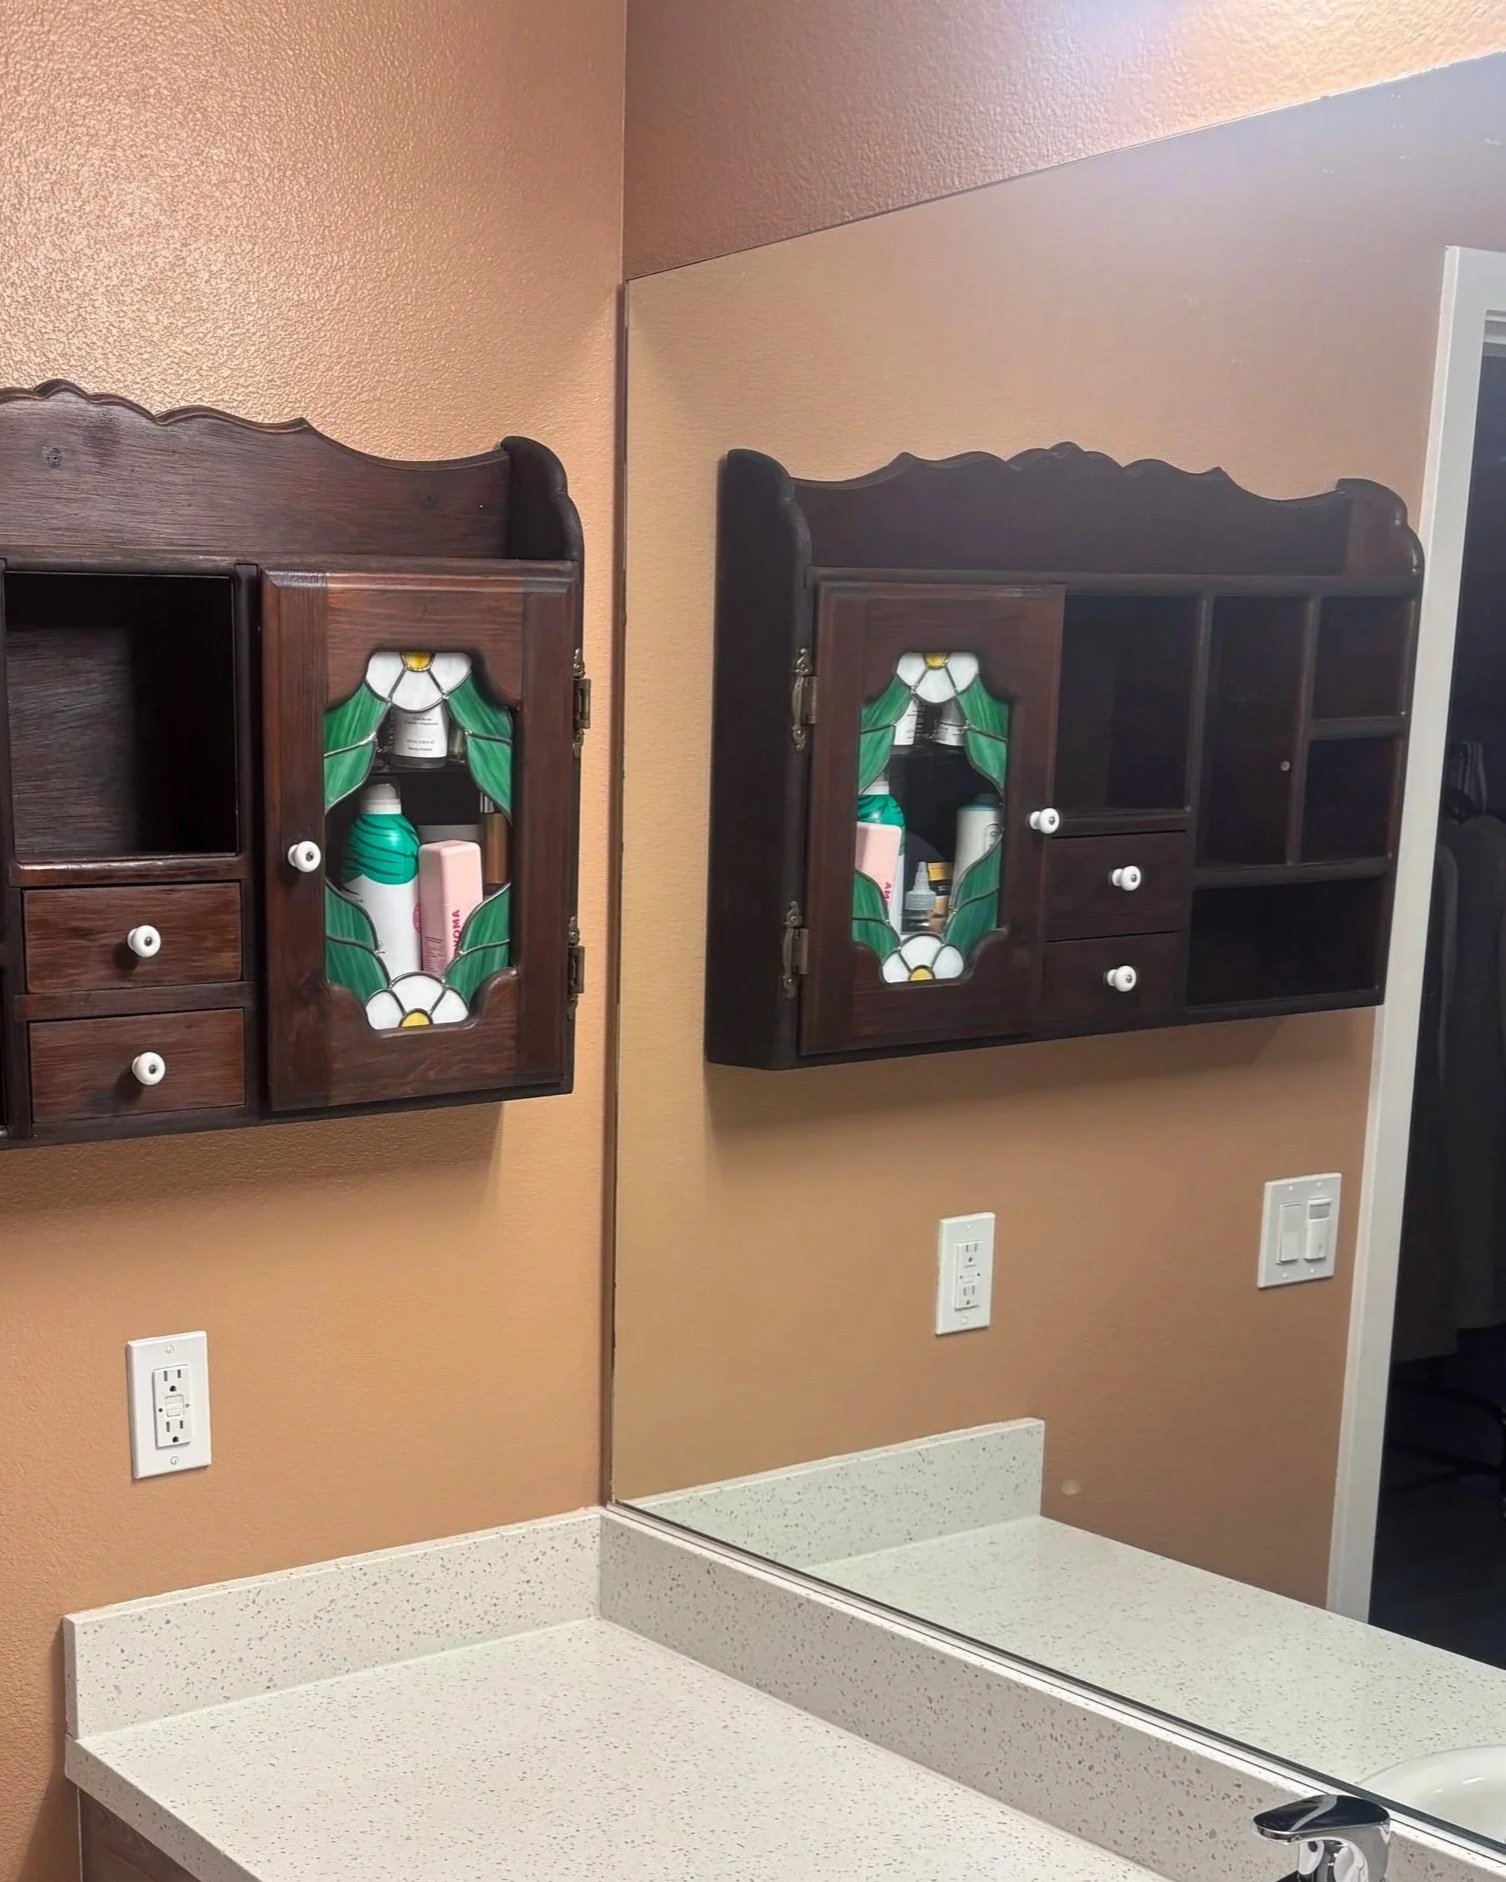
Giving the Existing Mirror a Little More Intention
The next project was the existing bathroom mirror.
It was another one of those rental features that wasn't necessarily bad, but it also didn't feel like us. It was functional, perfectly fine, and already there, but it had that very standard, builder-grade look that made the bathroom feel a little more basic than I wanted it to. And since we were working with a rental, I didn't want to start replacing perfectly usable things just because they weren't exactly my style.
Instead, I wanted to see if I could make what was already there feel a little more intentional.
That's really become part of my approach to decorating a rental. I'm always looking for ways to work with the existing space rather than completely fight against it. Sometimes that means painting, sometimes it means swapping out a small detail, and sometimes it means taking something that's already there and giving it a little more personality.
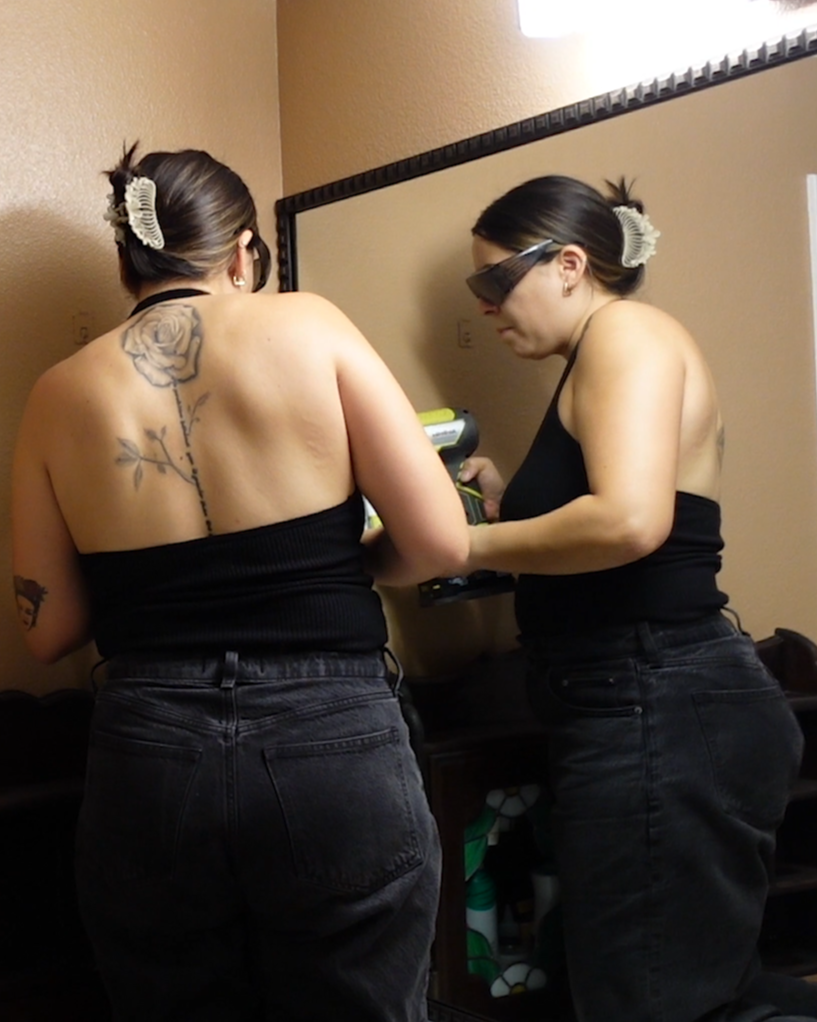
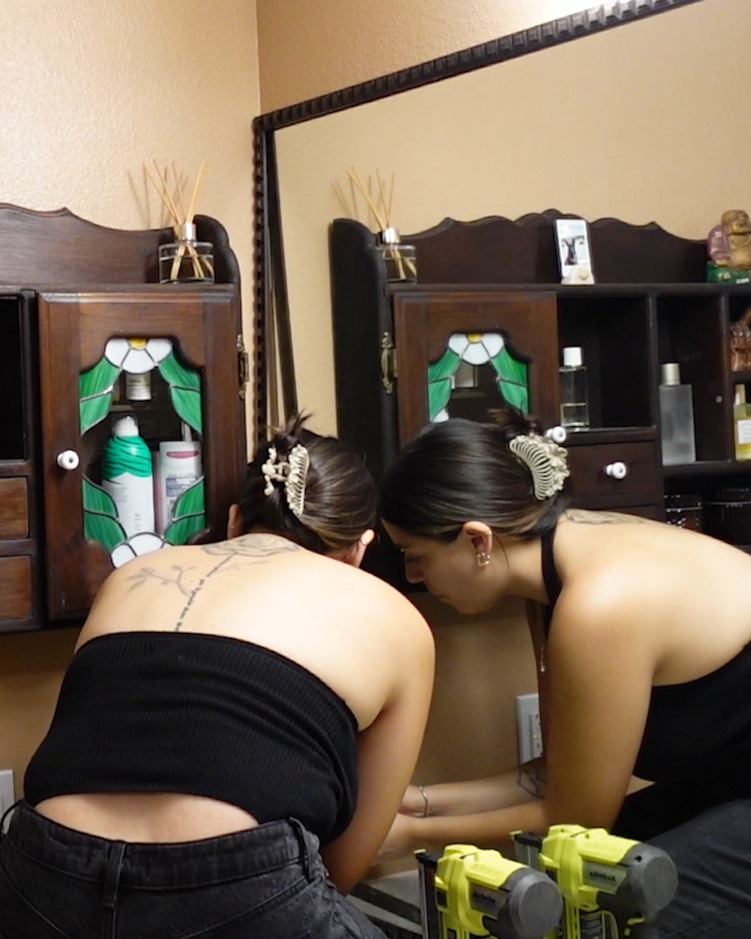
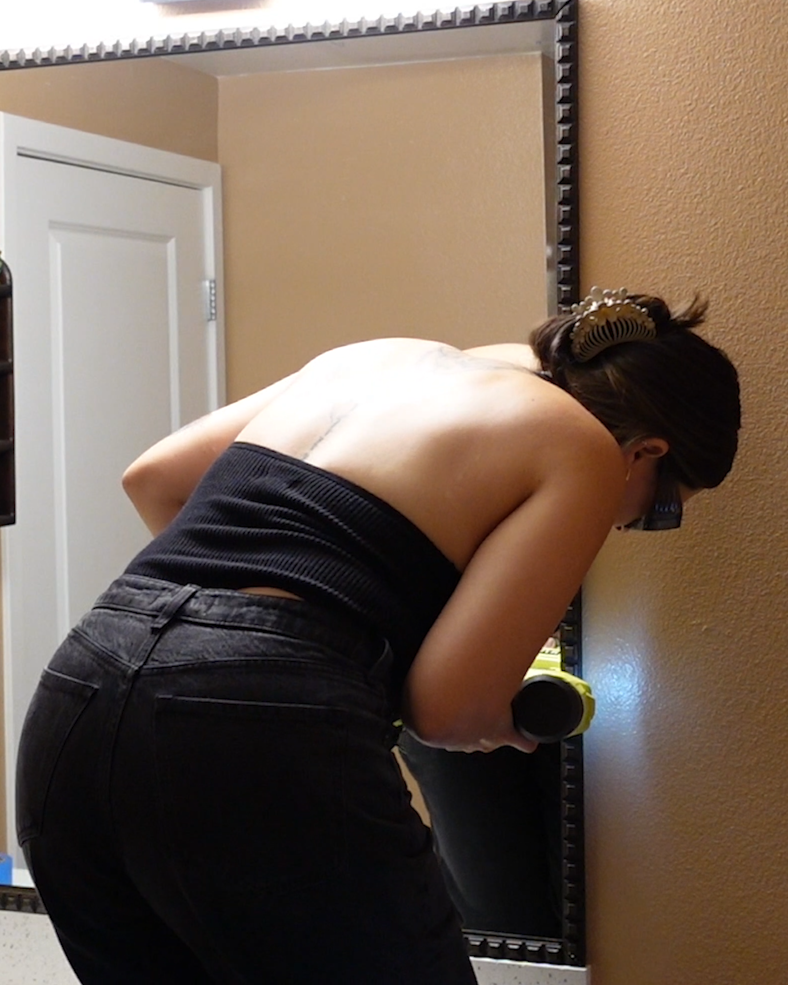
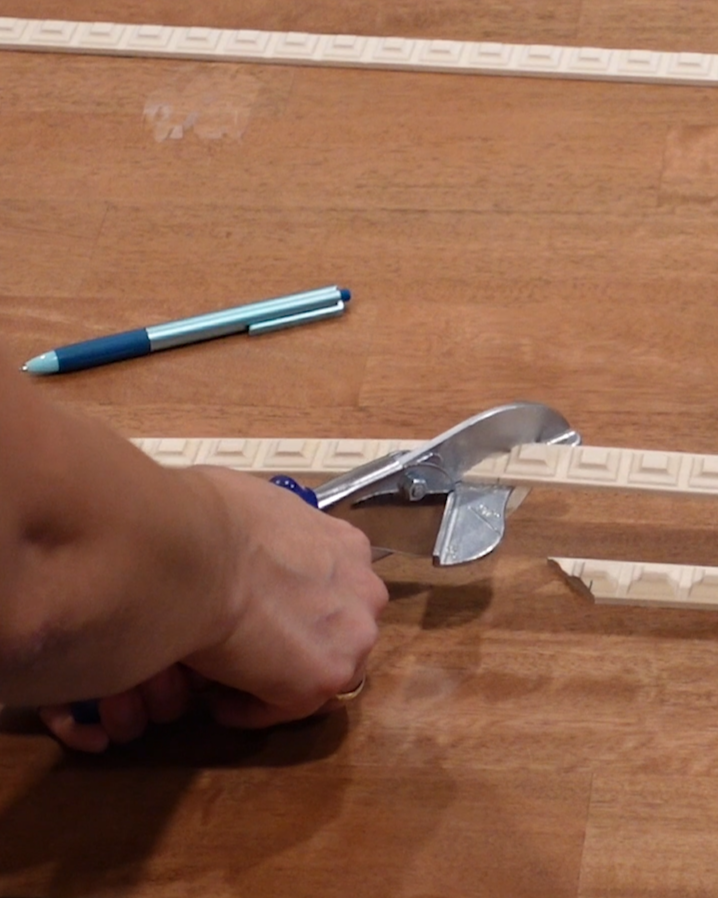
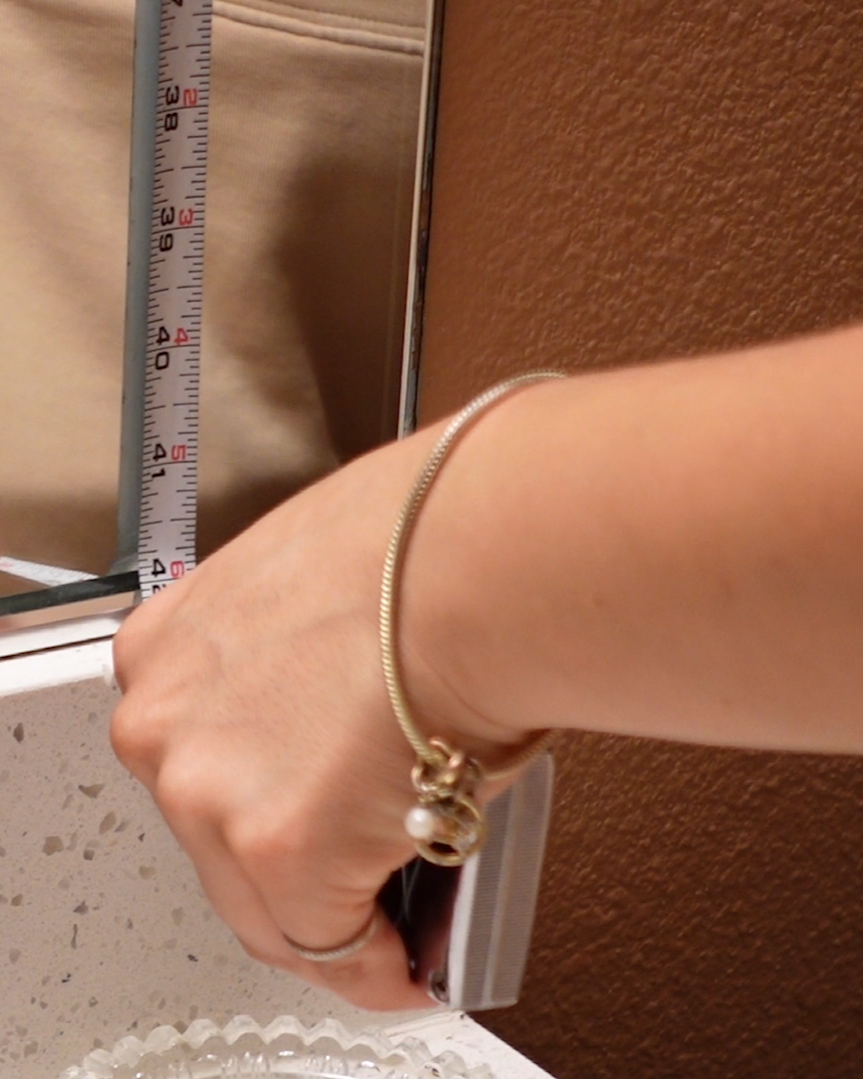
So I decided to frame the mirror.
The idea was pretty simple: create a wooden frame that would make the existing mirror feel more substantial and finished, while also bringing another layer of warmth into the room. The wood would tie in with some of the other natural and warm elements I was adding to the bathroom, and I liked the idea of breaking up some of the cooler, harder surfaces with something that felt a little more organic.
I also didn't want the mirror to look like an obvious DIY add-on. The goal was for it to feel like it had always belonged in the space; almost like we had intentionally chosen a framed mirror rather than simply working with the large, frameless one that came with the rental.
It seemed like a relatively simple way to make a pretty significant visual difference without removing the existing mirror or making a permanent change to the bathroom.
So, naturally, I thought, How hard could it be?
The execution, however, was slightly less simple.
What started as a pretty straightforward idea turned into one of those projects where I learned a few things along the way, made a couple of questionable decisions, and had to figure out some solutions as I went. But that's also part of the fun of DIY, especially when you're trying to make a space your own without completely starting from scratch.
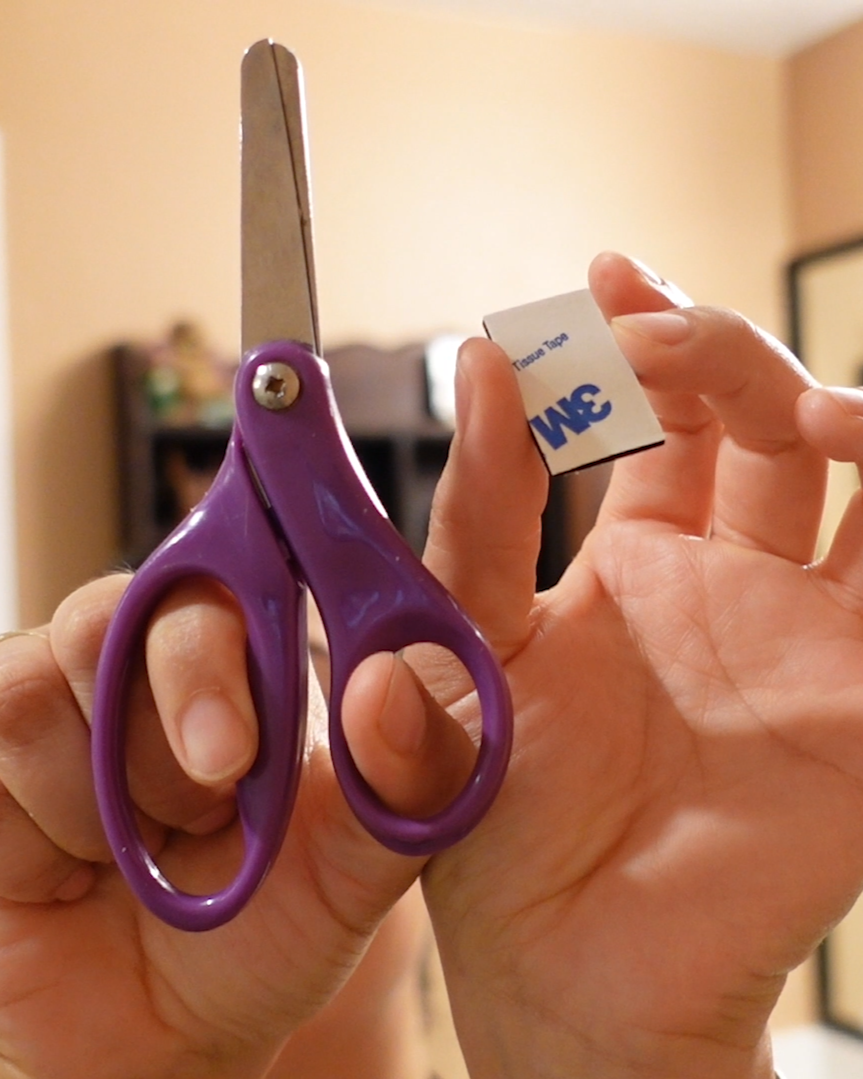
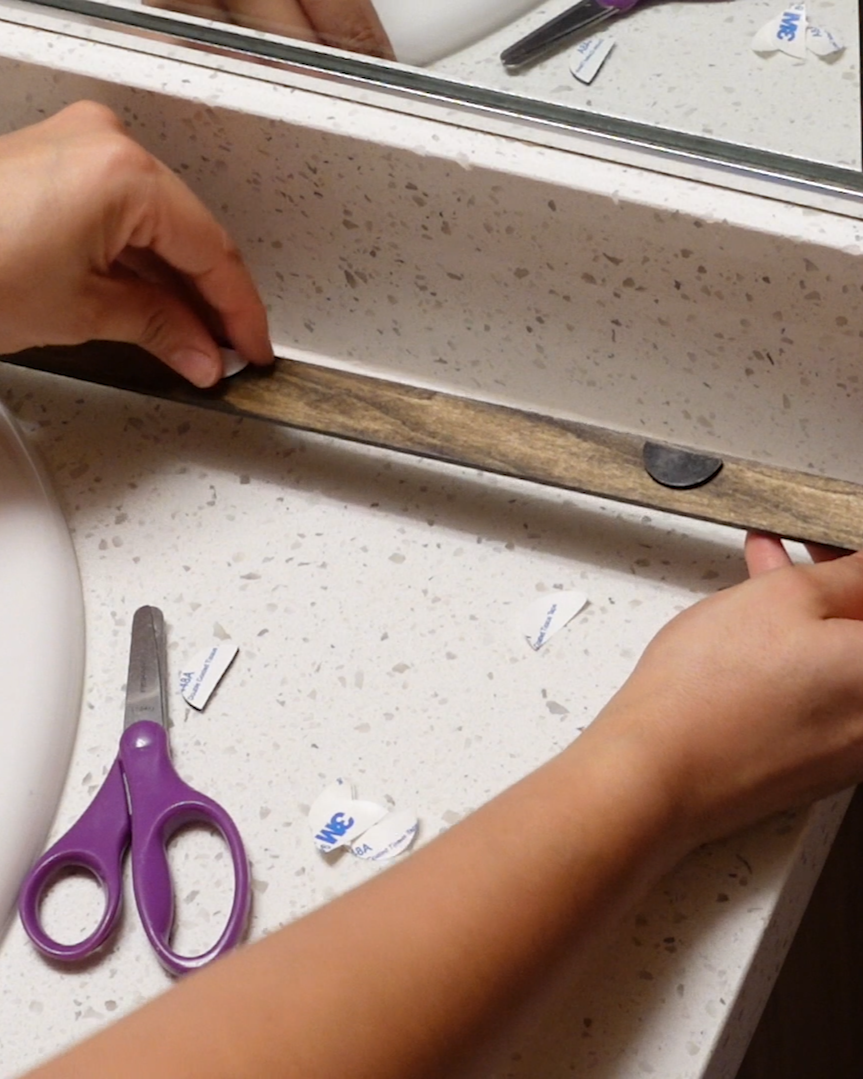
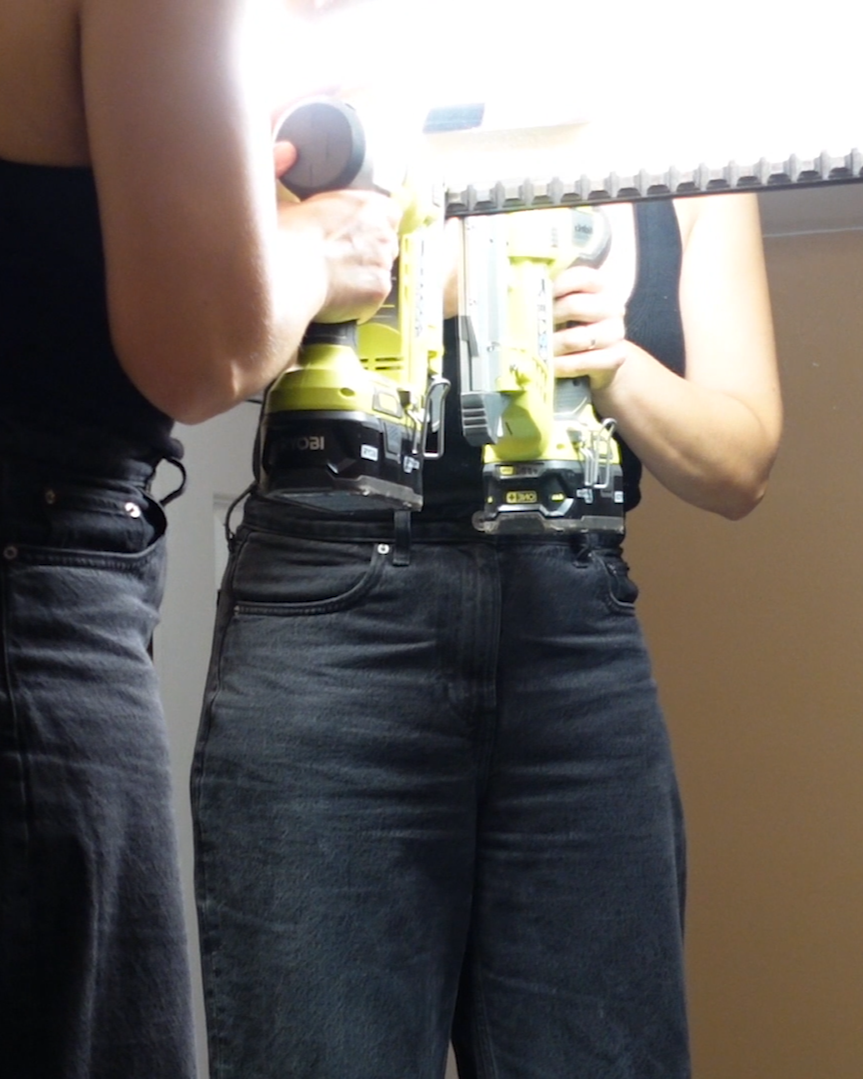
A Few DIY Lessons Along the Way
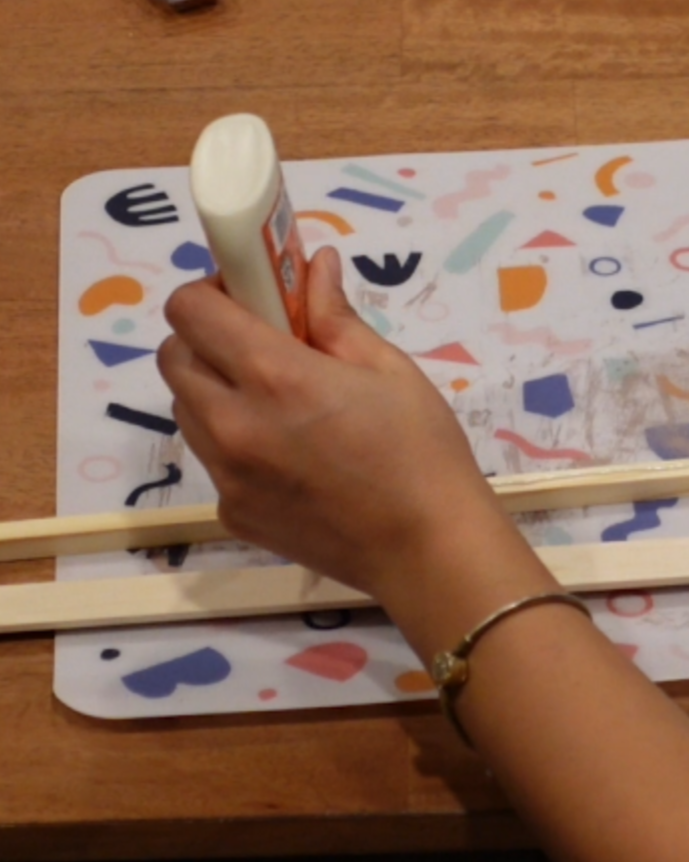
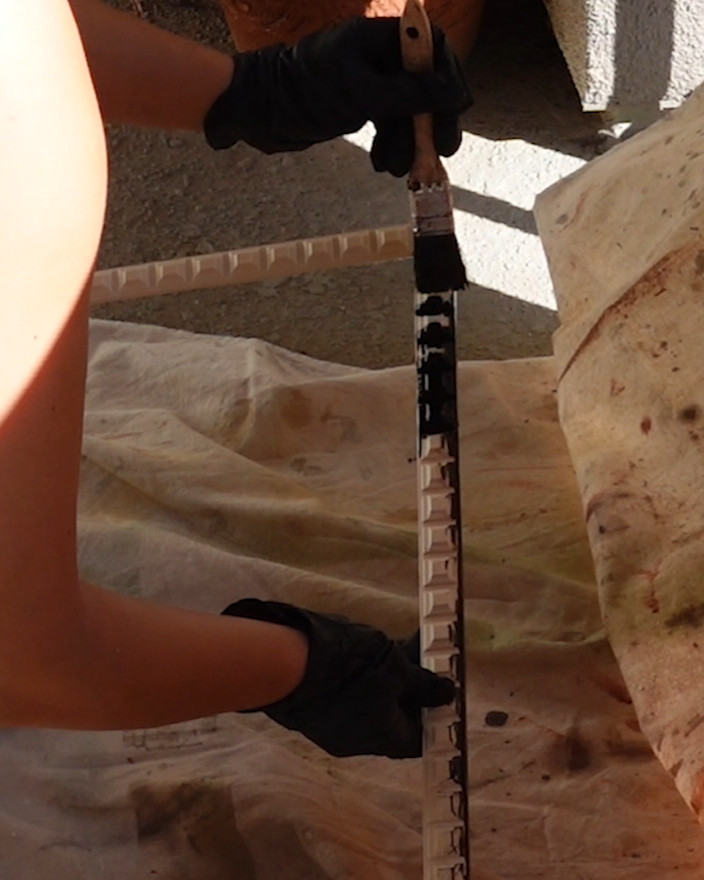
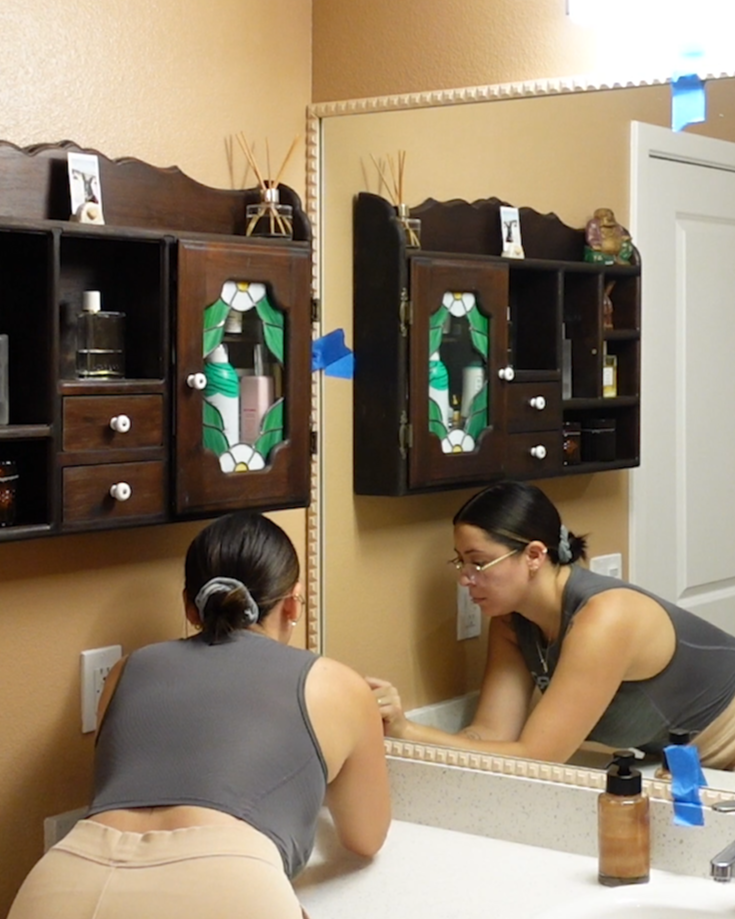
Looking back, I probably should have stained all of the pieces before assembling the frame. That alone would have saved me quite a bit of back and forth. Once the pieces were assembled, the wood glue had already dried in some areas, which made the staining process a little more difficult and, in places, pretty blotchy. I also should have started with a wood conditioner to help create a more even application.
And then there was the clear coat.
After finishing the staining portion of the frame, I should have used a clear coat in a spray finish. Instead, I tried brushing on what I already had on hand, and it dried white in some of the grooves and detailed areas of the frame. That became yet another thing I had to fix after the fact.
As I mentioned earlier in the painting process for this bathroom, prep work is crucial. It really does set the groundwork for everything that comes after it. Looking back, a lot of my hiccups could have been avoided with a little more planning, and I probably could have had a much smoother workflow—and maybe even finished the project sooner.
The construction of the frame came with its own set of lessons. I used wood glue and, in a moment of desperation, hot glue to try to get everything connected. The wood I was working with was too thin for a staple gun, and let's just say I learned pretty quickly that hot glue wasn't exactly the answer either. It peeled off and wasn't nearly as secure as I thought it would be. It also left behind a wax-like coating, which made the staining portion of the project even more difficult.
And yes, I know this was the back side of the frame, but remember that this frame is fitting around a mirror. Those imperfections on the underside would still be visible.
DIY is funny like that.
You can have a very clear idea in your head of how something is going to come together, and then the materials have other plans. It's always easy to say a project can be done in a weekend, but realistically, I think it's better to give yourself a little more time—and a lot more patience.
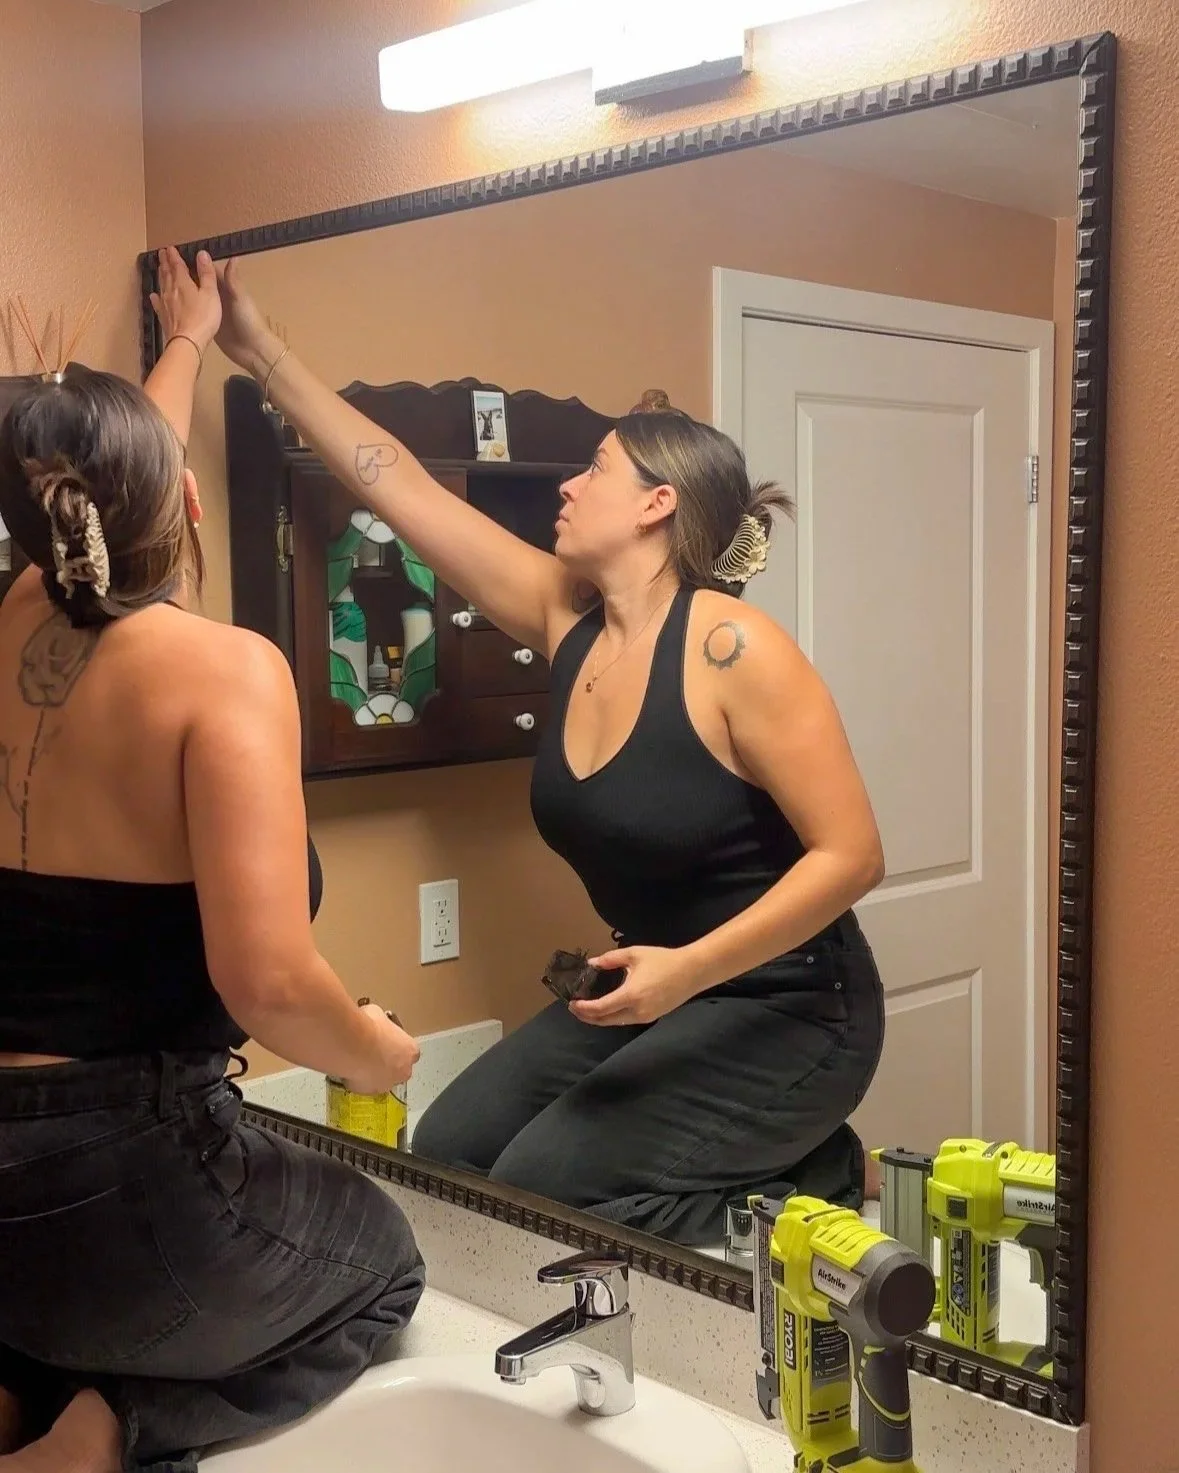
The frame also needed a little more thought because of the way the mirror sits within the bathroom. The top and right sides are the most visible when you walk into the room, so I created a small lip, or overhang, on those sides. It ended up being one of those little details that made a much bigger difference than I expected.
Once the frame was finally in place, the mirror felt completely different.
It helped ground the space, added another layer of warmth, and made the mirror feel like something we intentionally chose rather than something that simply came with the rental. And after all of the little mistakes, fixes, and lessons along the way, seeing the finished frame made all of those hiccups feel worth it.
Letting Go of Perfect
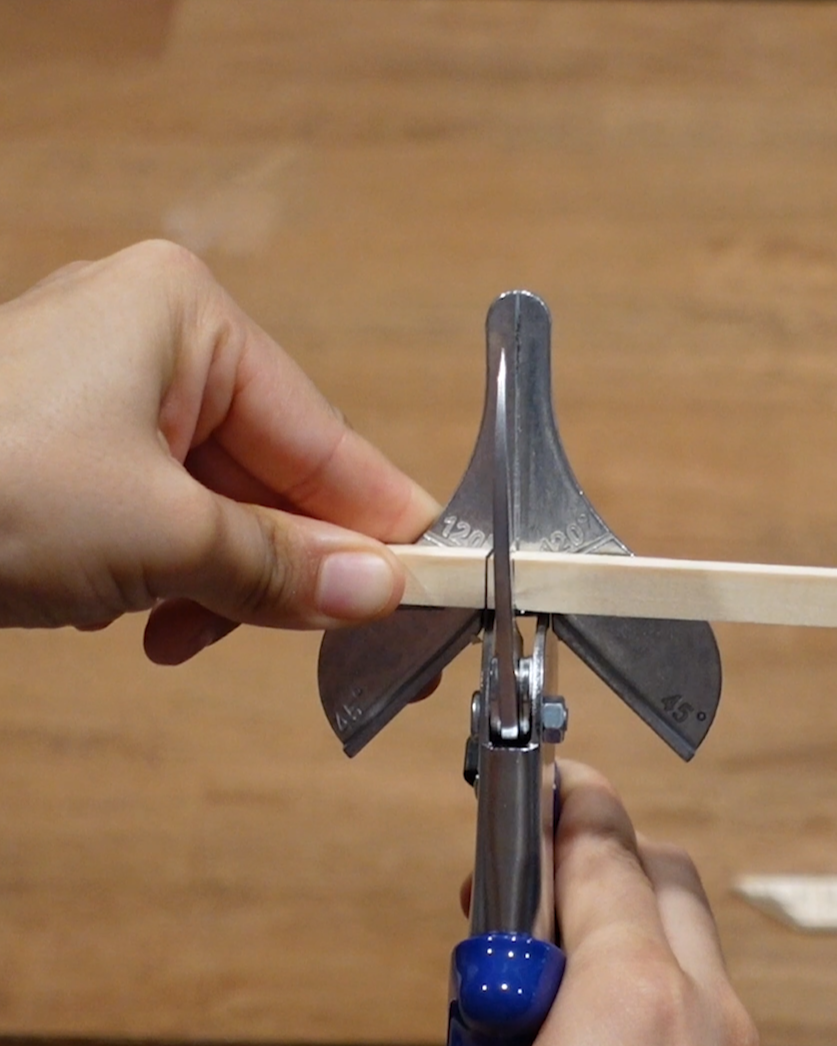
There were definitely a few moments during this project when I had to remind myself that DIY doesn't have to mean perfect. My corner seams aren't the best. I noticed them immediately. And if I'm being honest, that little detail could have easily sent me down the rabbit hole of trying to fix and redo everything until it looked exactly the way I had imagined it. I'm a bit of a perfectionist, so this is something I'm still learning with every project: knowing when to keep working and when to step back and say, You know what? This is good. Because sometimes, good is really good enough.
The goal of a project like this isn't necessarily to create something that looks like it came straight out of a showroom. It's to take an idea, work with the materials and space you have, and actually bring it to life. There are always going to be things you'd do differently the next time around. There will be corners that aren't perfectly square, seams that could be cleaner, or little details that only you notice because you were the one building it. And when I step back and look at the bathroom as a whole, those imperfections don't take away from what the project accomplished. The frame adds something to the room. It makes the mirror feel more intentional. It brings in another layer of warmth. And it helped move the bathroom a little closer to the feeling I was trying to create when I first started this project.
That's enough for me.
There were also a few less-visible problems to solve along the way. On the left side of the frame, I added a few small bumper-like pads (or levelers, depending on what you want to call them) between the wall and the wood trim. They helped even everything out and gave the frame a more balanced finish.
Another reminder that DIY is often less about knowing exactly what you're doing from the beginning and more about being willing to figure it out as you go.
And honestly, I think that's part of the fun.
Small Changes & A Different Feeling
And just like that, the first two projects are finished.
A new wall color and a simple wooden mirror frame might not sound like the biggest bathroom transformation, but together, they made a noticeable difference. The room feels warmer. A little cozier. A little more intentional. And, most importantly, it feels like we're beginning to make the space our own.
I think that's what I'm enjoying most about decorating a rental. It's not necessarily about changing everything at once. It's about paying attention to what's already there and finding ways to make it work a little harder for you. Sometimes that means paint. Sometimes it means building something yourself. And sometimes it means looking at an existing piece and asking, How can I make this feel more like us?
I'm also realizing that I don't want to rush this process. There can be a lot of pressure with DIY and home projects to constantly be working on the next thing, especially when you're sharing a space online and there's always another room, project, or idea waiting to be tackled. But I actually like the idea of letting this room come together slowly.
Things take shape in stages. A room doesn't have to be completely transformed in a weekend to feel different. Sometimes you paint a wall, live with it for a while, figure out what feels missing, and then make the next change. One project can naturally lead to another, and over time, those small decisions start to build into something bigger.
And, honestly, going slowly feels much more realistic when you have a full-time job and a life outside of DIY. I'd rather take my time with a project and actually enjoy the process than try to squeeze everything into one weekend, burn myself out, and end up half-assing something just to say it's finished. There is something really satisfying about knowing that this room is going to keep evolving, little by little, rather than needing to be "done" all at once.
Small decisions can end up changing the feeling of an entire room, and that's really what I wanted from this bathroom. Not a dramatic before-and-after or a space that looks completely different from the day we moved in. Just a room that feels a little warmer, a little more considered, and a little more like home.
And for now, I'm happy to let that happen slowly.
What's Next?
This is only the beginning of the bathroom. There are still plenty of things I'd like to change, add, and figure out, but after these first two projects, I have a much clearer idea of which direction I want the space to go. And I think that's part of what I'm enjoying about this process. I don't want to rush to the finish line just for the sake of having a finished room. I want to let the space take shape gradually, project by project, and give myself the time to figure out what actually works. Before moving on to the next project, though, I wanted to share the beginning; the messy parts, the little mistakes, the moments when I wasn't entirely sure what I was doing, and the satisfaction of seeing an idea slowly become something real.
Because that's really what Making Our Bathroom Better is about.
Not a perfect transformation.
Not getting everything done at once.
Just a space becoming a little more ours, one small project at a time.
Especially for the ones with full-time jobs like me, I've realized that this slower approach makes the whole process feel much more manageable. There's no pressure to spend every weekend tackling another project or to burn out trying to completely transform a room overnight. It’s a great relief knowing that we can take our time, enjoy the making process, and give each project the attention it deserves.
So this bathroom will probably keep changing for a while, and I'm actually happy about that. There will be pauses between projects, possibly things I'll change my mind about, and probably a few more moments where I wonder what I'm doing. But that's all part of making a space your own.
If you'd like to see how these first two projects actually came together, I've shared the entire process in my YouTube video below. From the very first coat of paint to building and figuring out that slightly-too-complicated mirror frame. There are definitely a few moments that are easier to show than explain, including some DIY trial and error, a couple of what am I doing? moments, and all of the little details that ultimately brought these two projects together. So, if you'd like to see the bathroom slowly go from its original state to what it looks like now, come watch the project unfold below.
This is only Part 1.
There's still a lot more to come, but we'll get there one project at a time.